My son Todd thought this would be a fun, interesting post for our website, so here we go.
You know, the idea for this box started when a great friend had some parts of a maple dresser in her garage for I don’t know how long, and could not live with the idea that it would end up in the dumpster. So she gave me the parts so that I could stare at them in my garage and feel bad and I suddenly realized I could repurpose some of this wood into a small wooden box.
Ok, so the idea was to show a kind of a how to step-by-step process, but then, I looked online to see what was out there and holy mackeral! If you want a step-by-step process, you can definitely find it online. If you want just about anything, you can find it.
The internet is amazing. For example, on this box I used miter joints, but here are some of the other joints that can be used.
Miter with wood spline joint, dowelled butt joint, dado, rabbet, lap joint, dovetail, mortise and tenon, tongue and groove, half lap and mitered corner, haunched mortise and tenon.
See what I mean, and that only scratches the surface. Type in Japanese joinery and look at some of the images of those joints. Pretty amazing.
The other thing is, what is the correct way and what is not the correct way of doing things?
Well, reading woodworking books and experience helps, but that brings up another thing. How much do I need to know? Because, I watched a few YouTube videos on how to build a small wooden box and saw things that I have never tried before. It makes you realize just how much you do not know even after years of doing woodworking. That is what is great about it. The journey never ends.
So, in this particular situation, we’re going to give this repurposed maple wood back to its rightful owner, which will make her cry, maybe, I’m not sure yet.
This is a small thing, but these people are treasures, so this should be great.
So This Is The Step-By-Step Process For This Box
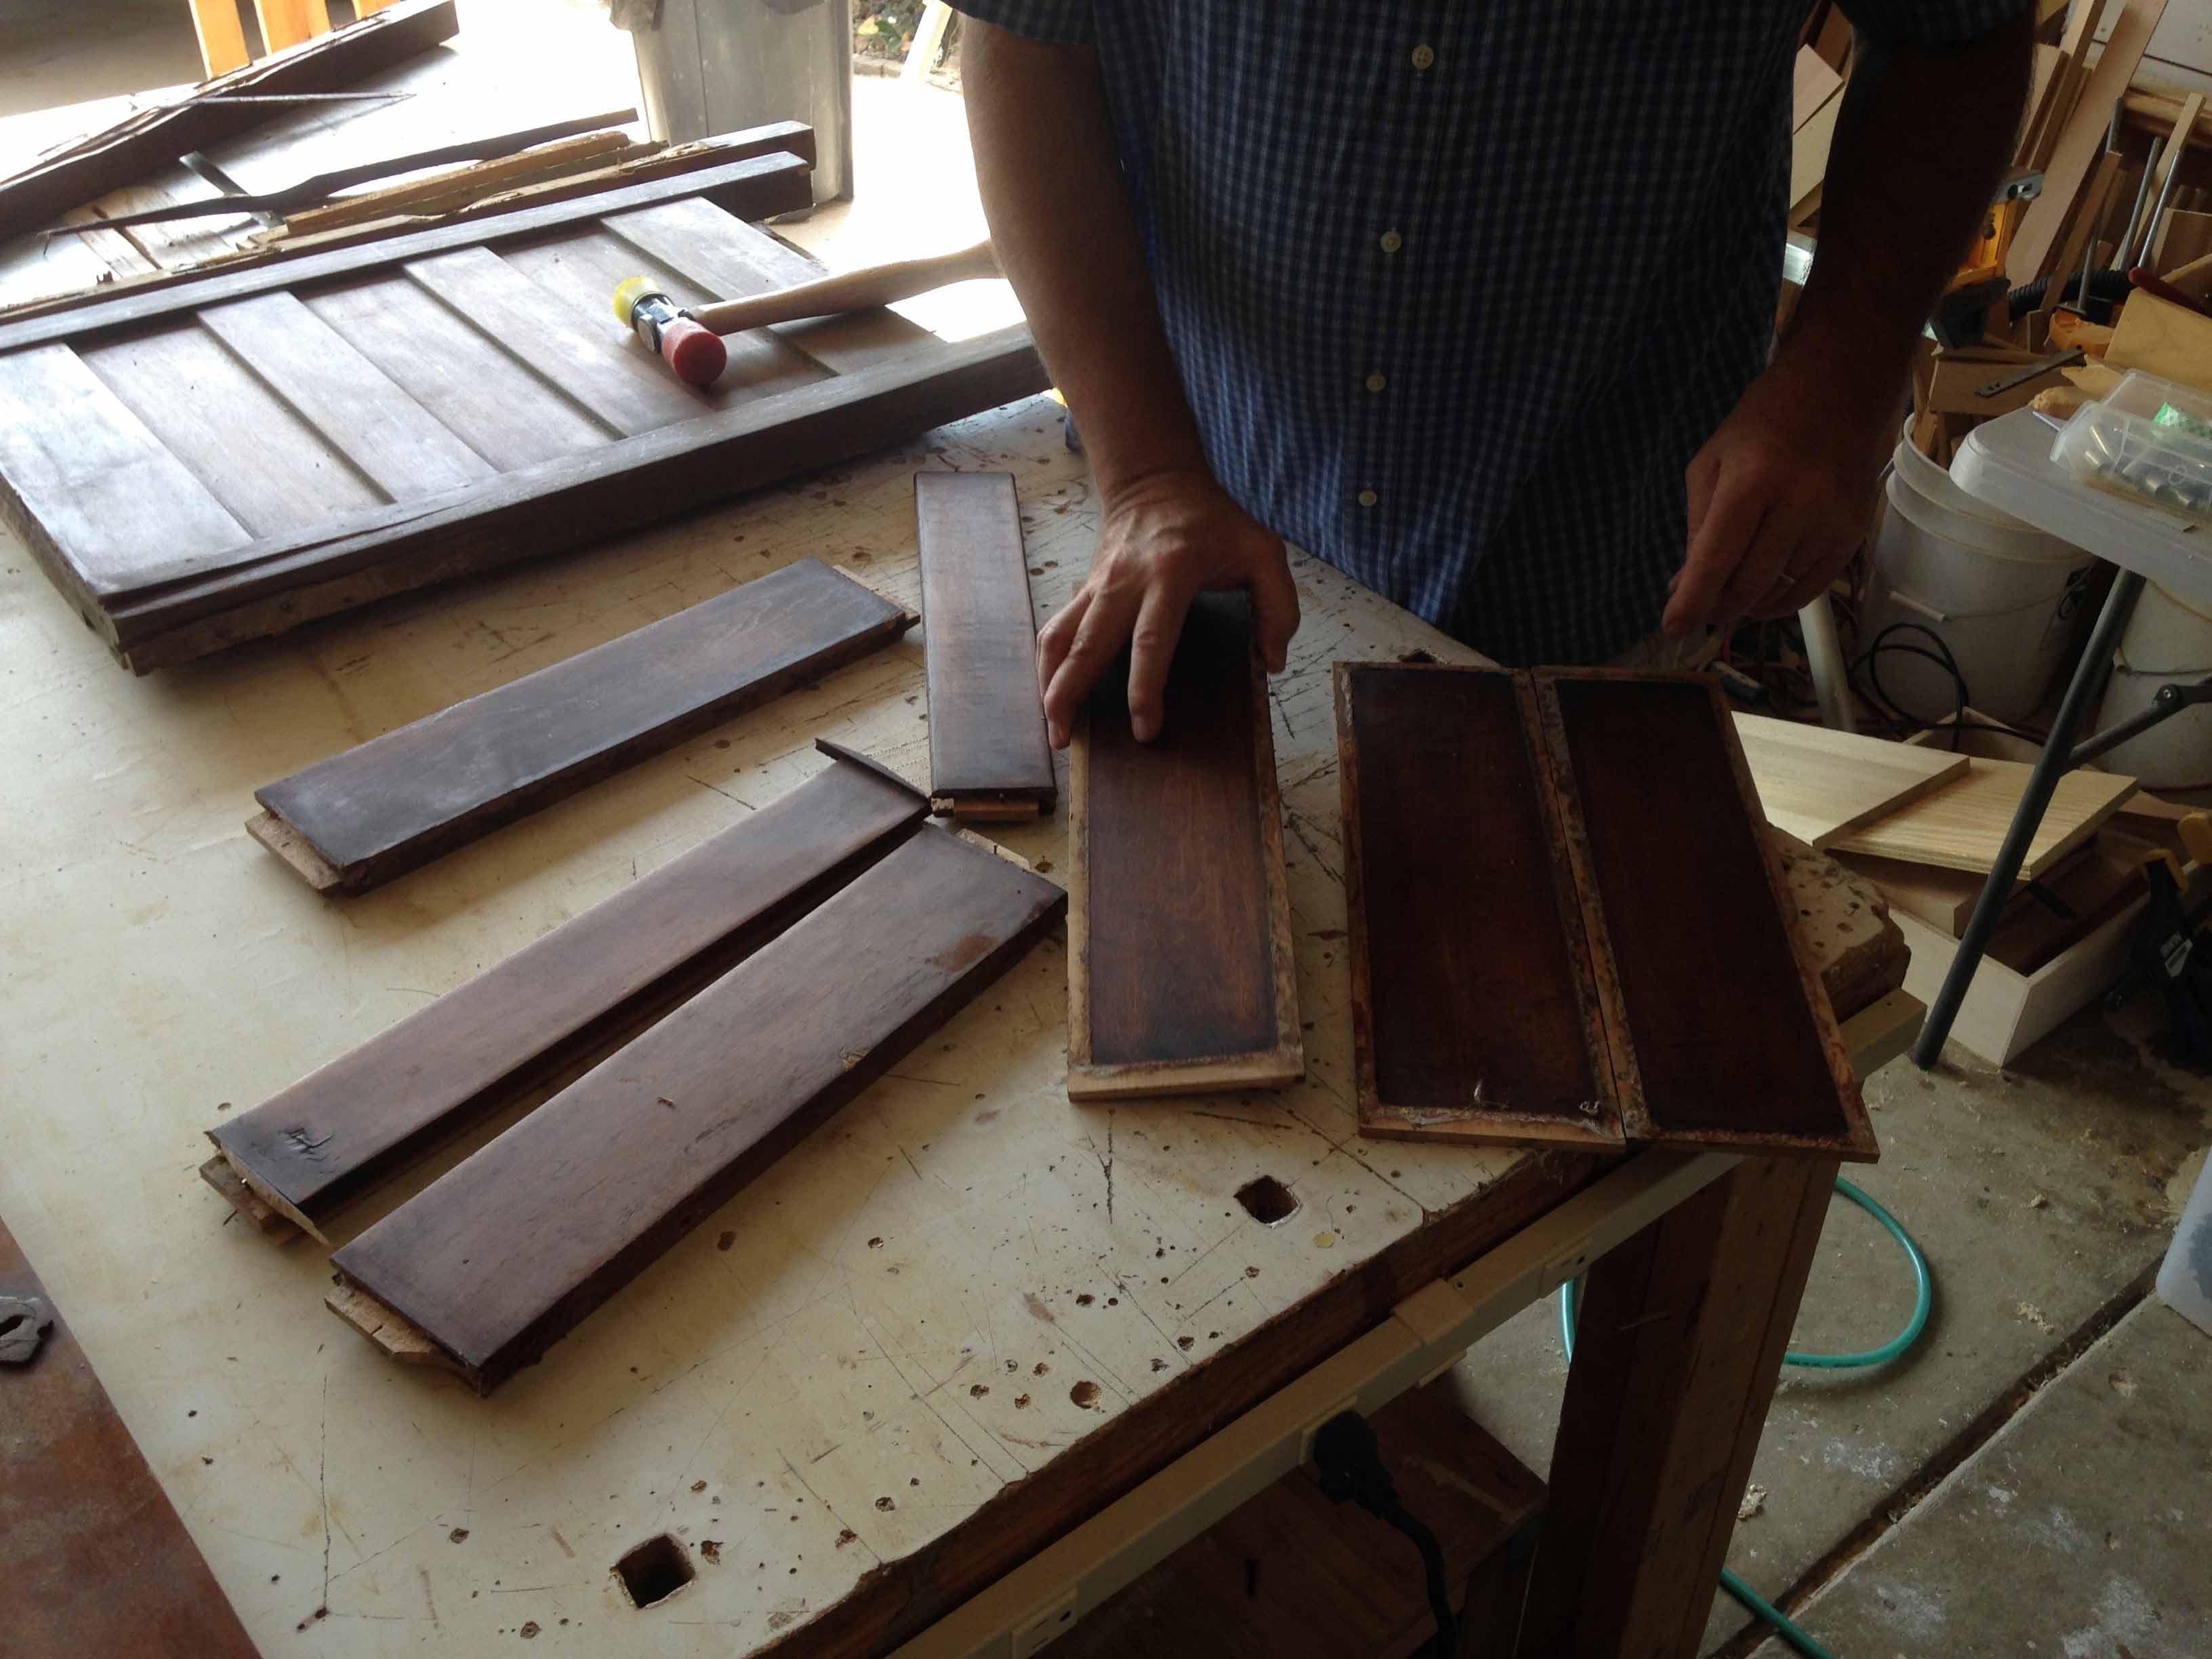
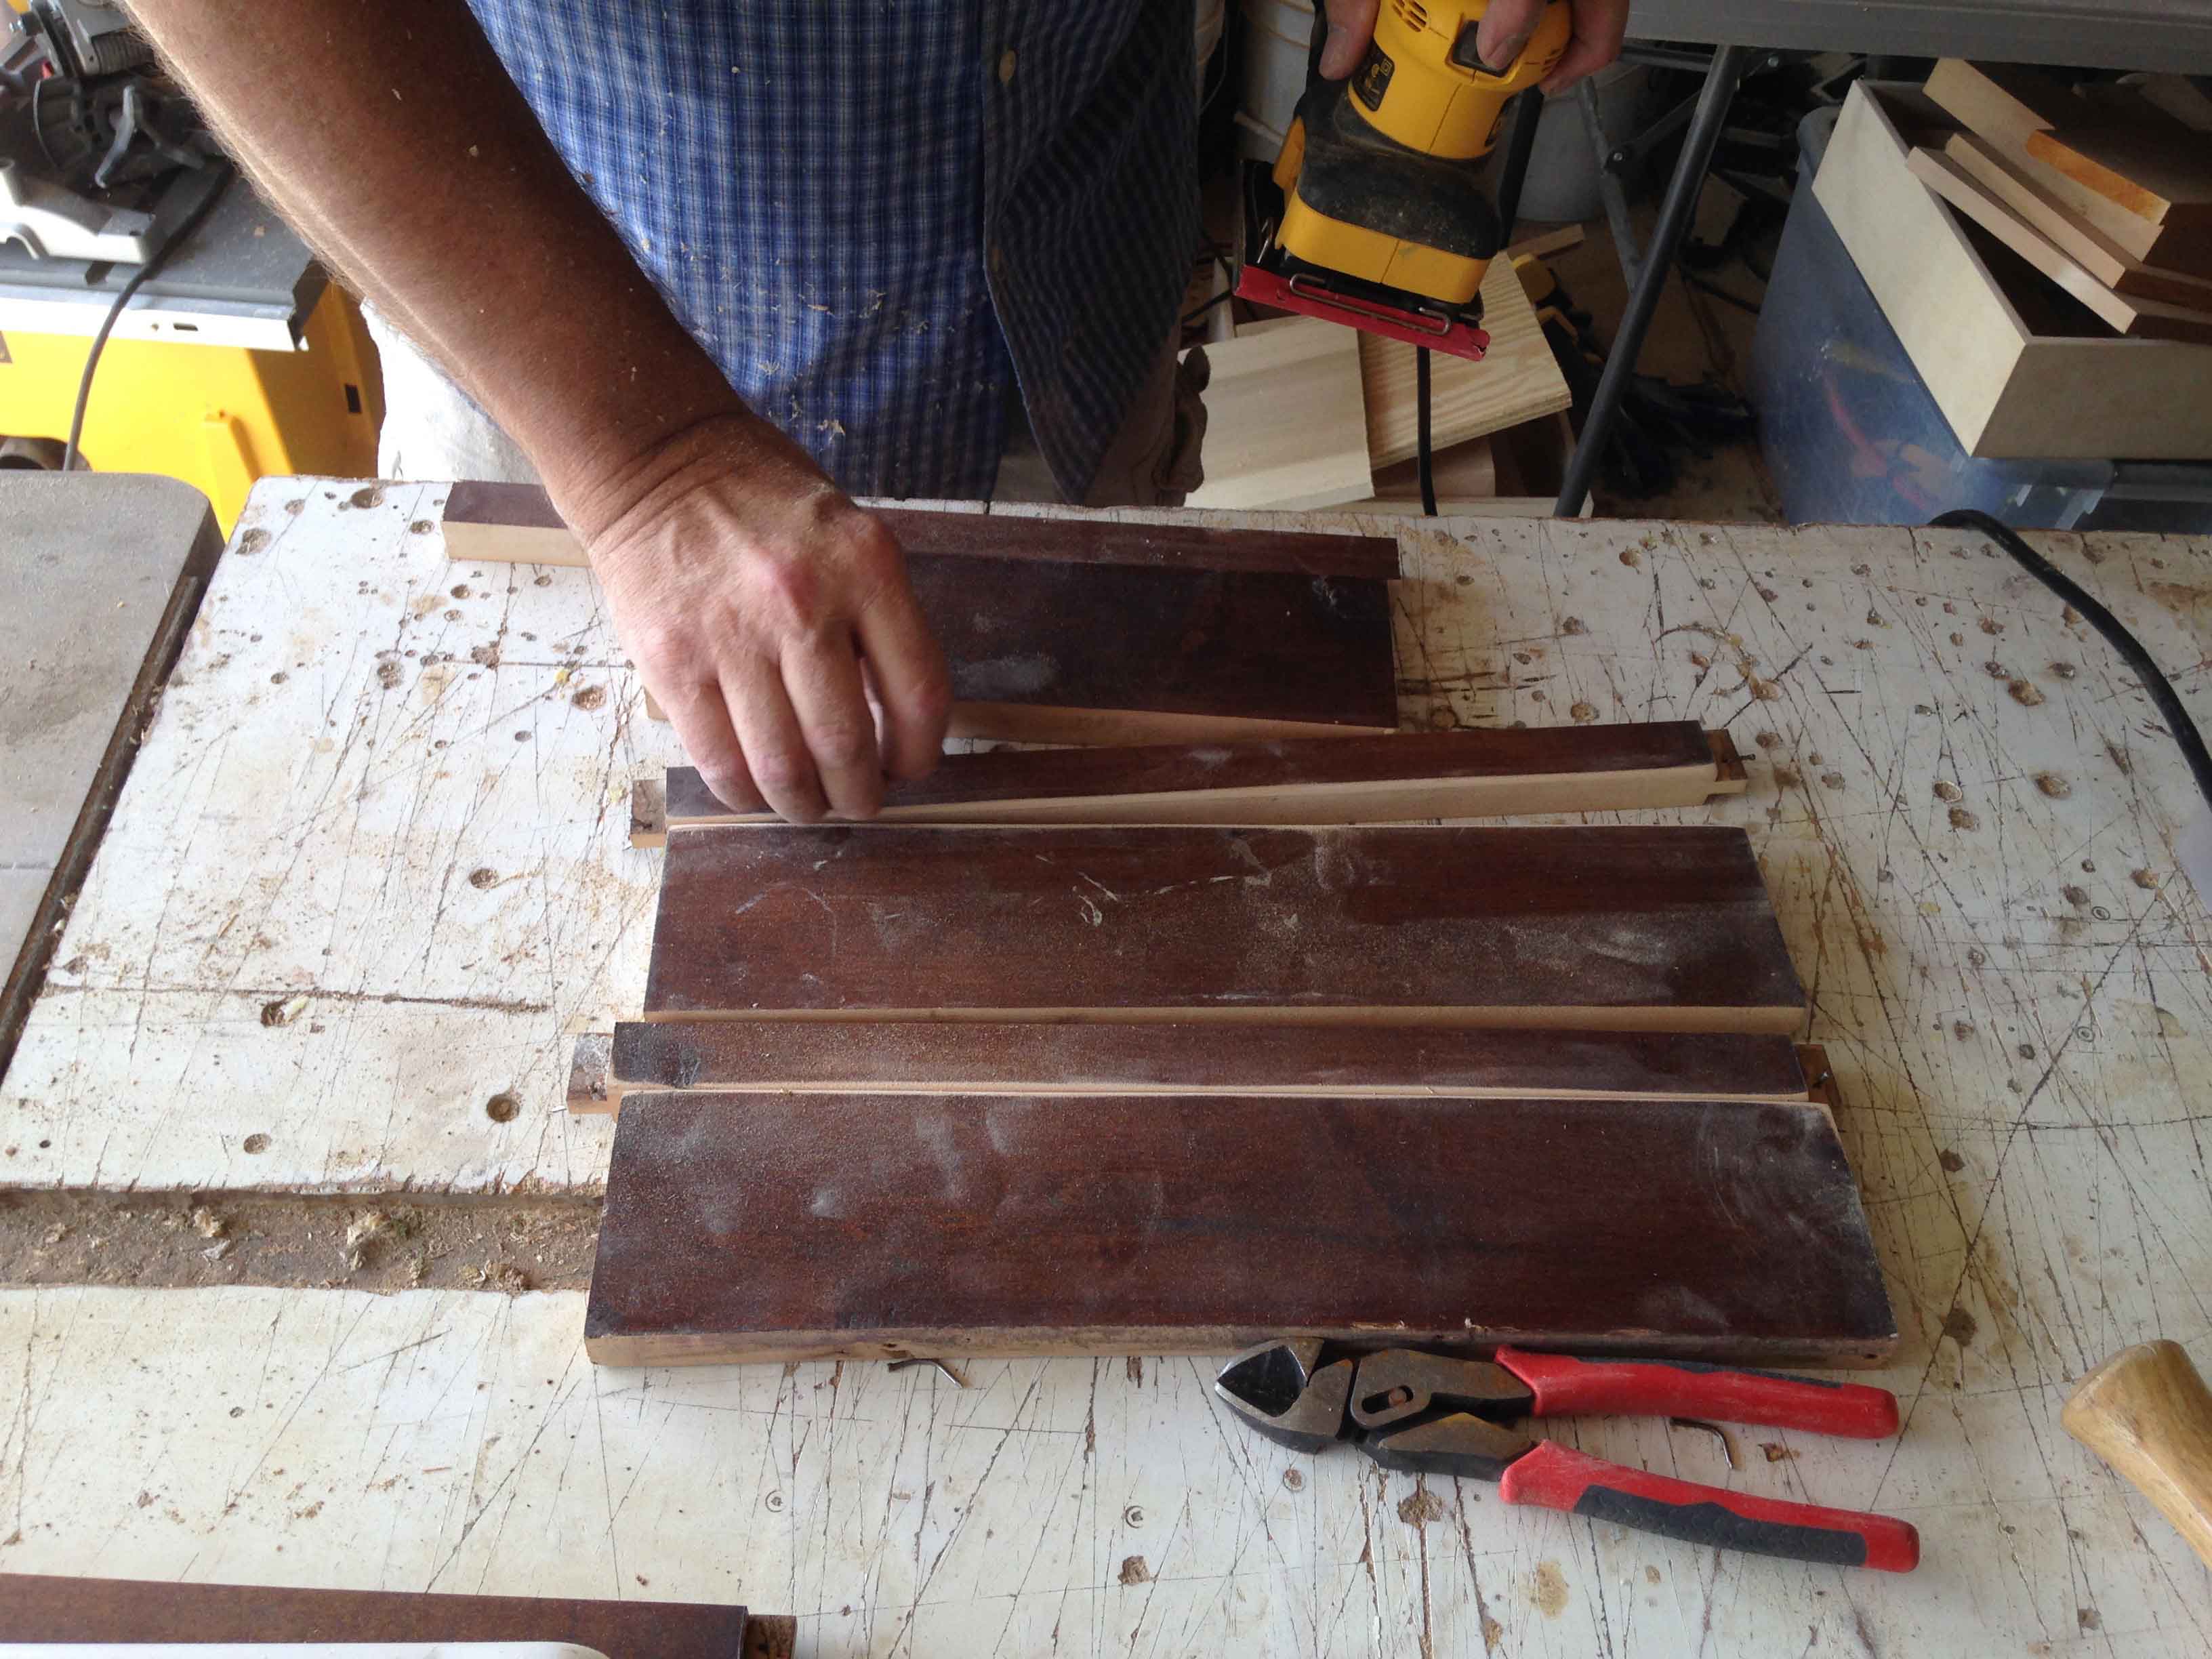
1) Laid out the parts to determine what we could use for the box.
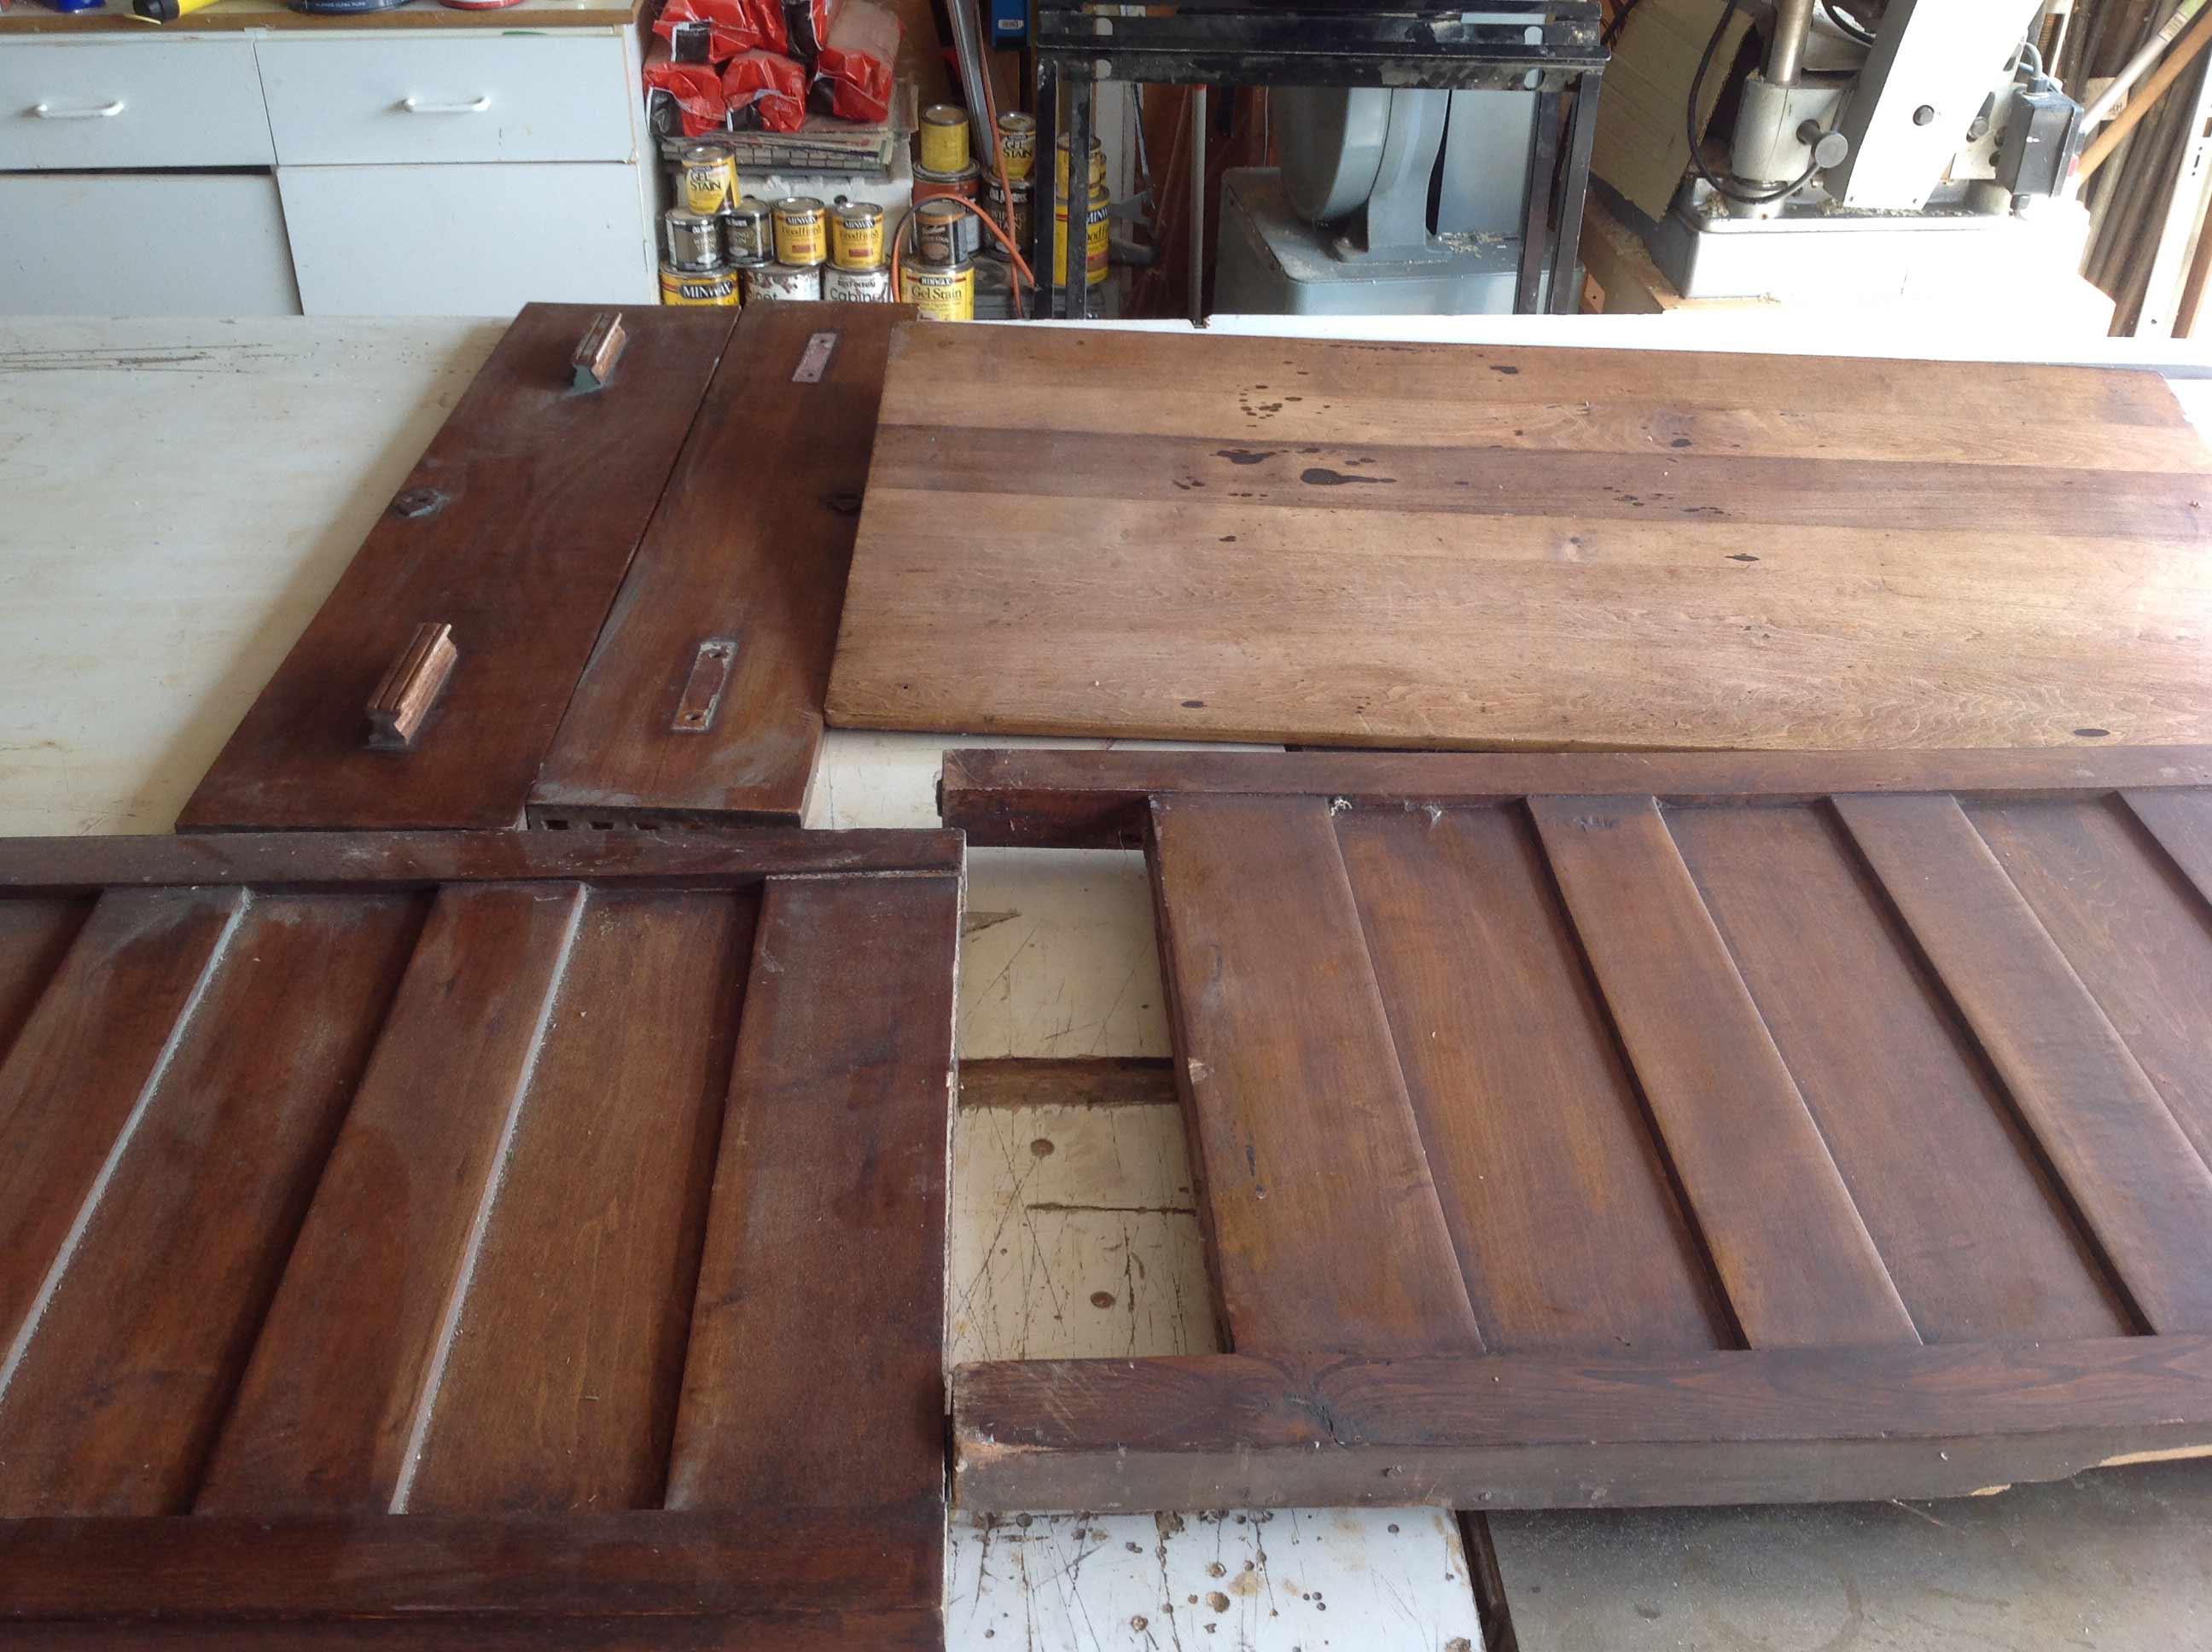
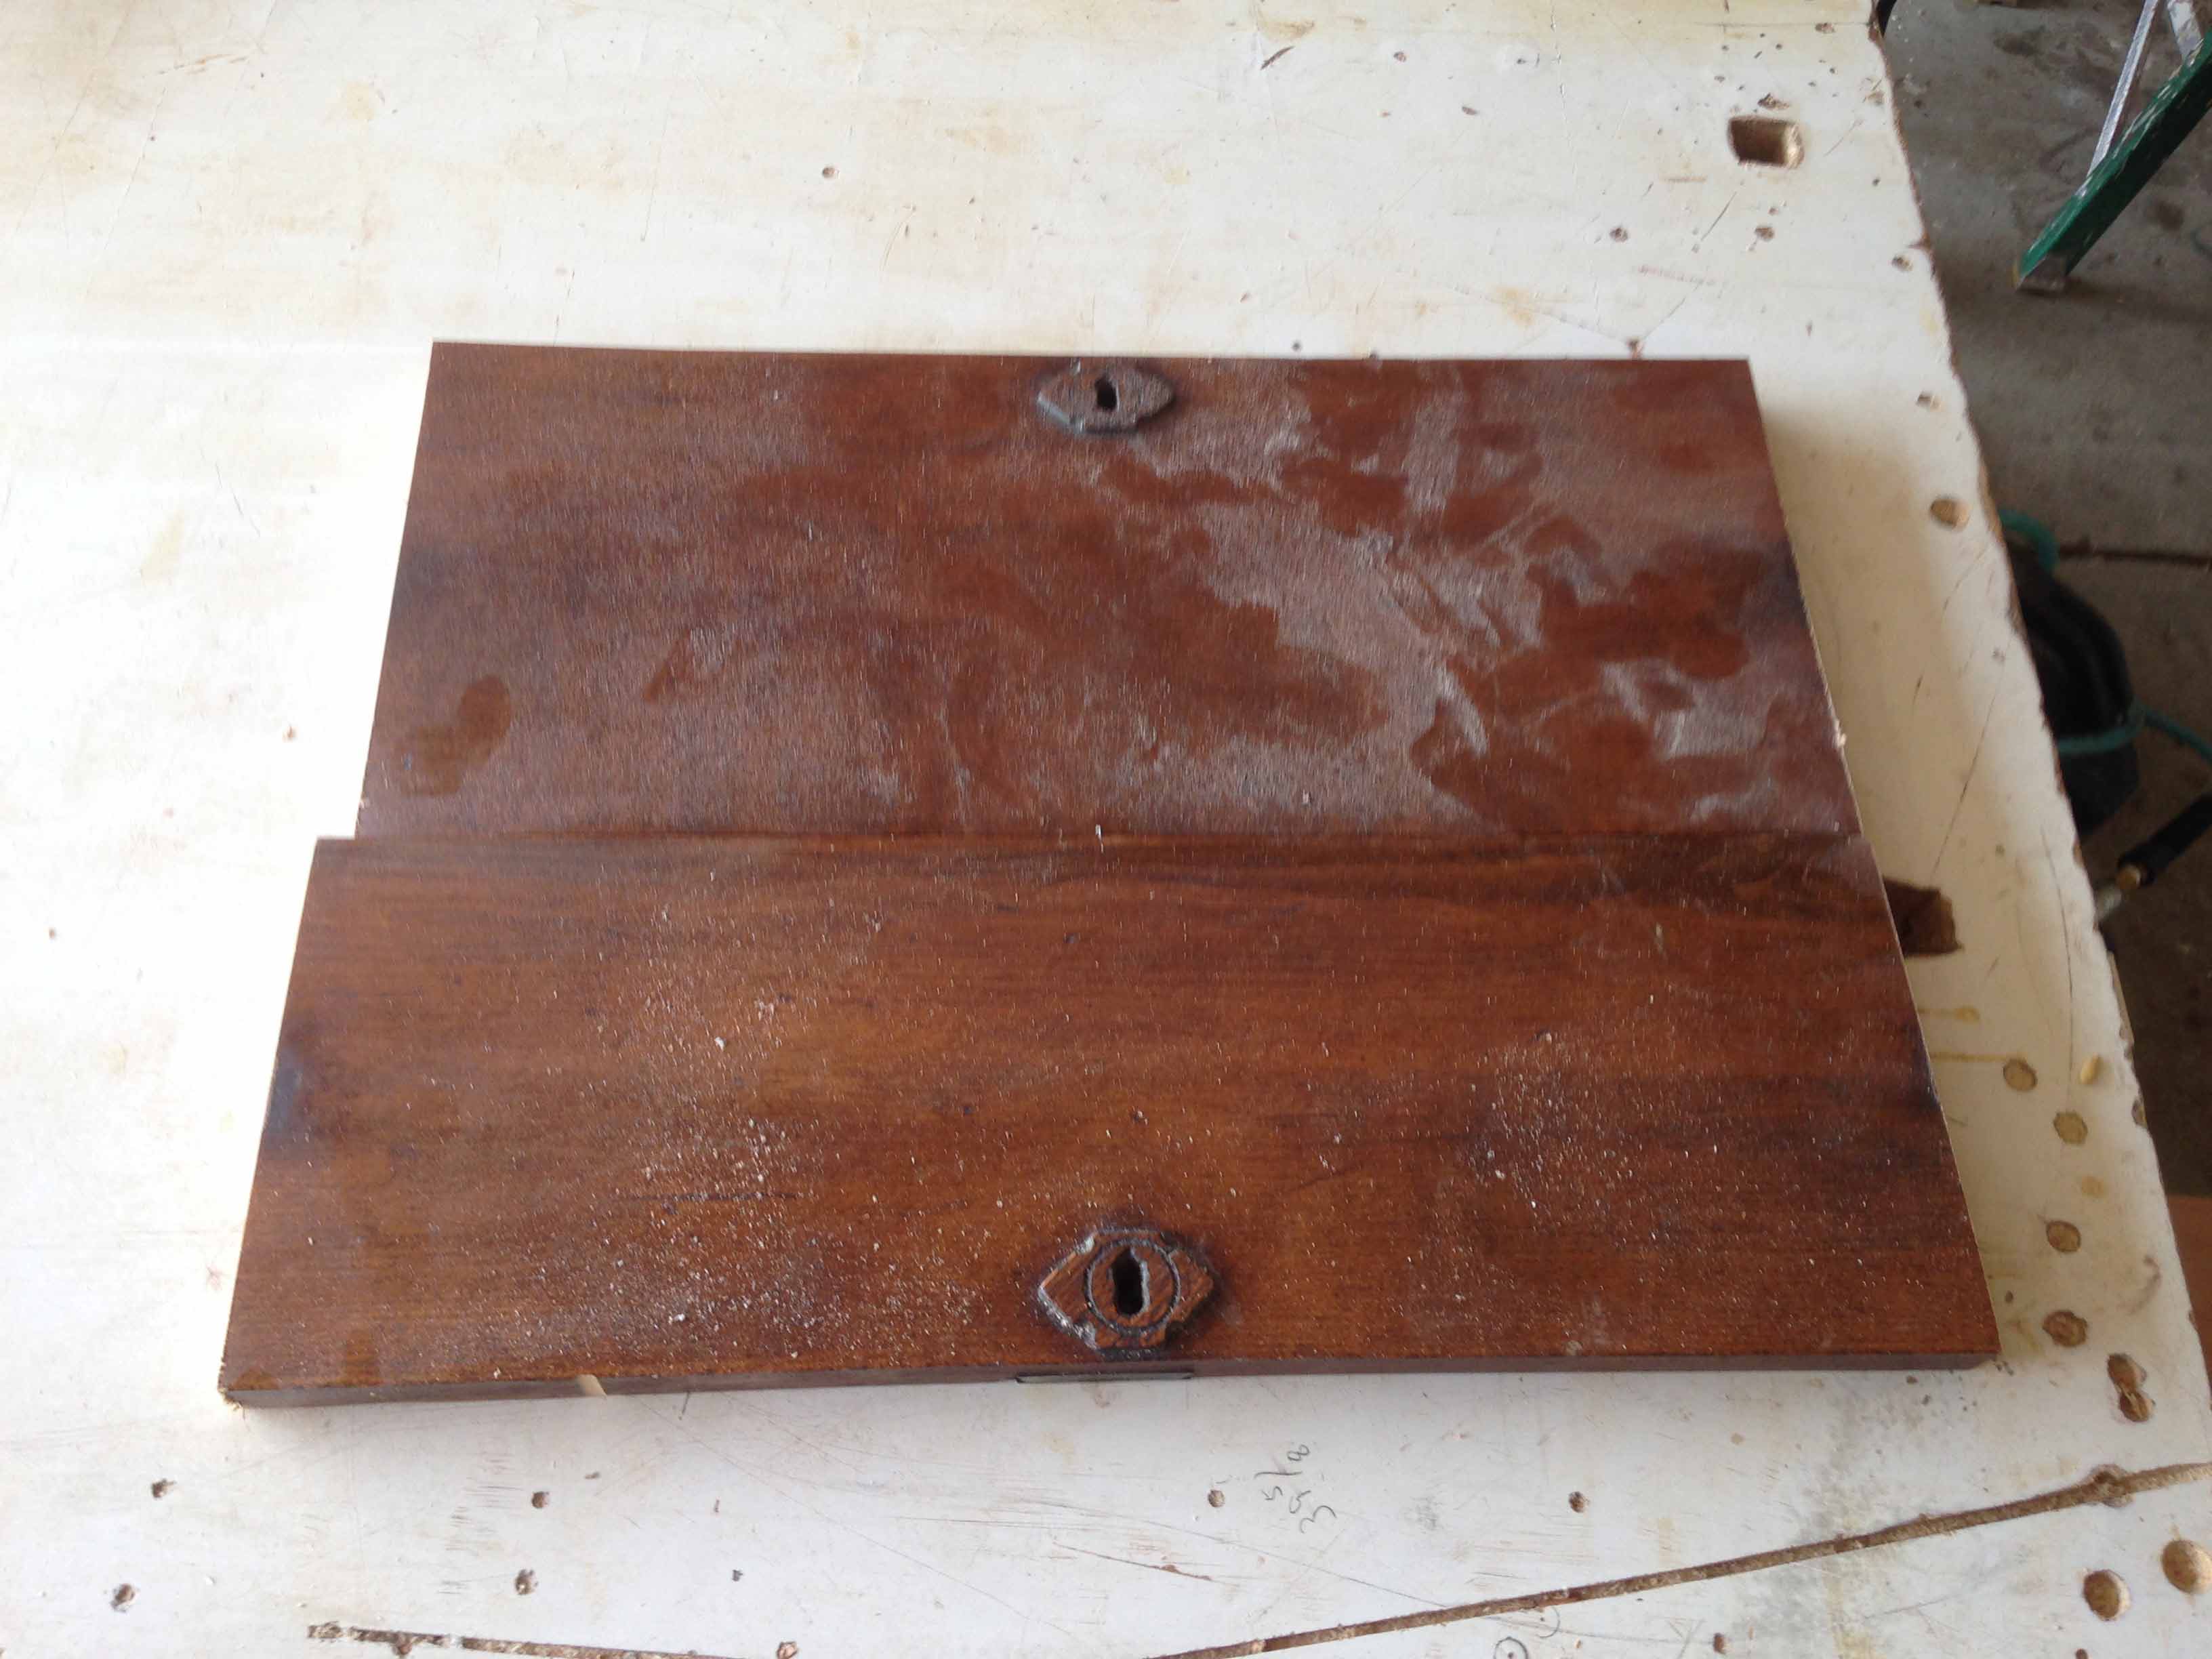
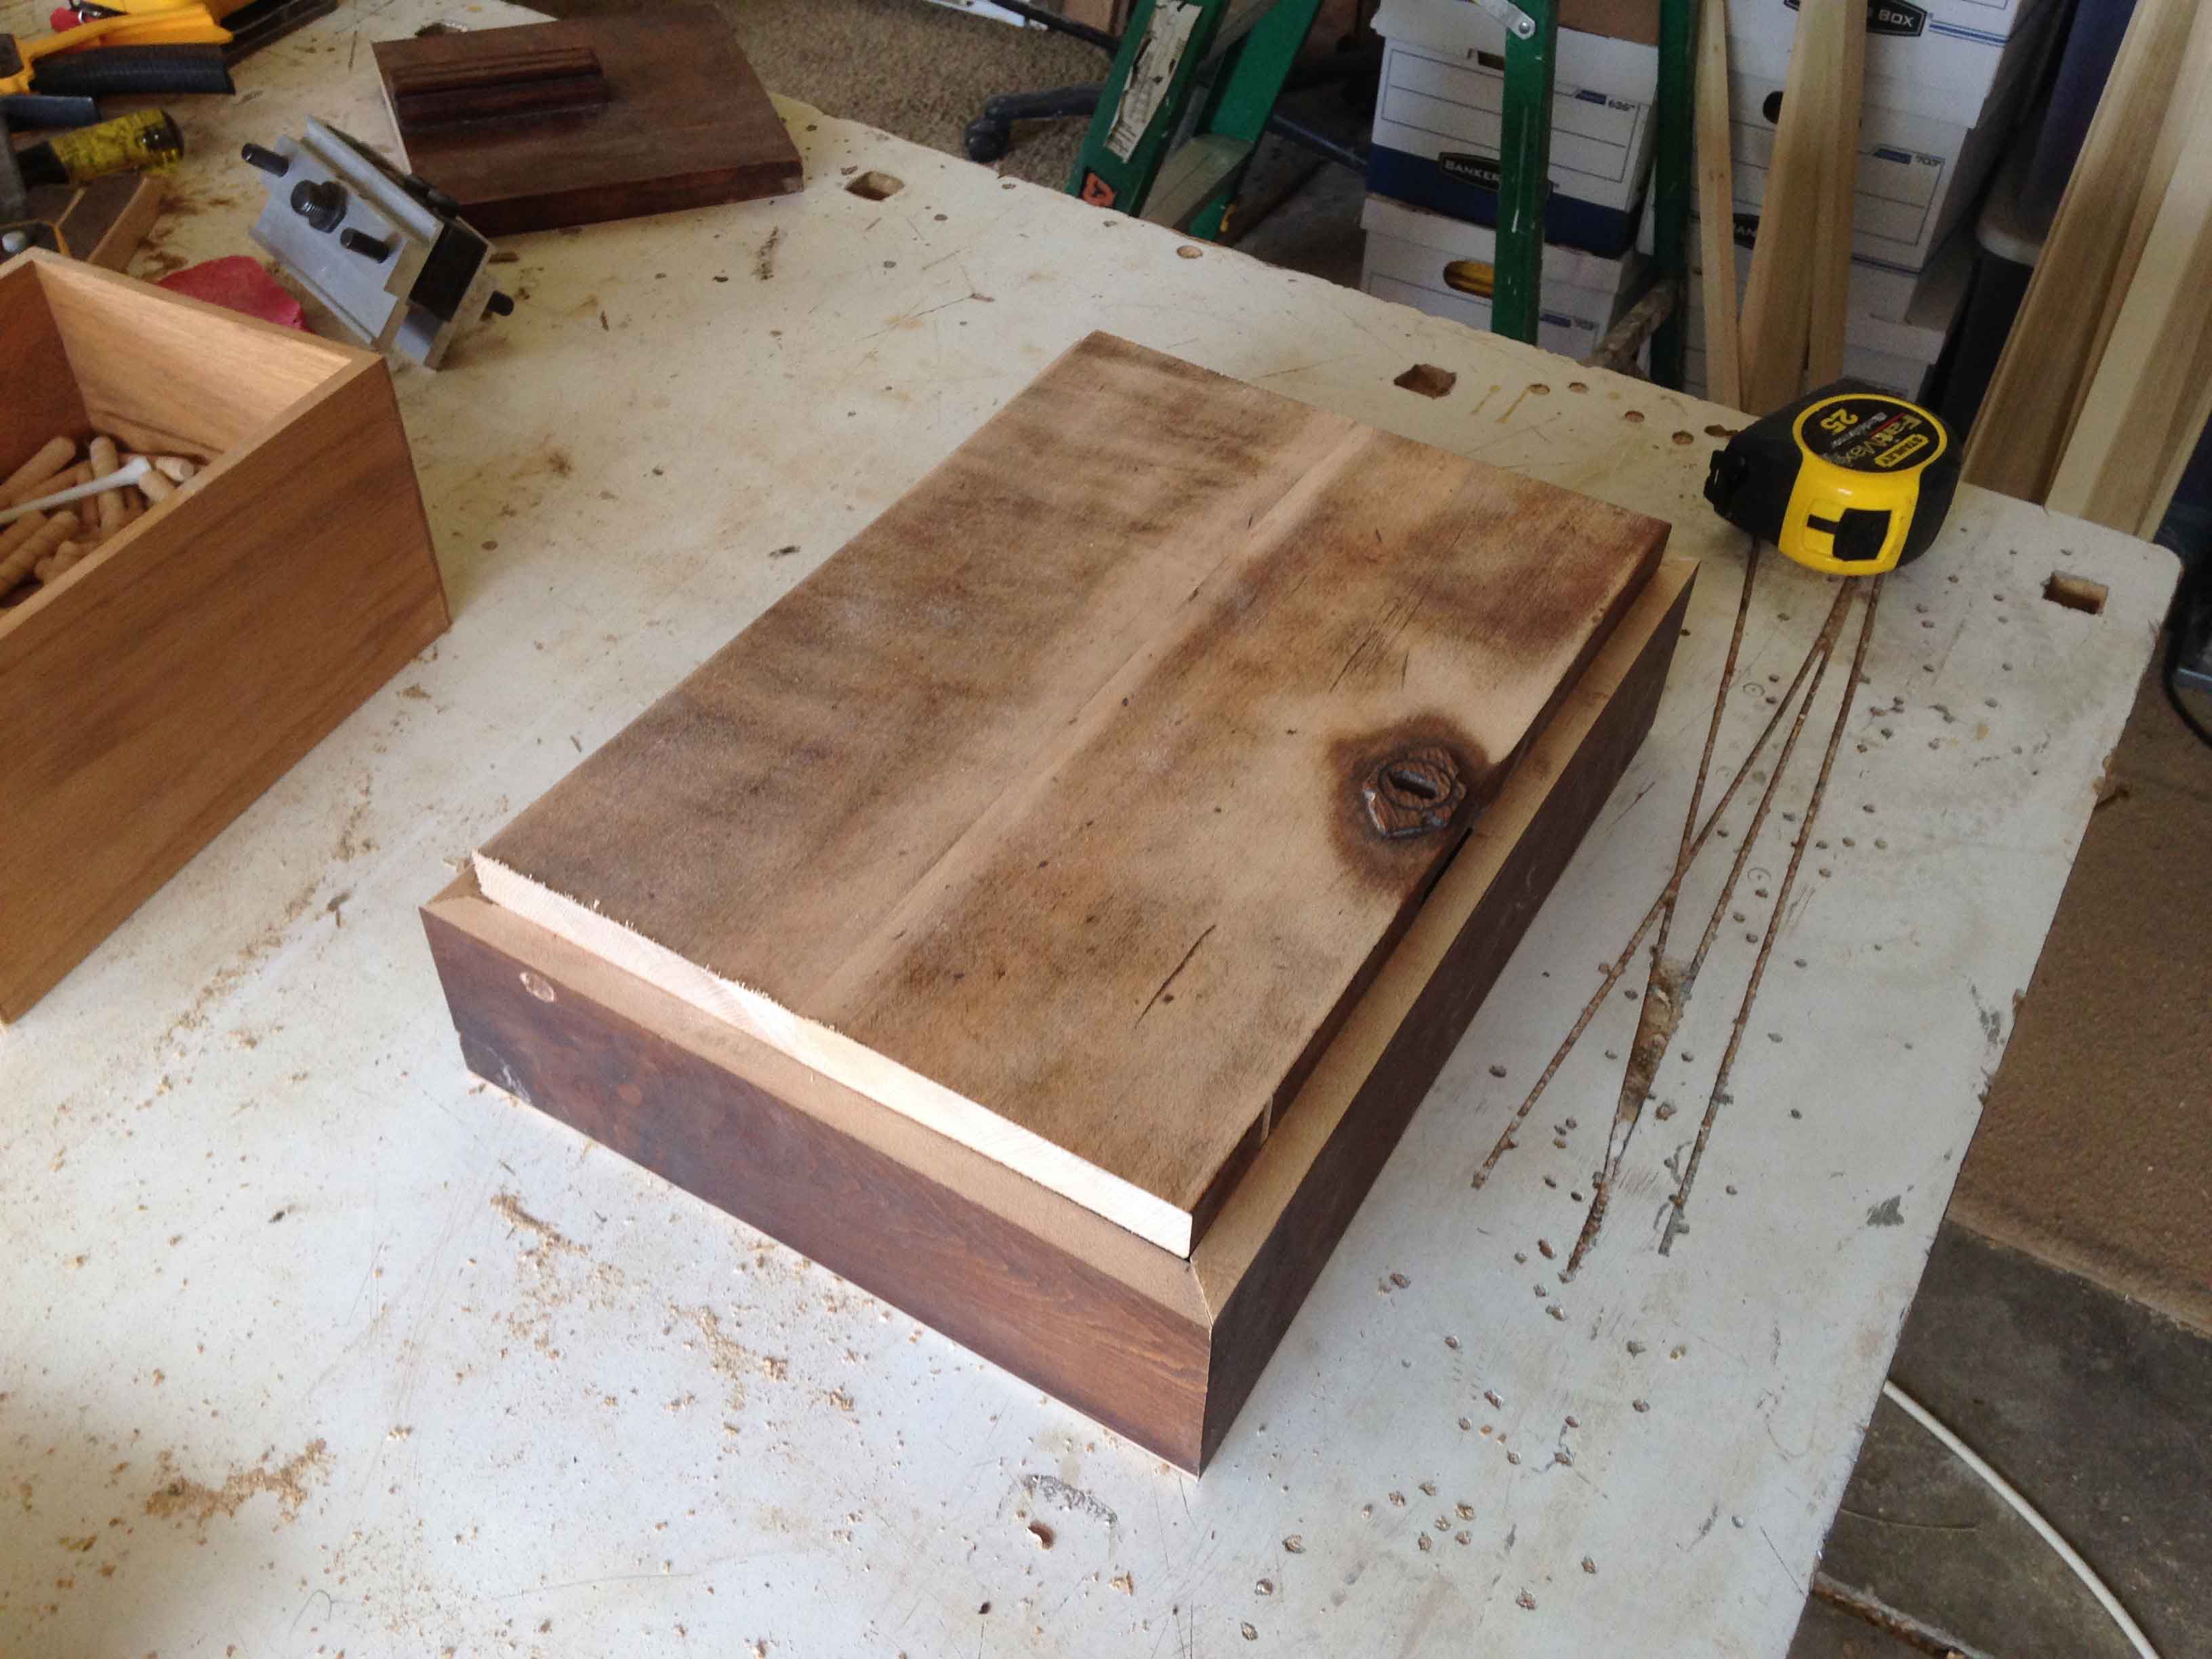
2) Used the drawer fronts for the top.
3) I used these side panel dresser parts for the sides and ends and the bottom of the box. Then laid the parts out to determine the size.
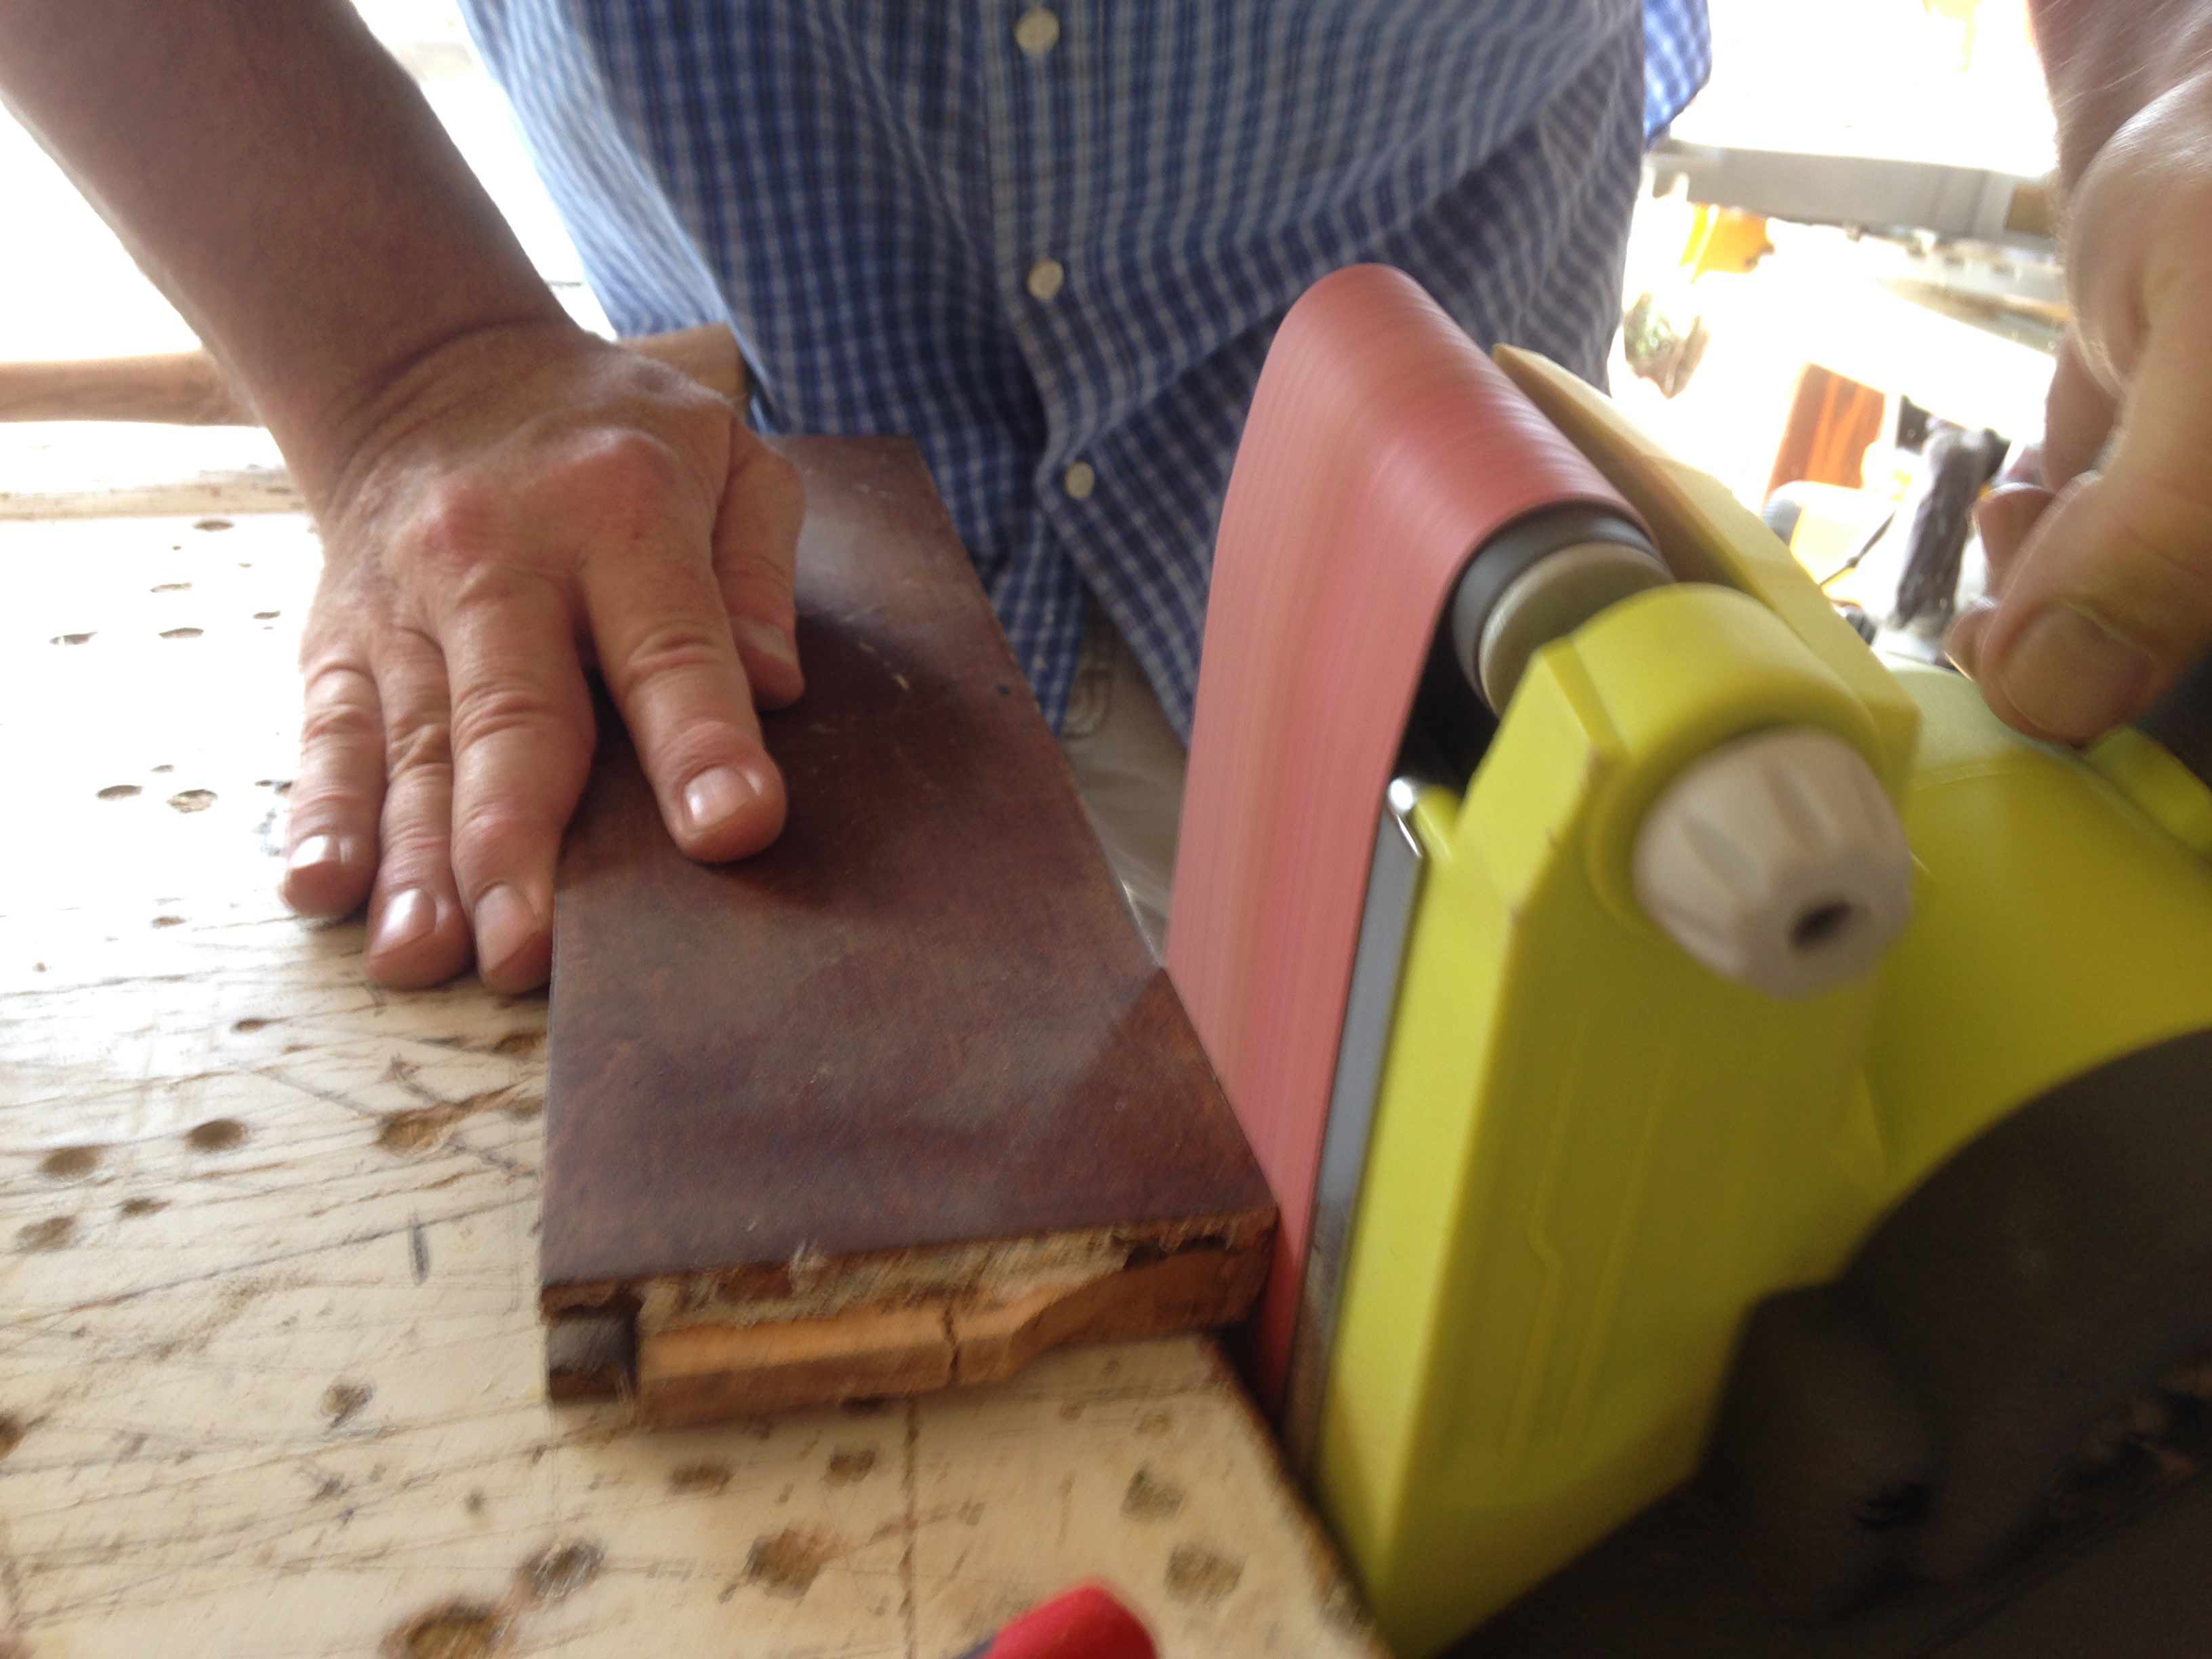
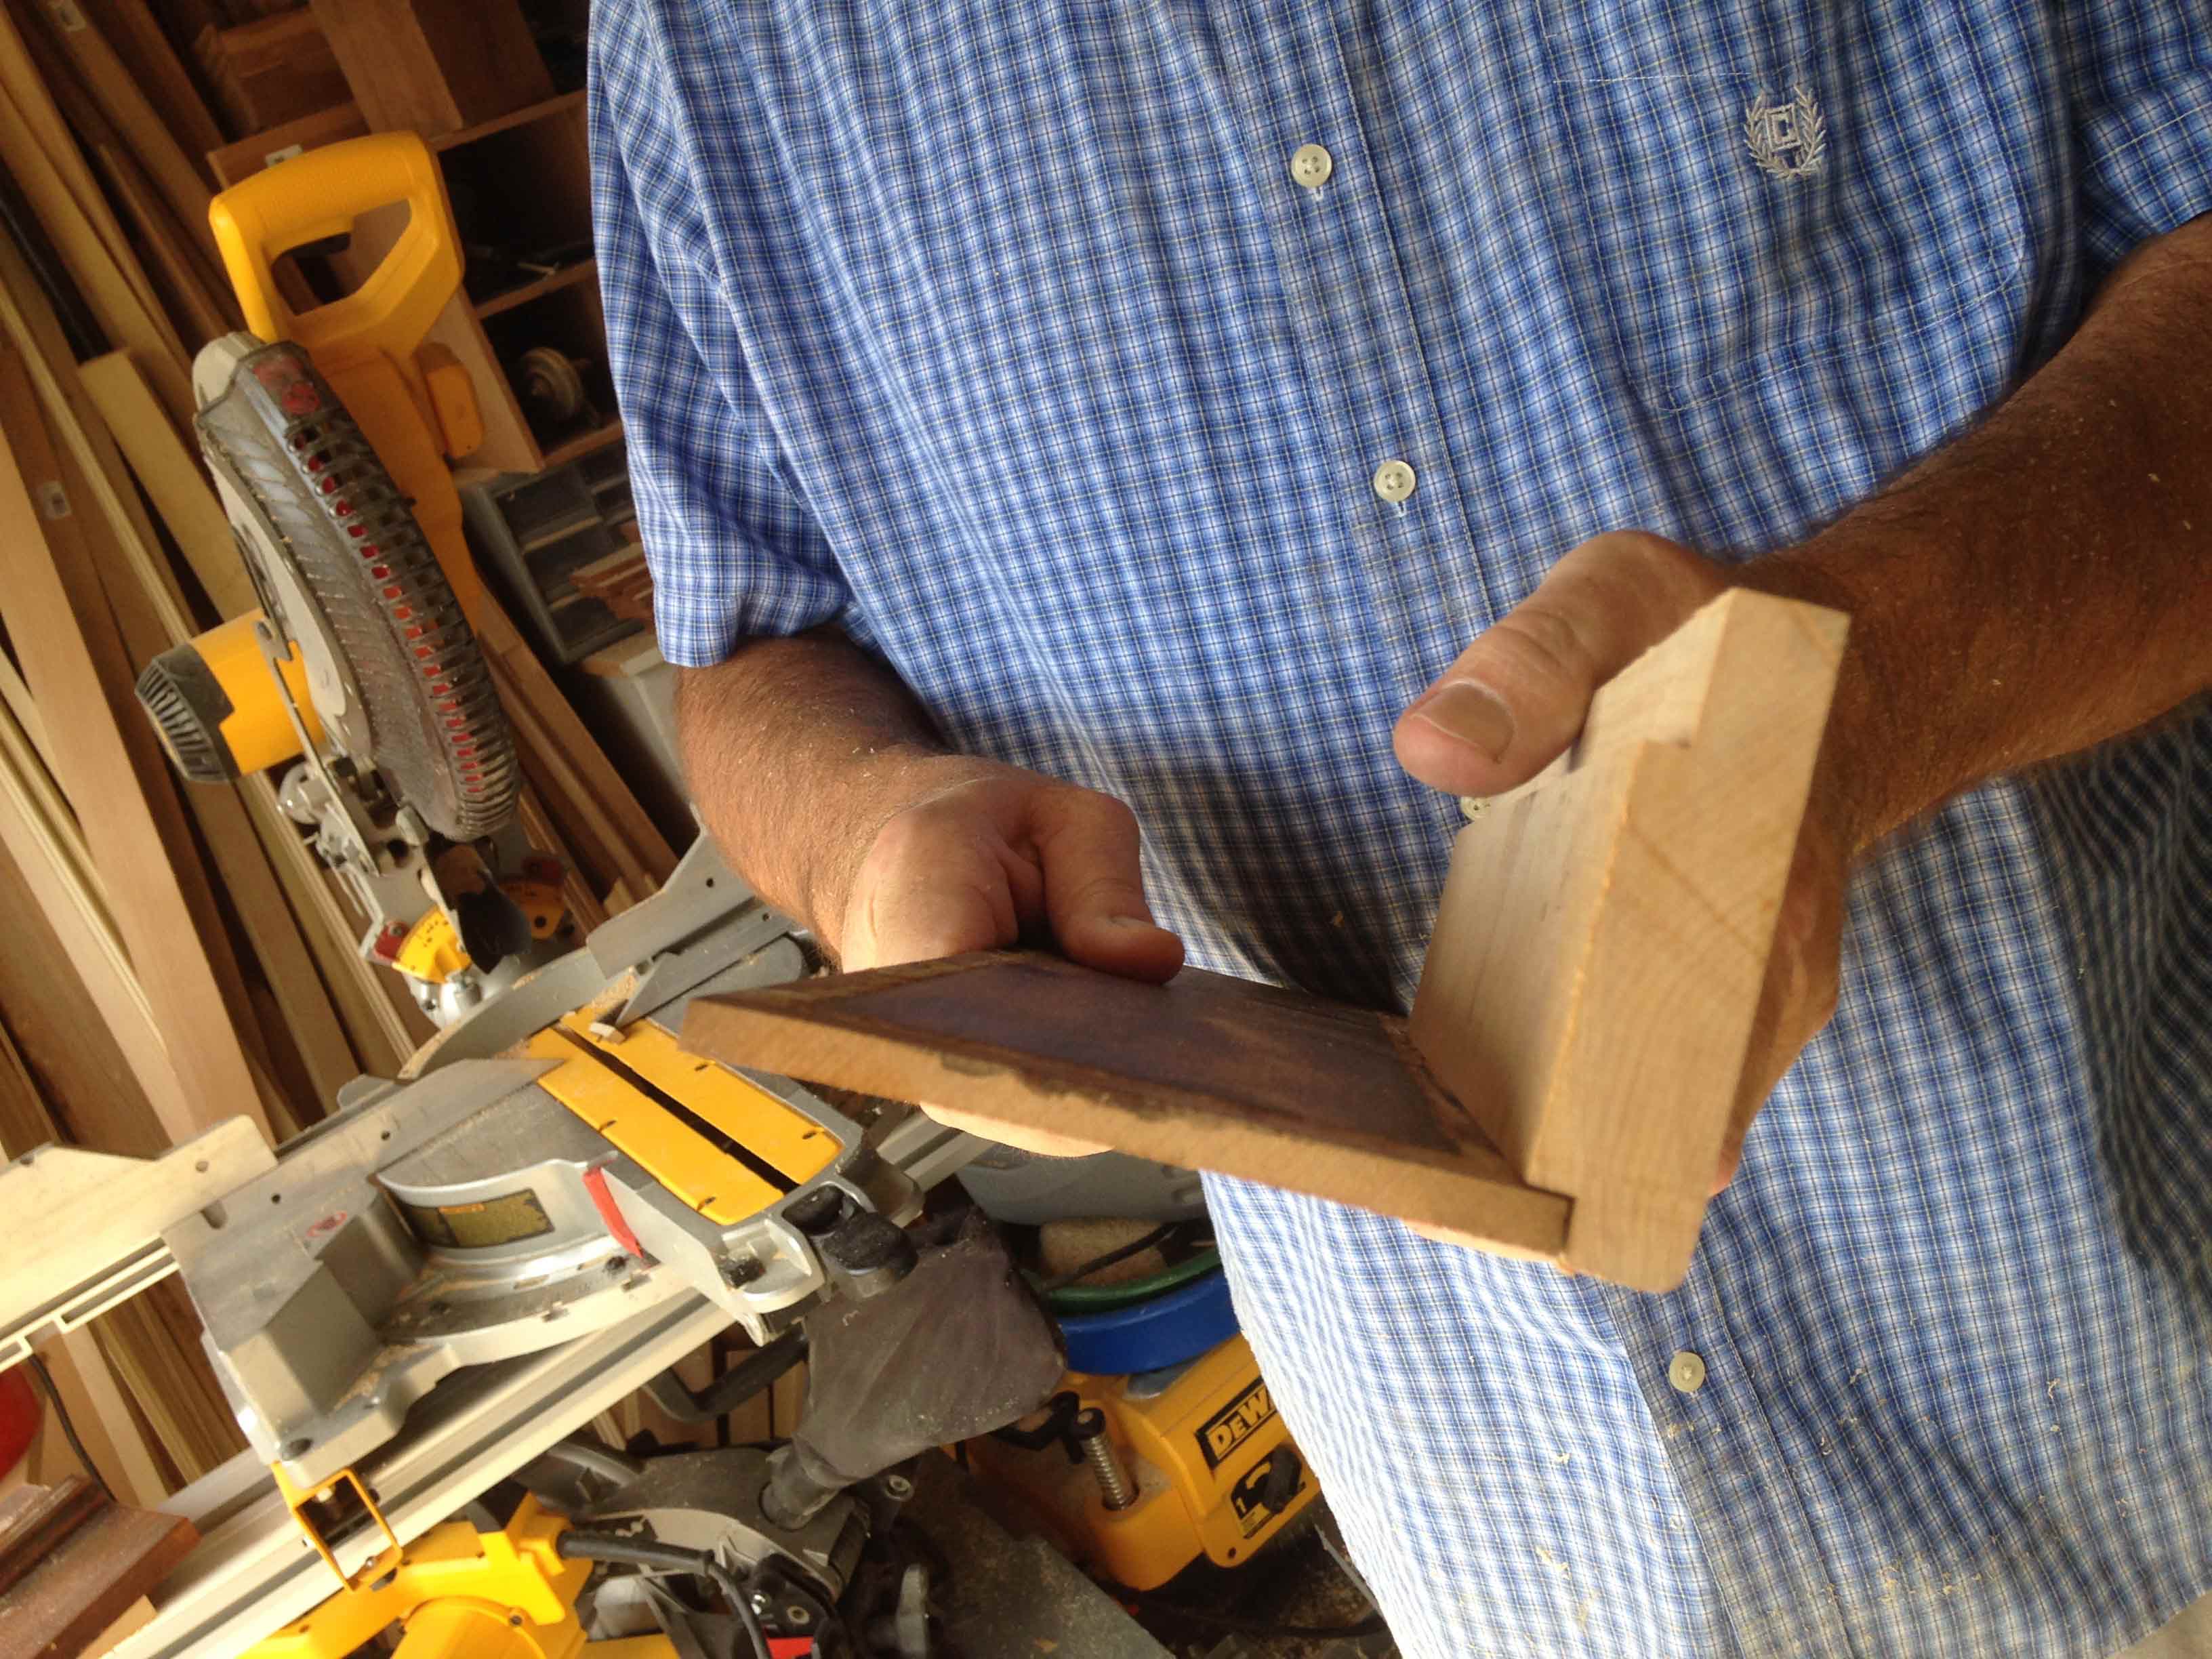
4) Quickly cleaned up one edge with the belt sander.
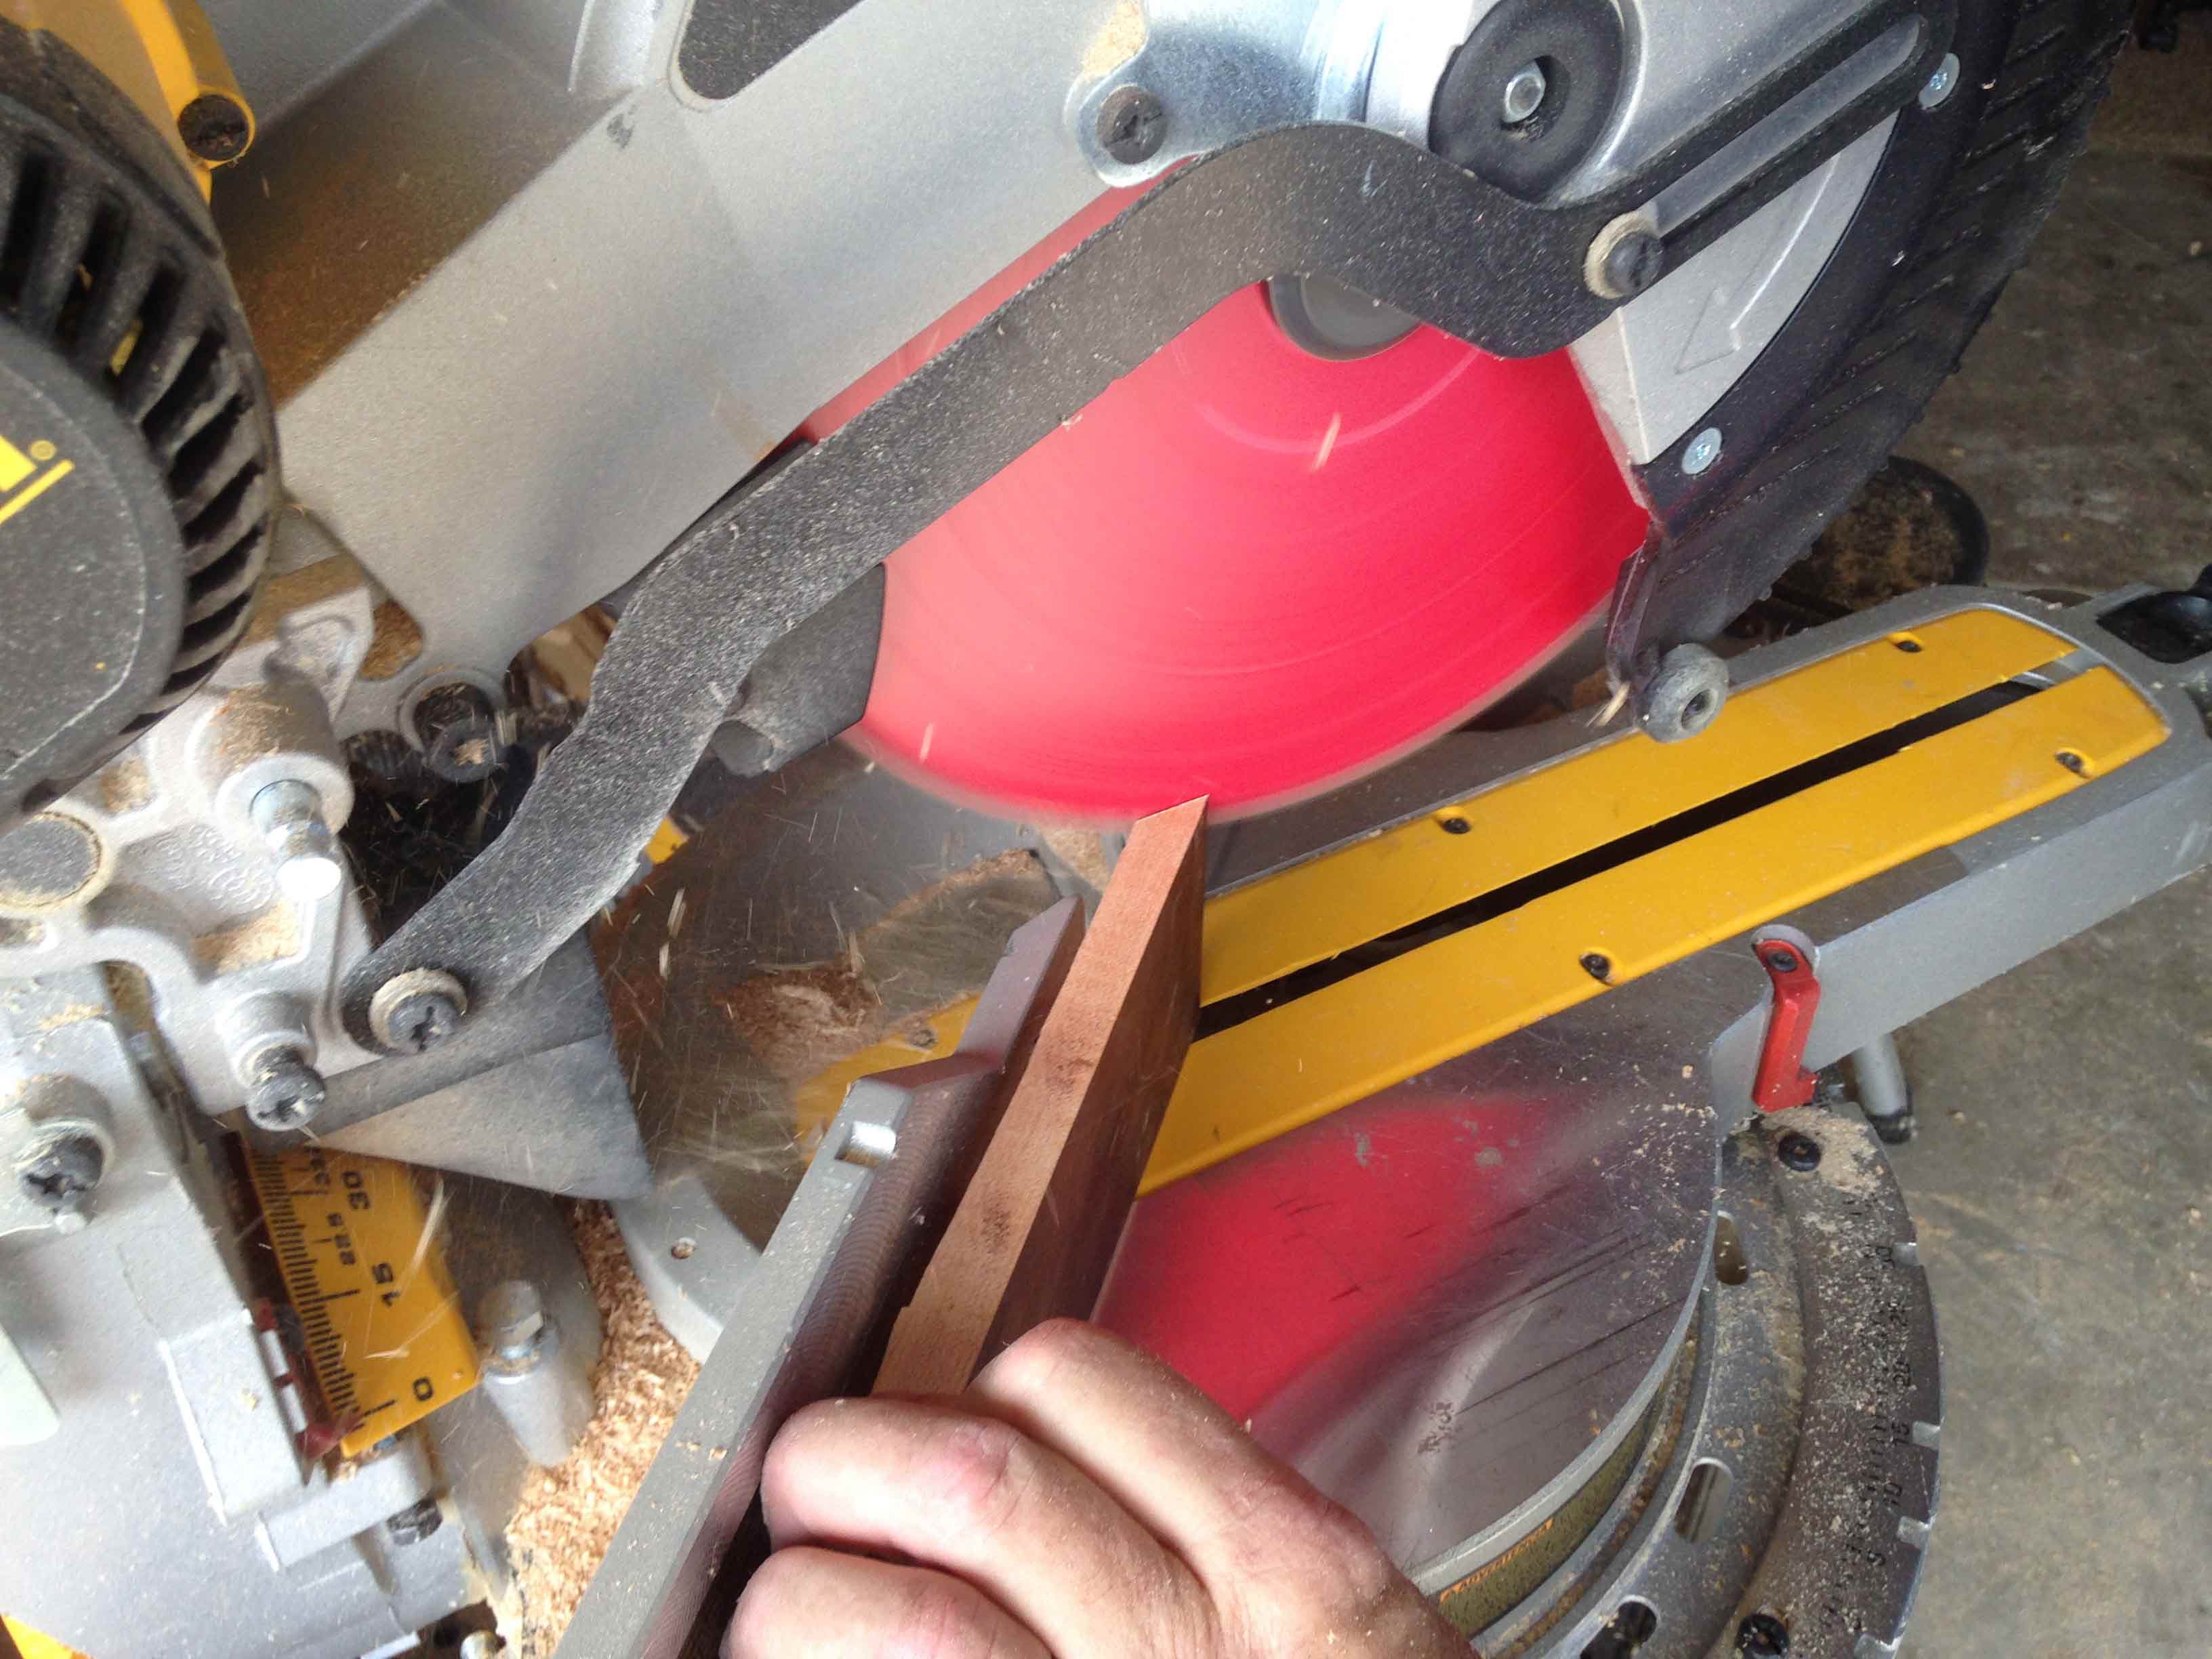
5) Then cut the parts to width on the table saw.
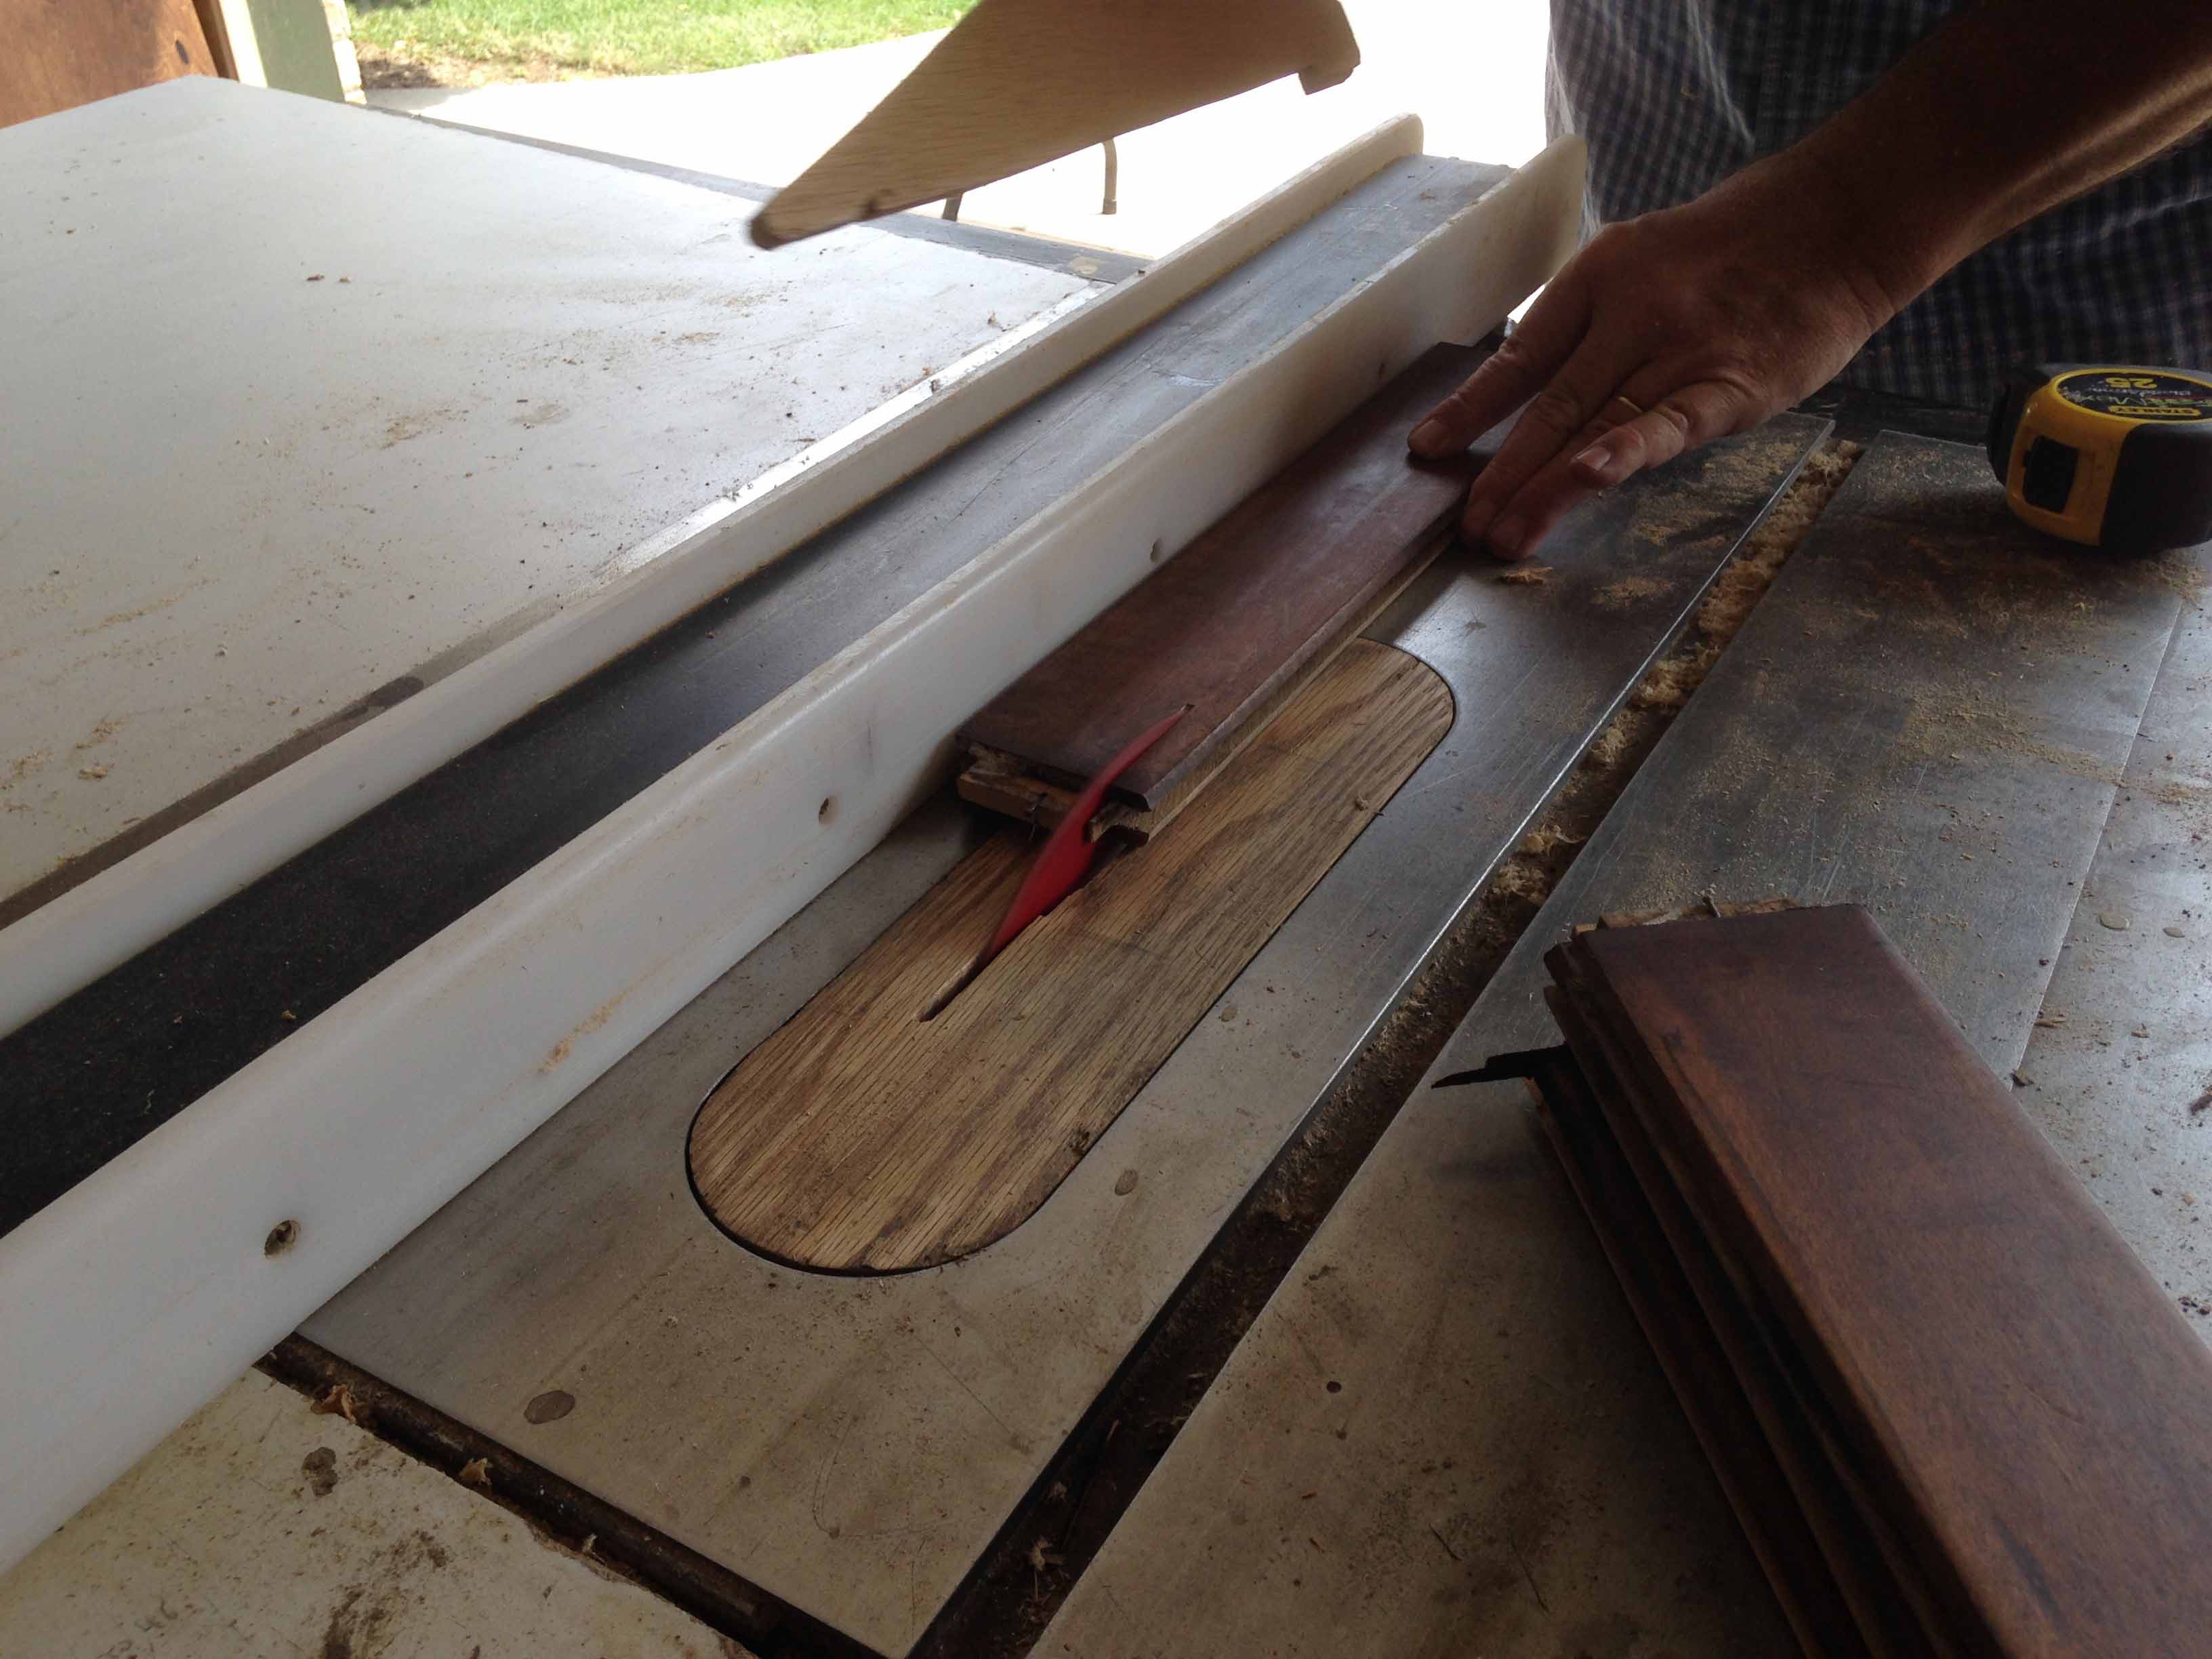
6) Then we ripped some more pieces for the base.
7) Grooved out the sides for the top and bottom.
8) Then we used some 1-quarter inch panels for the bottom and glued 3 pieces together.
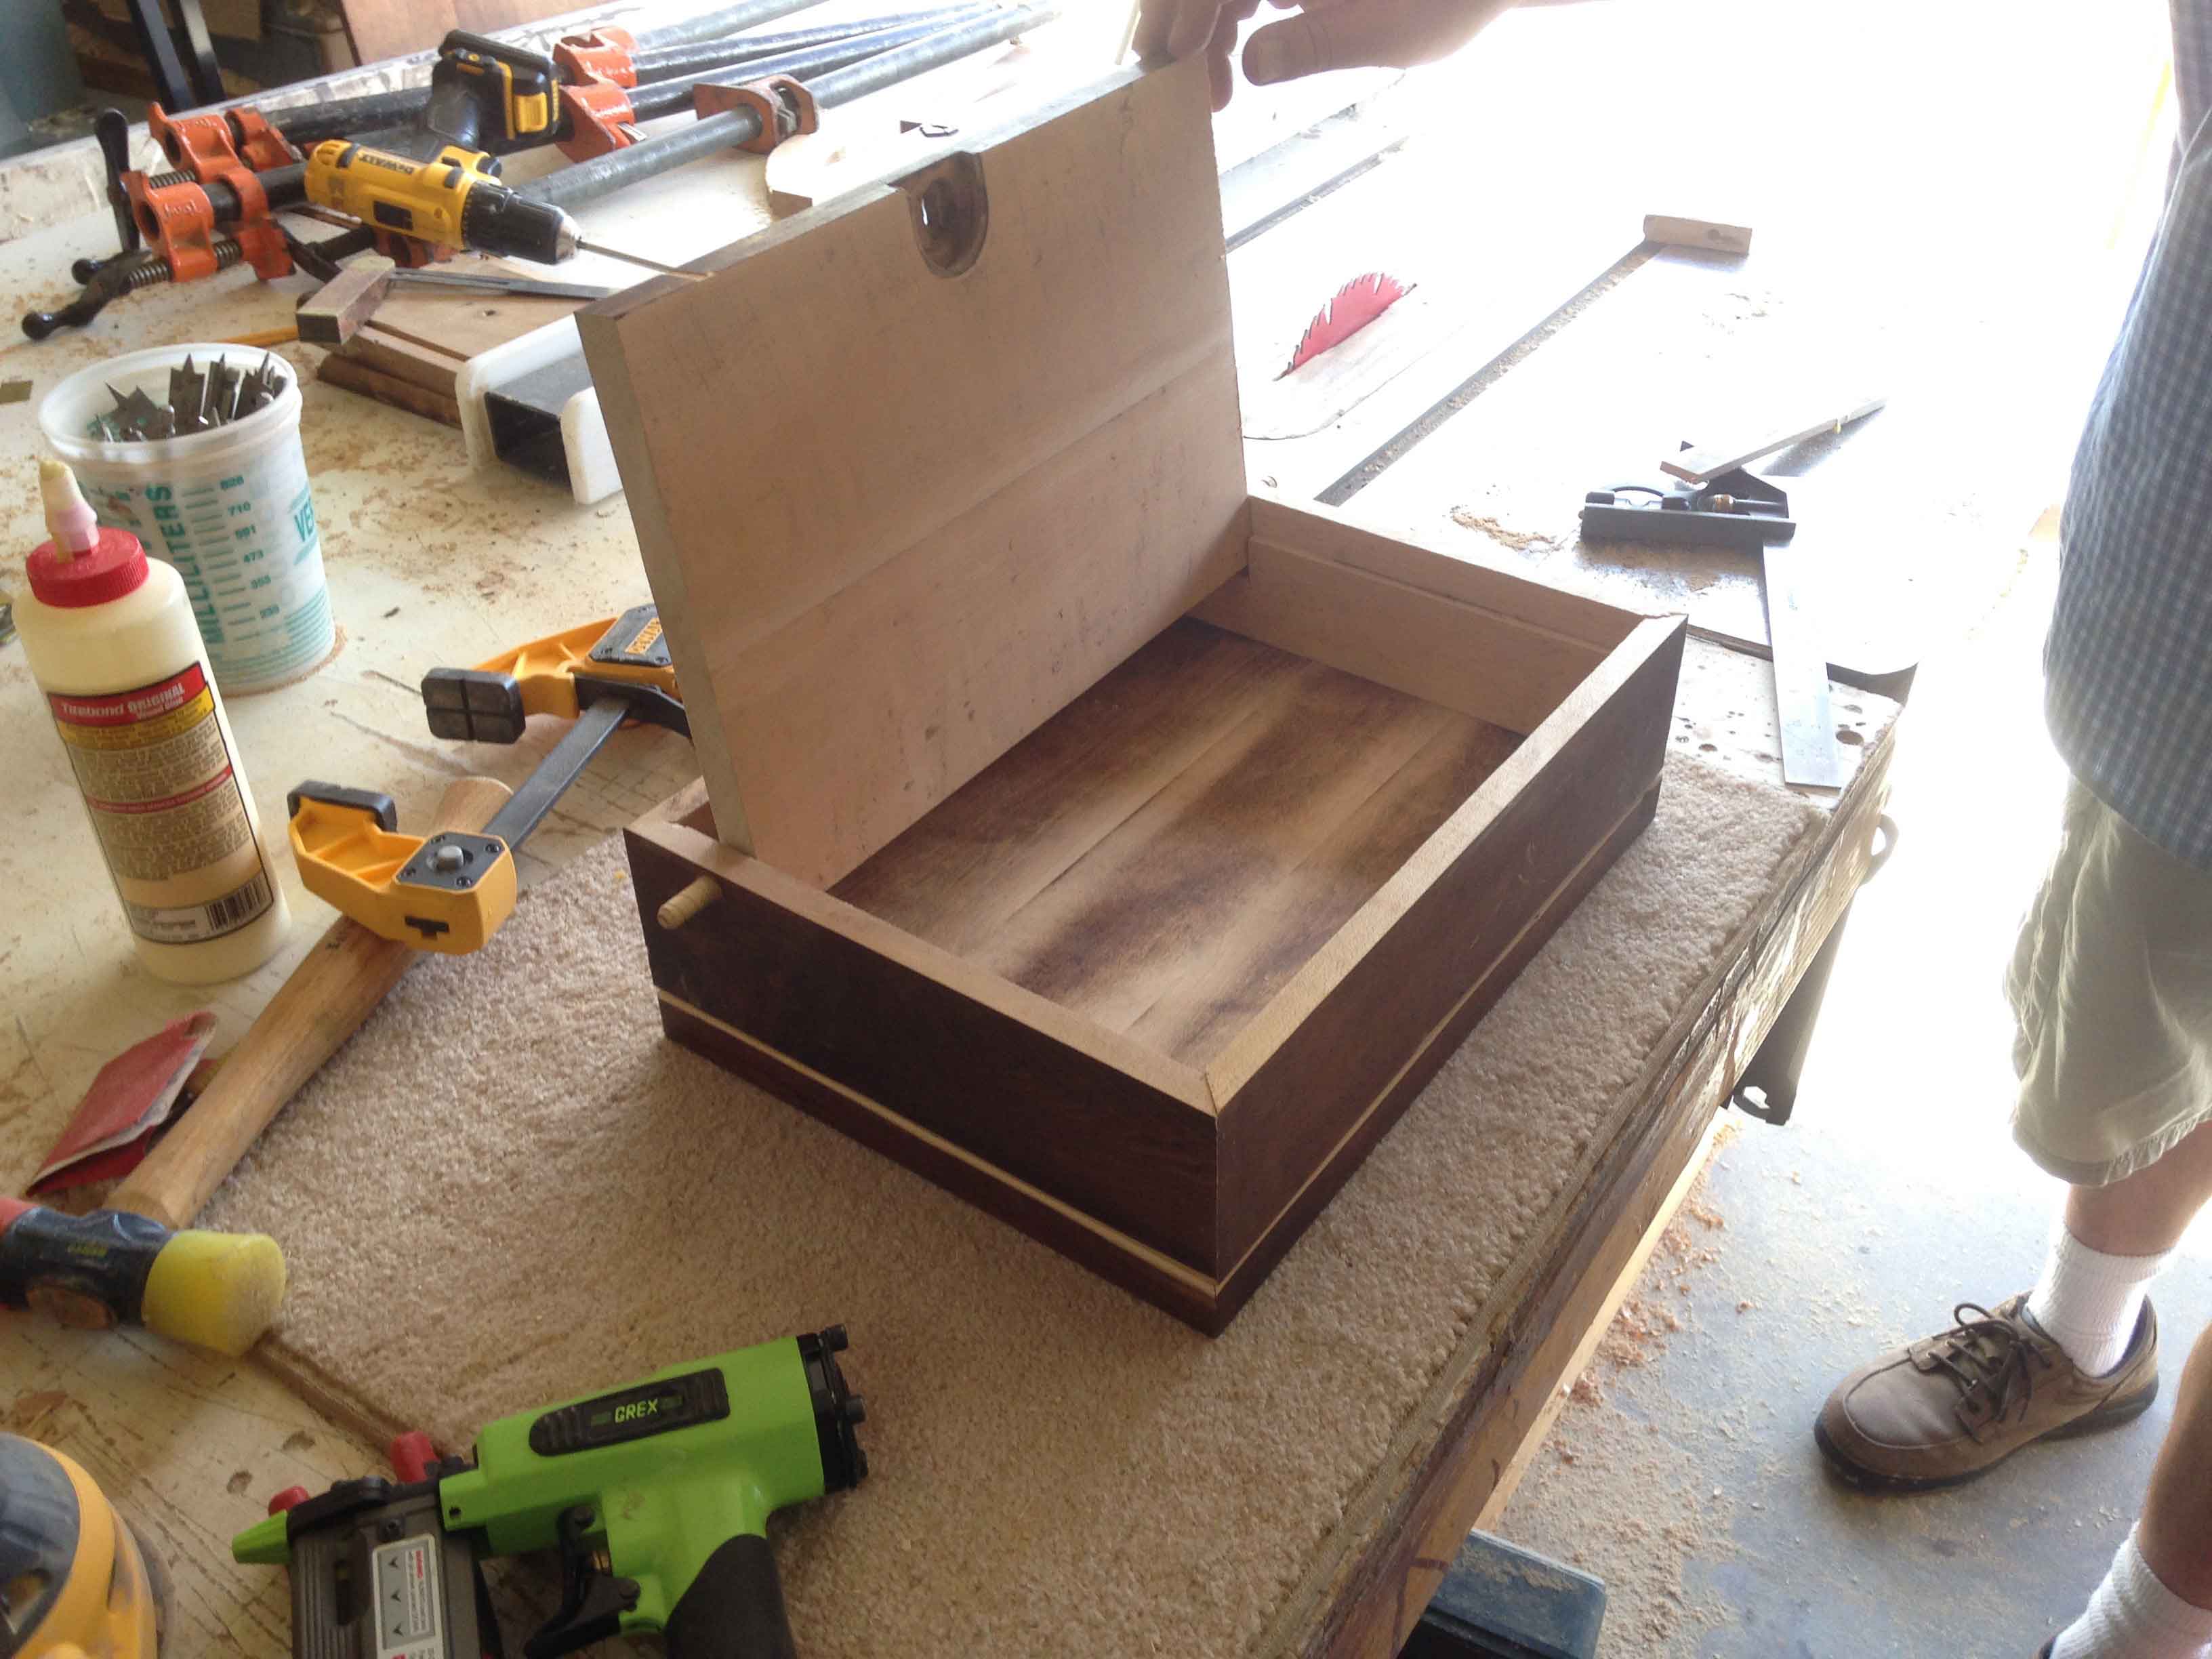
9) Cut miter joints on the sides and the ends.
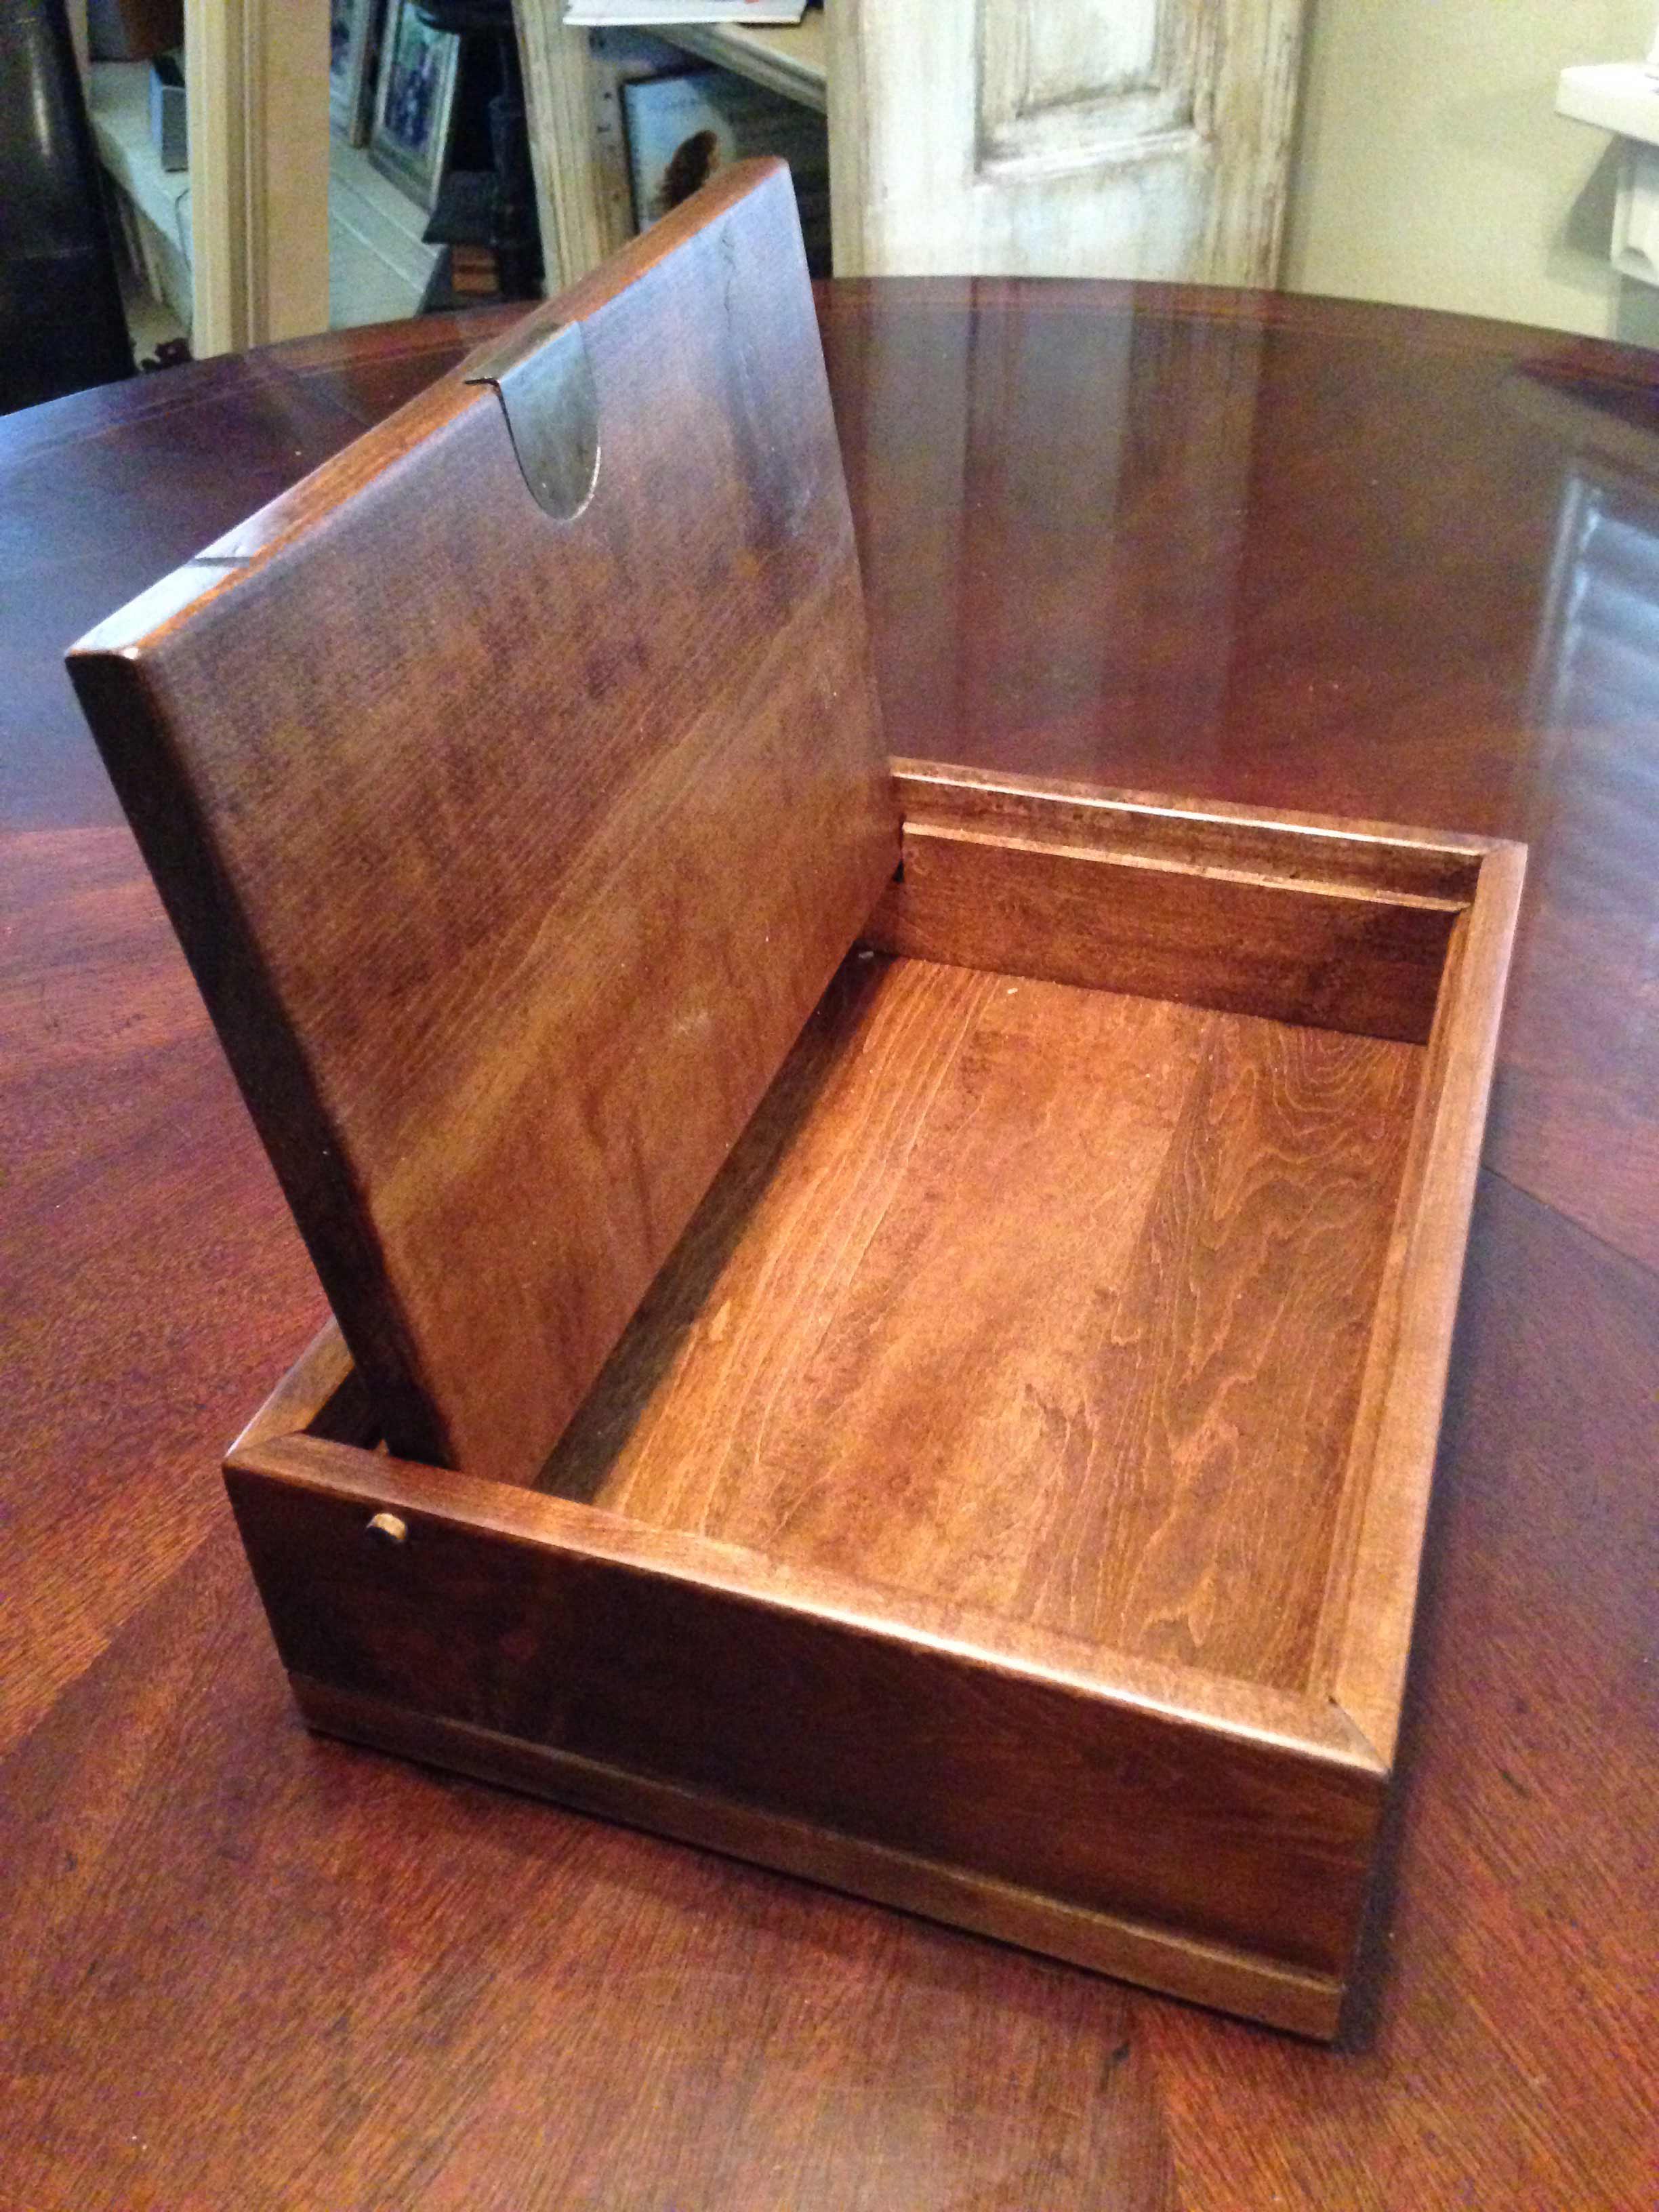
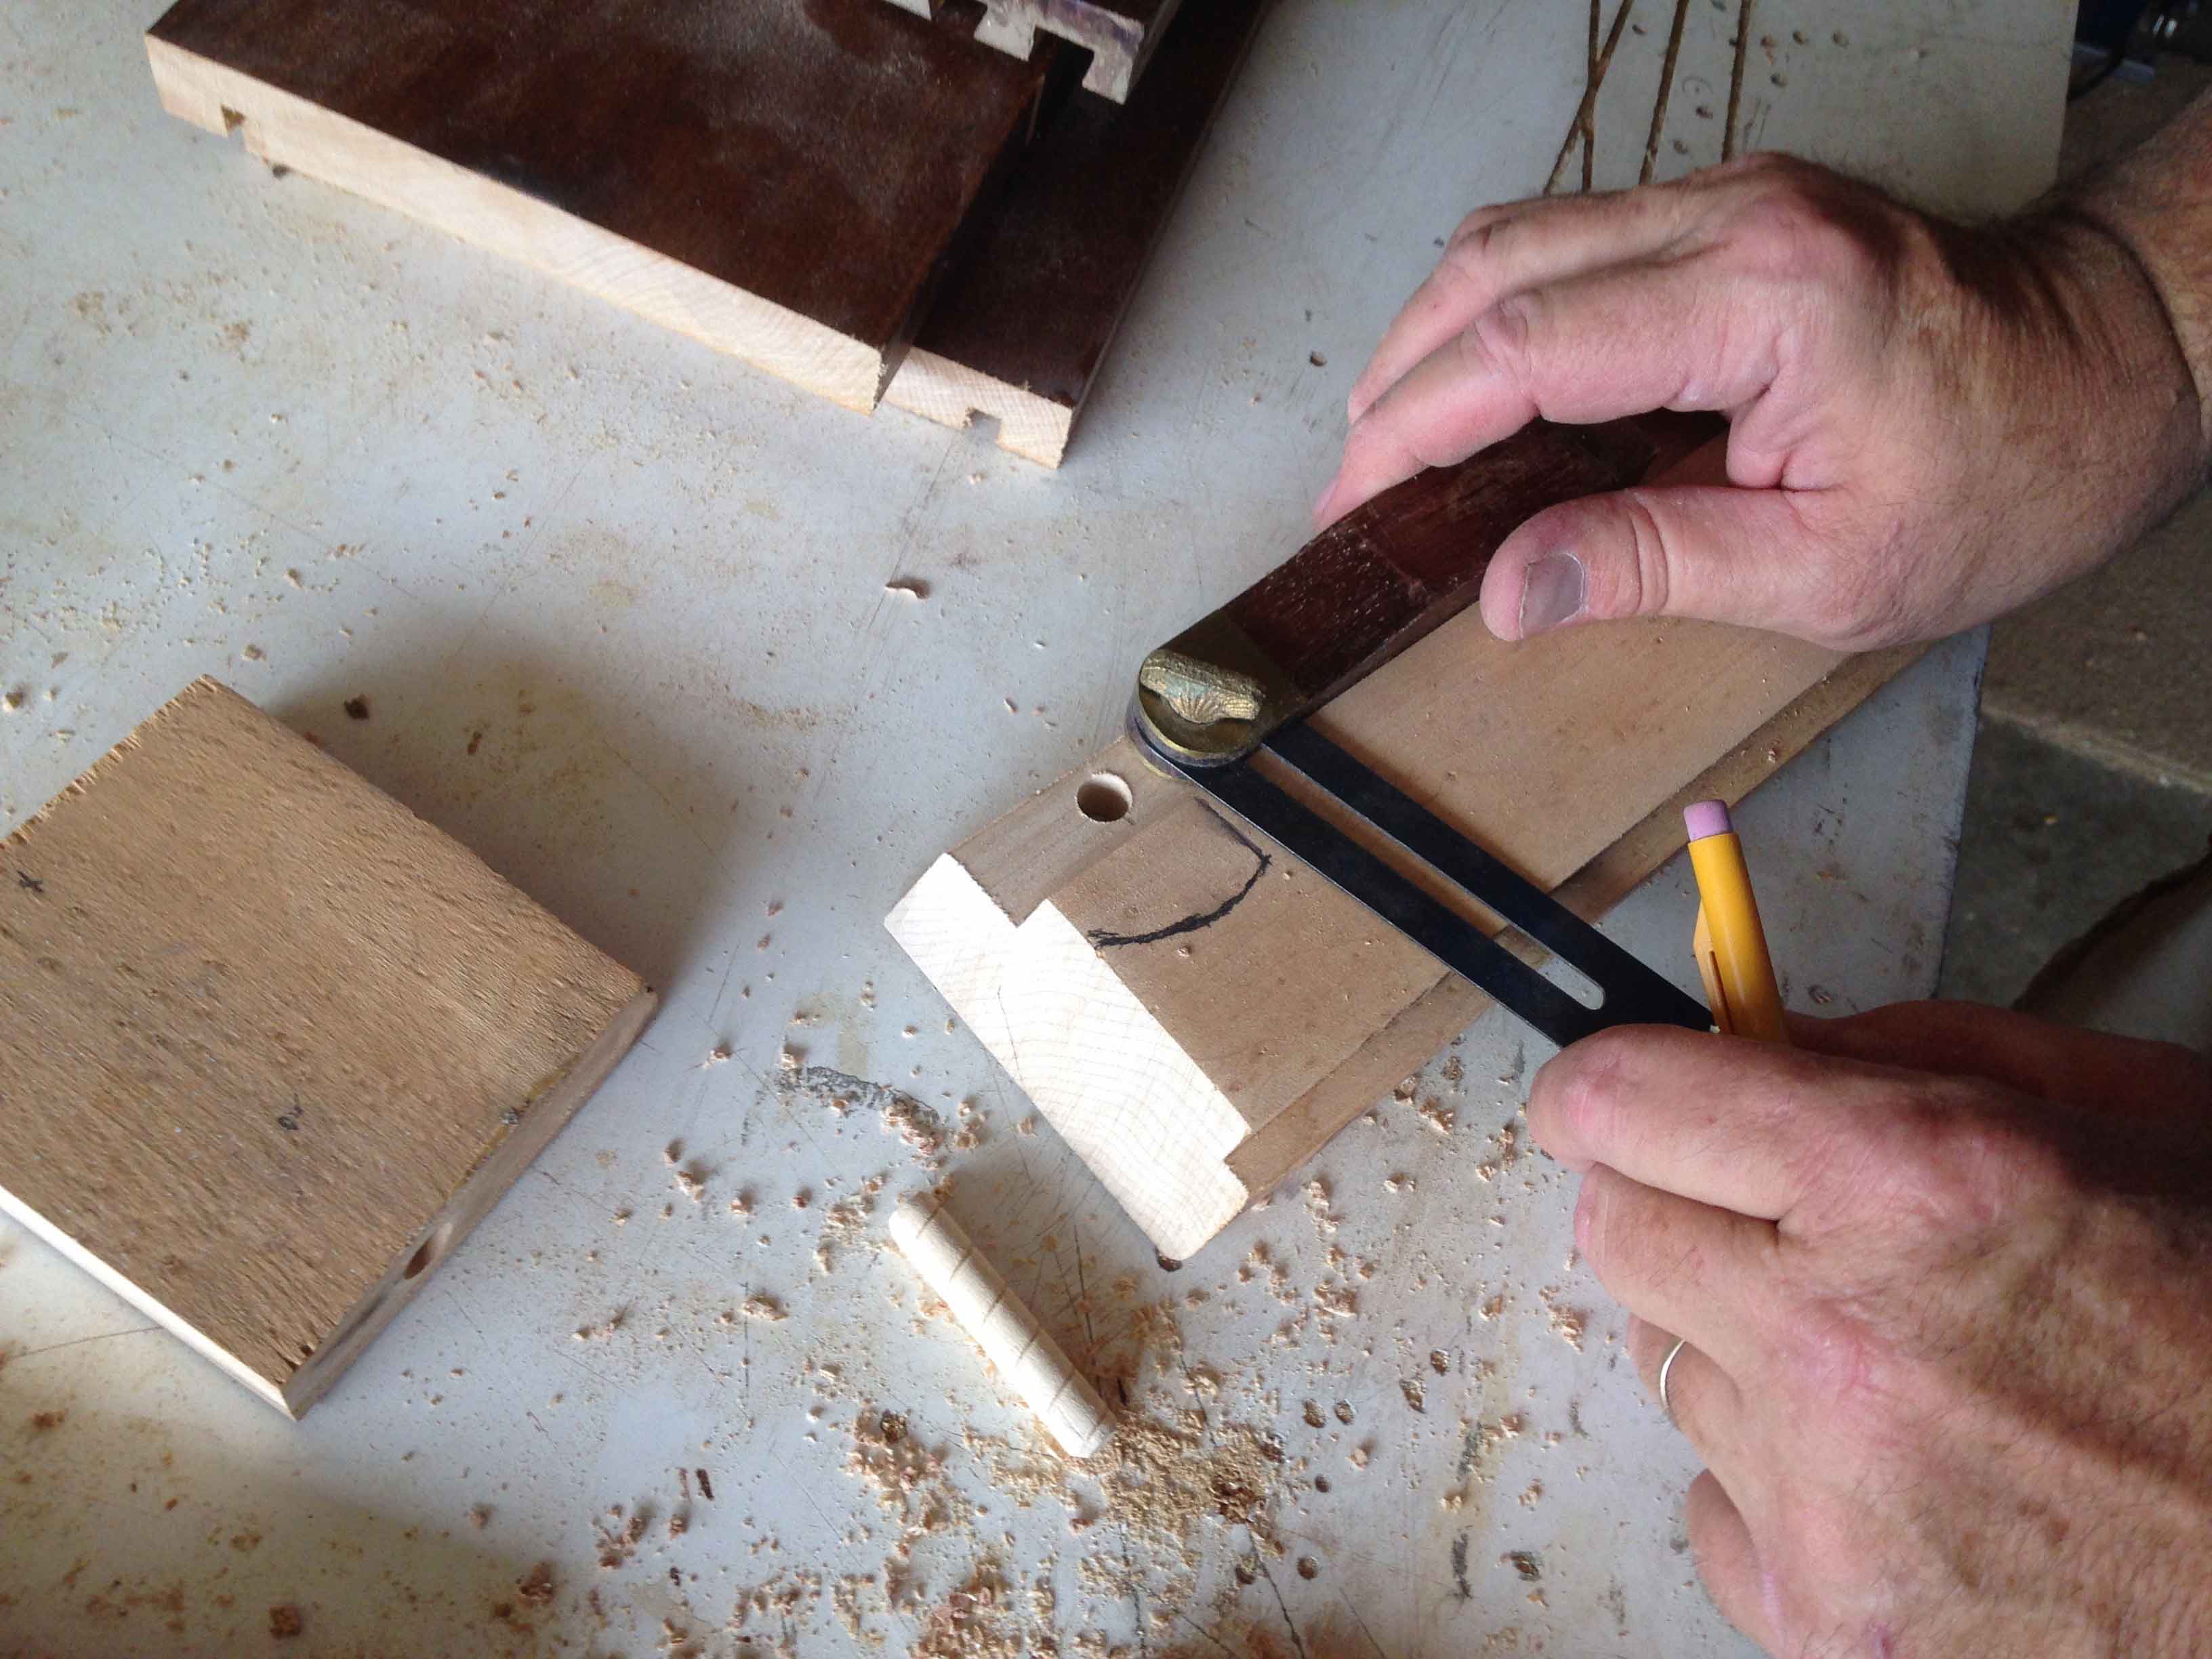
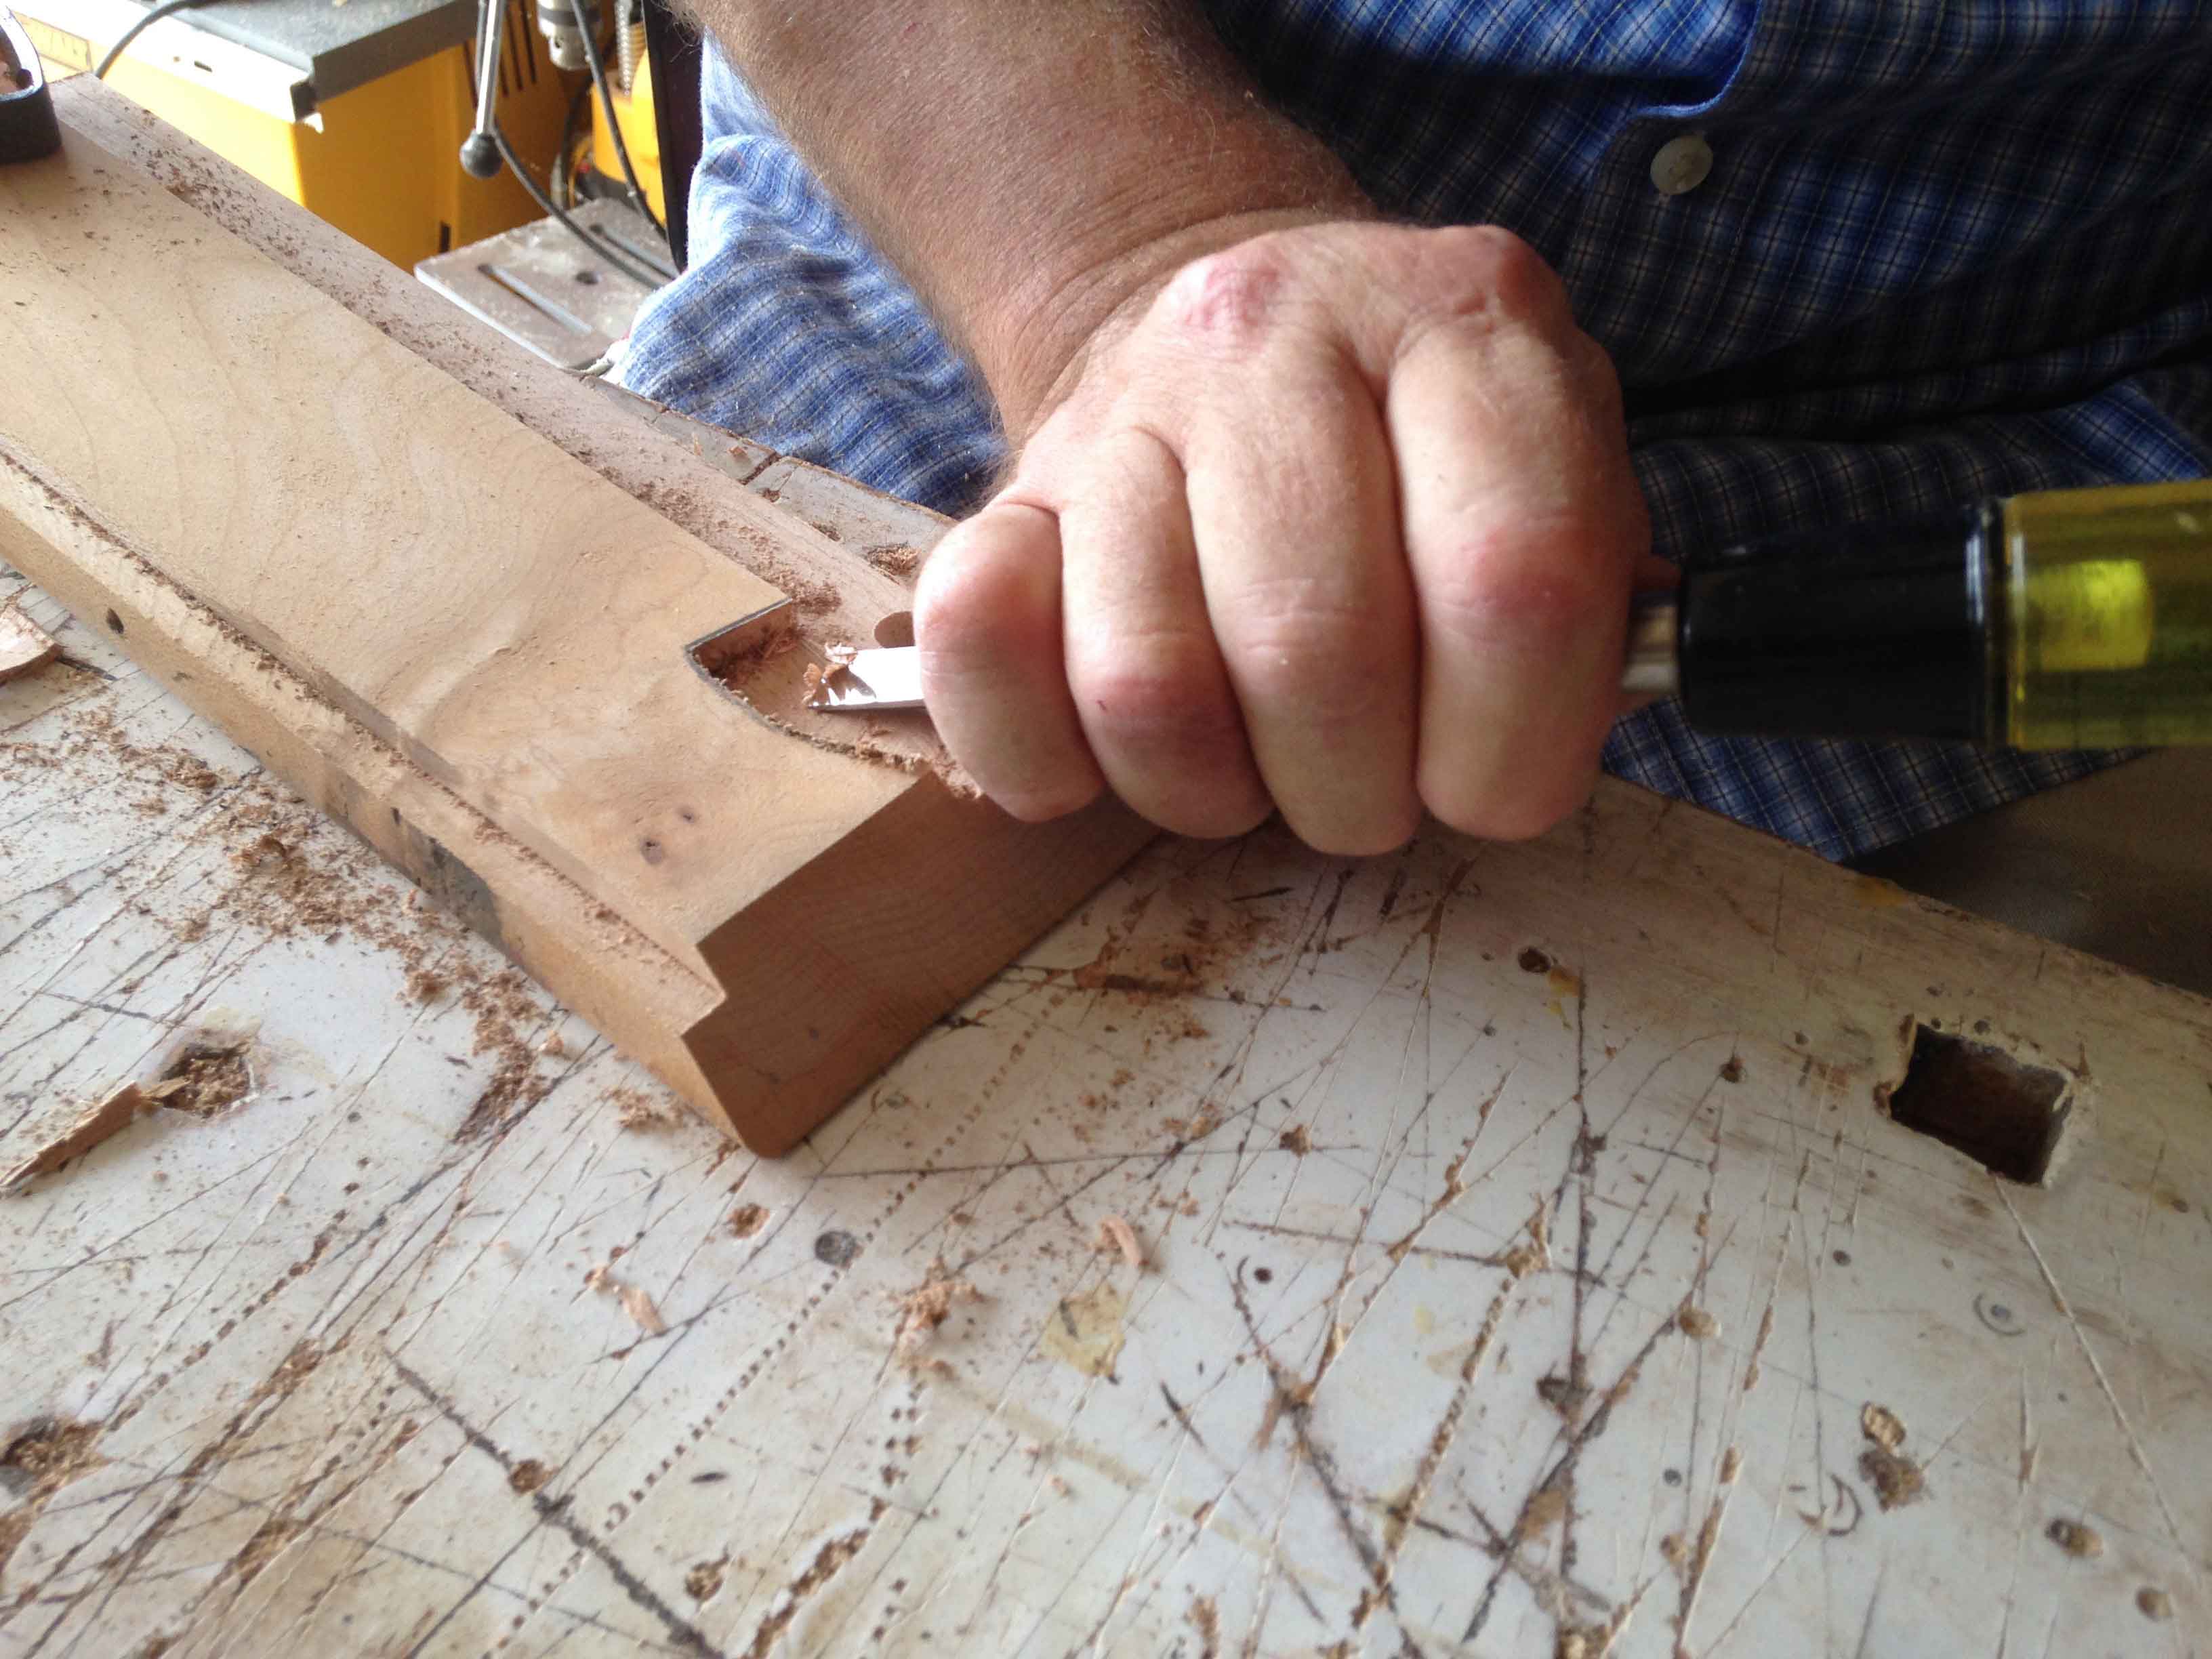
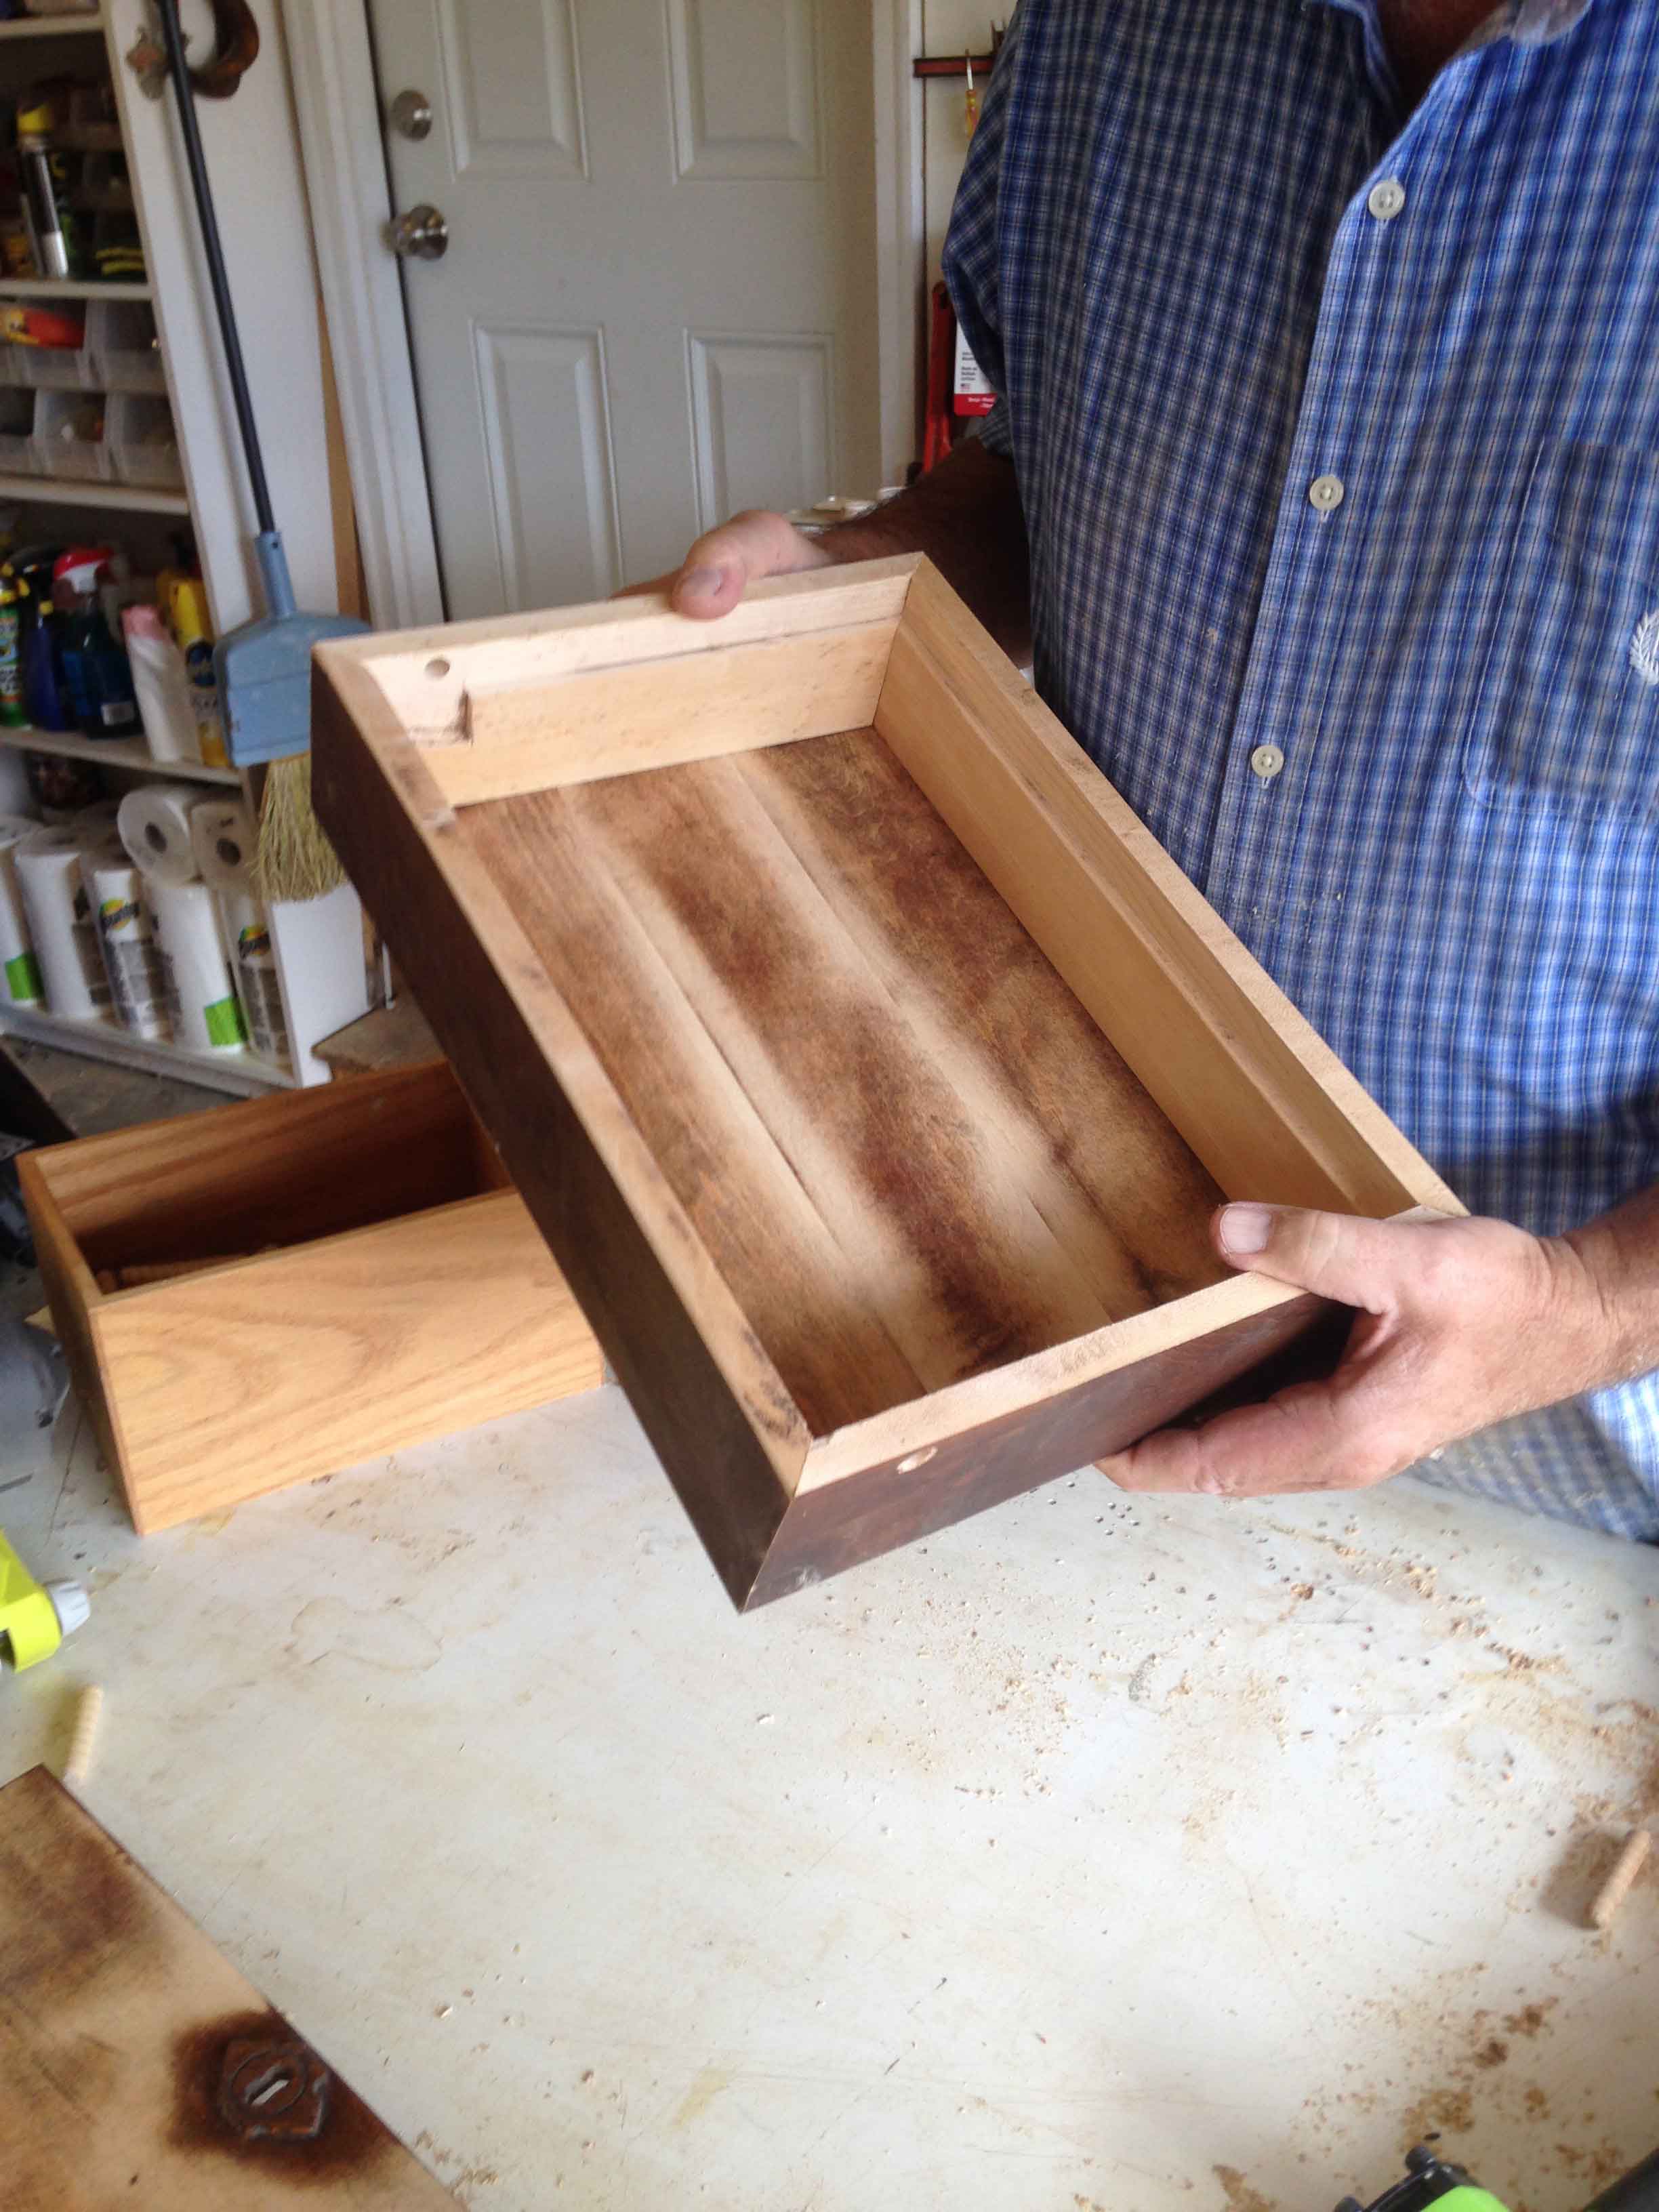
10) Instead of hinges, I used a dowel pin and mortised out the ends so that the lid could lift up and then, using a bevel square made sure the lid opened more than 90 degrees.
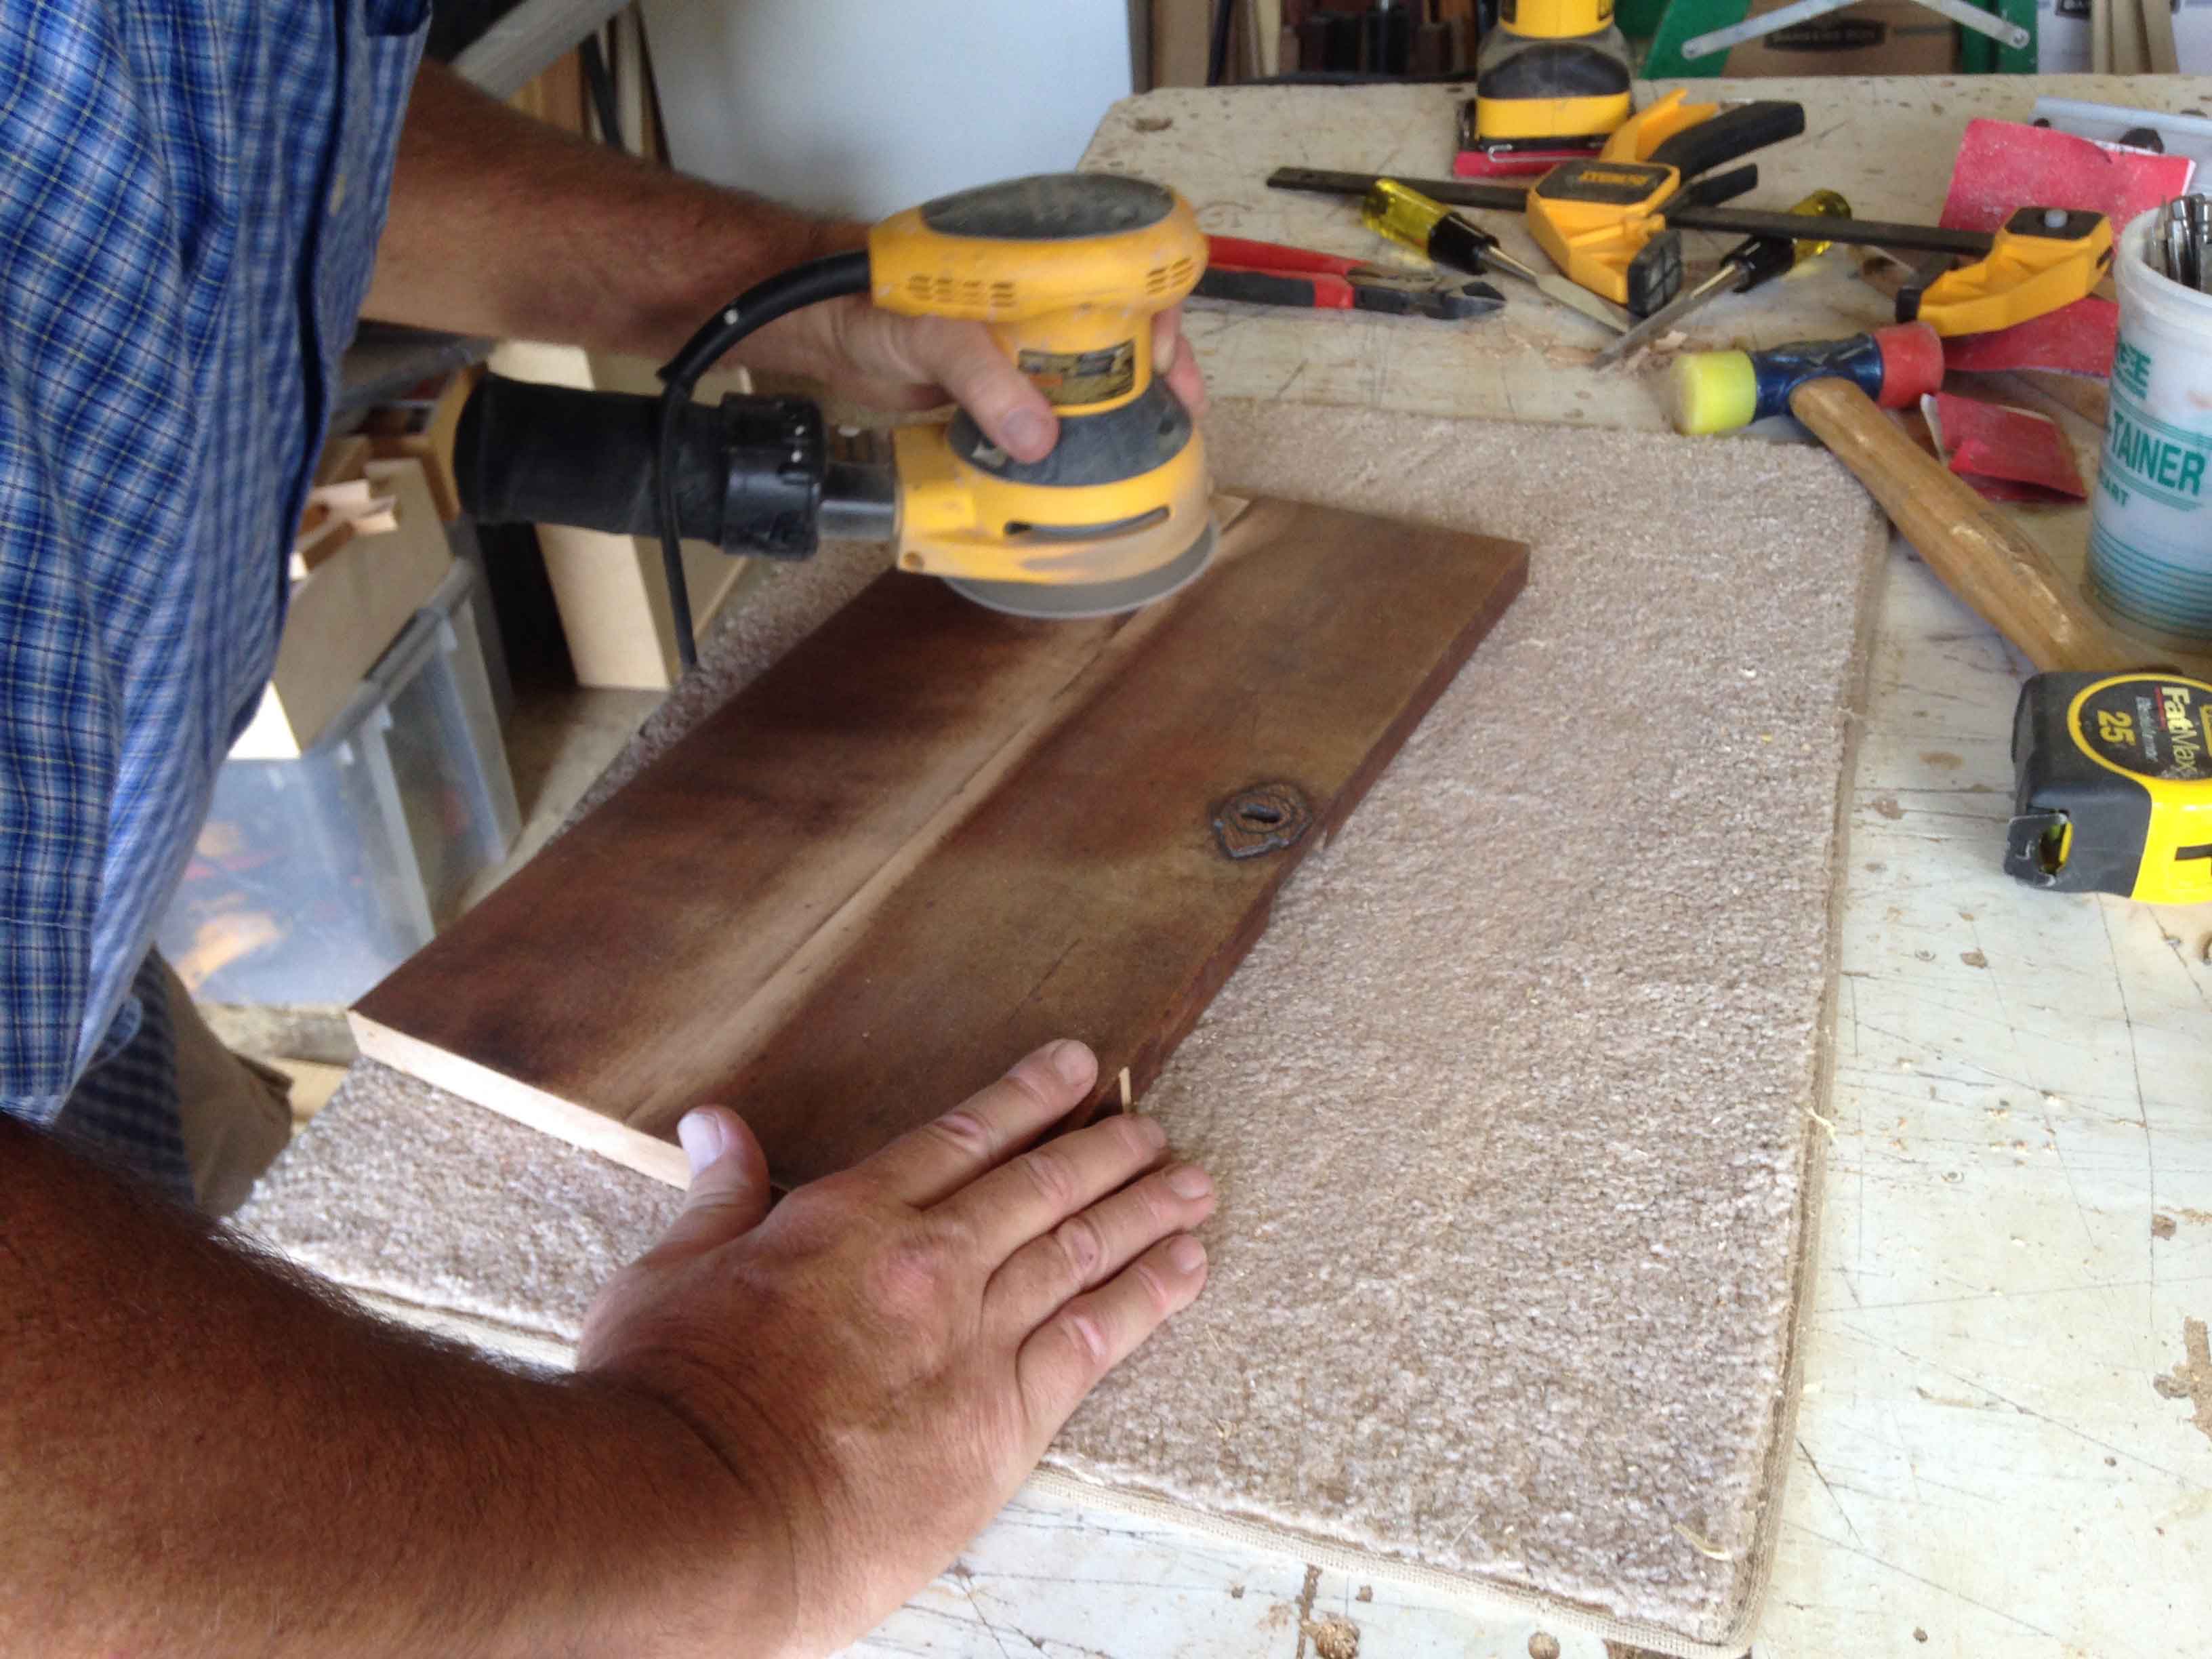
11) Sanded the bottom and the top.

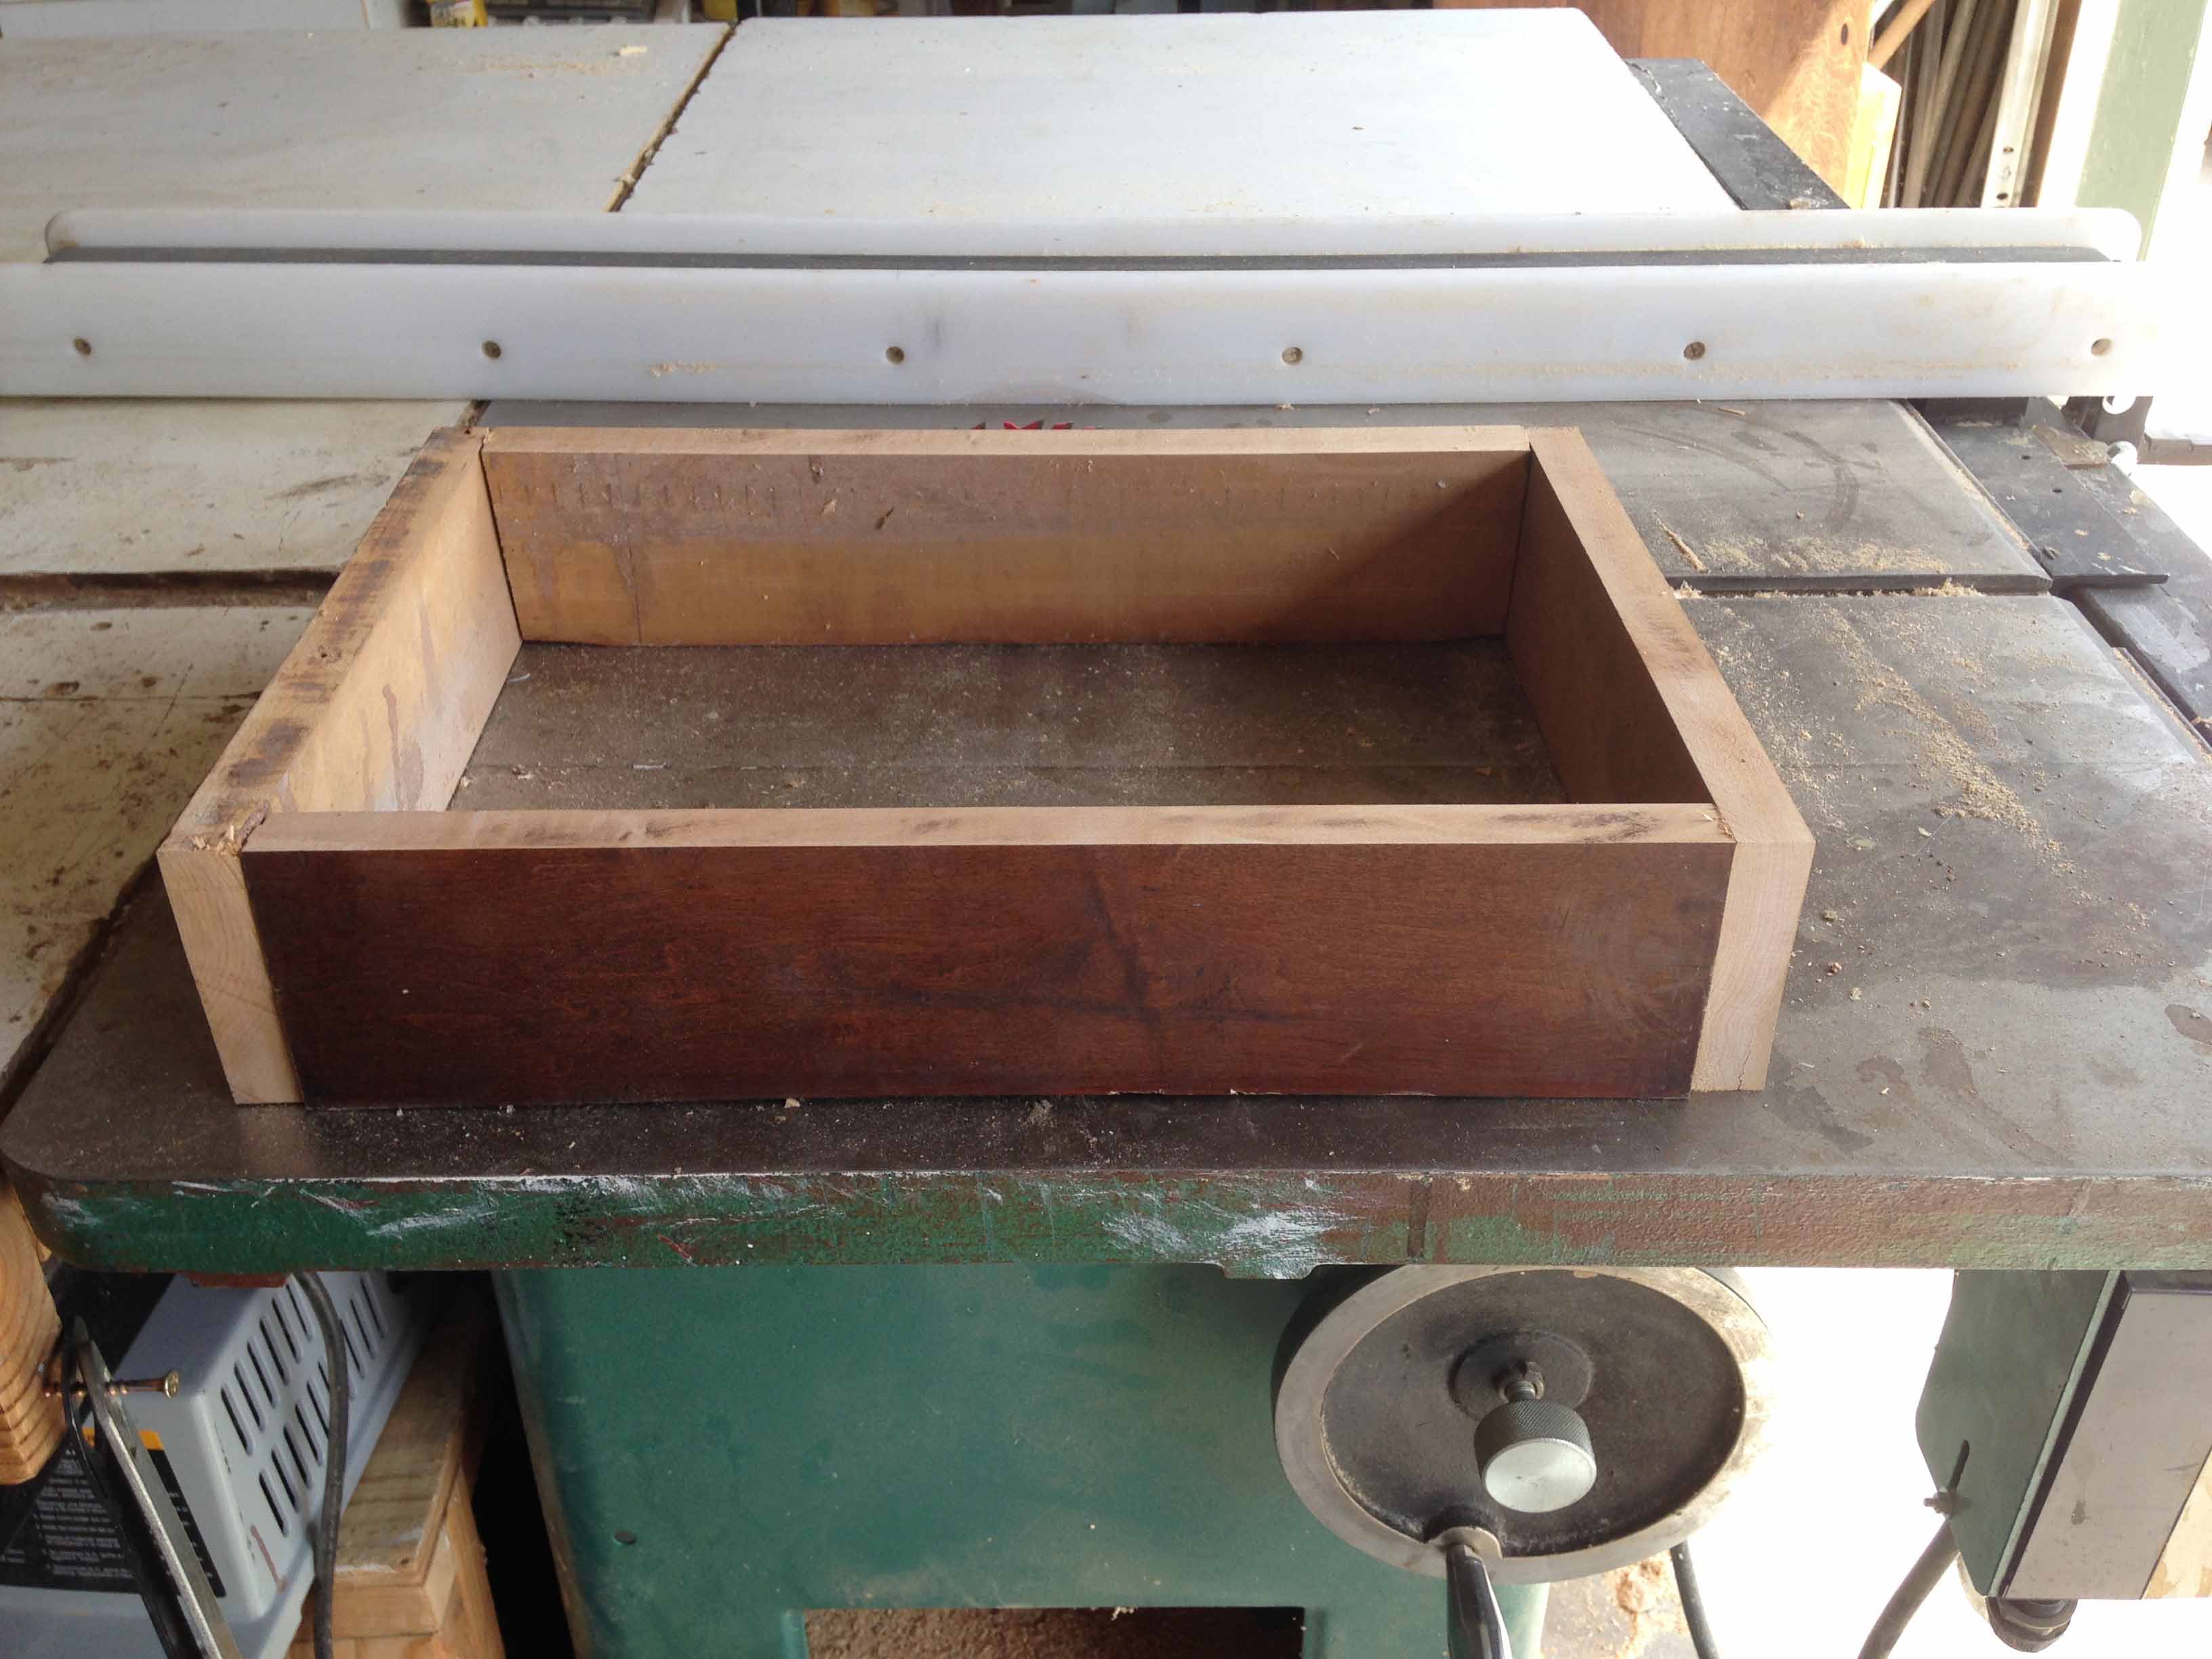
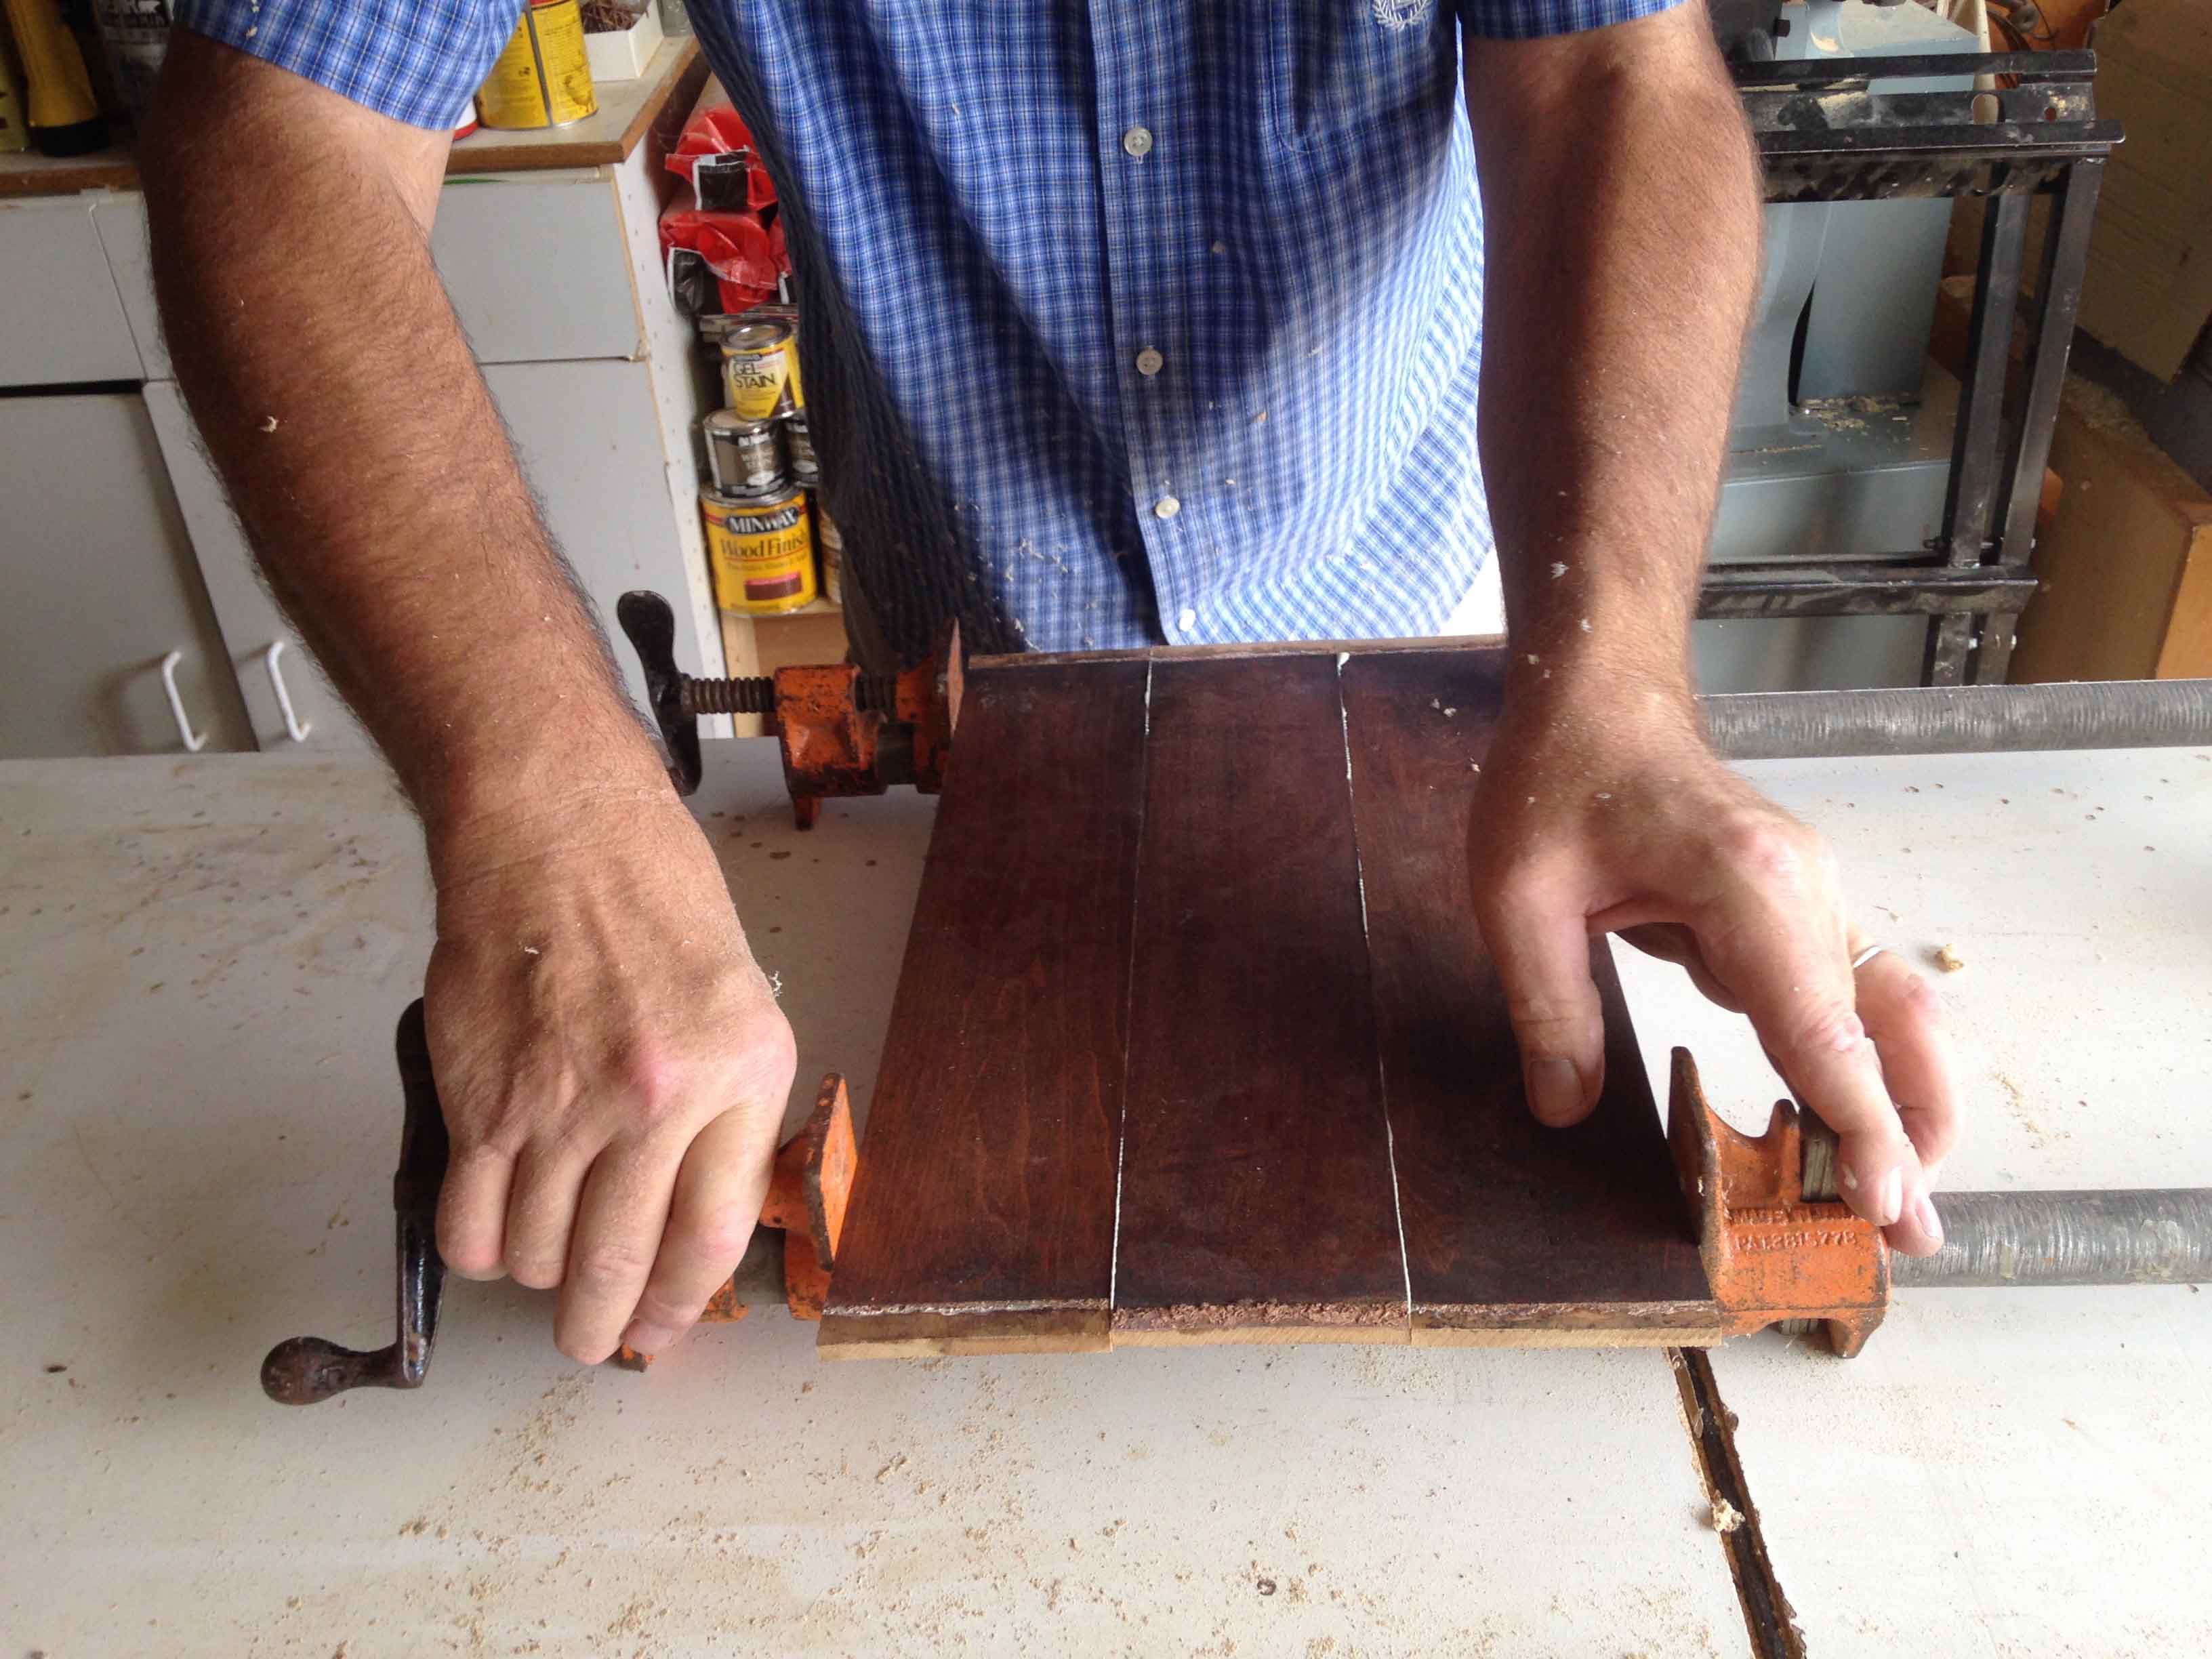
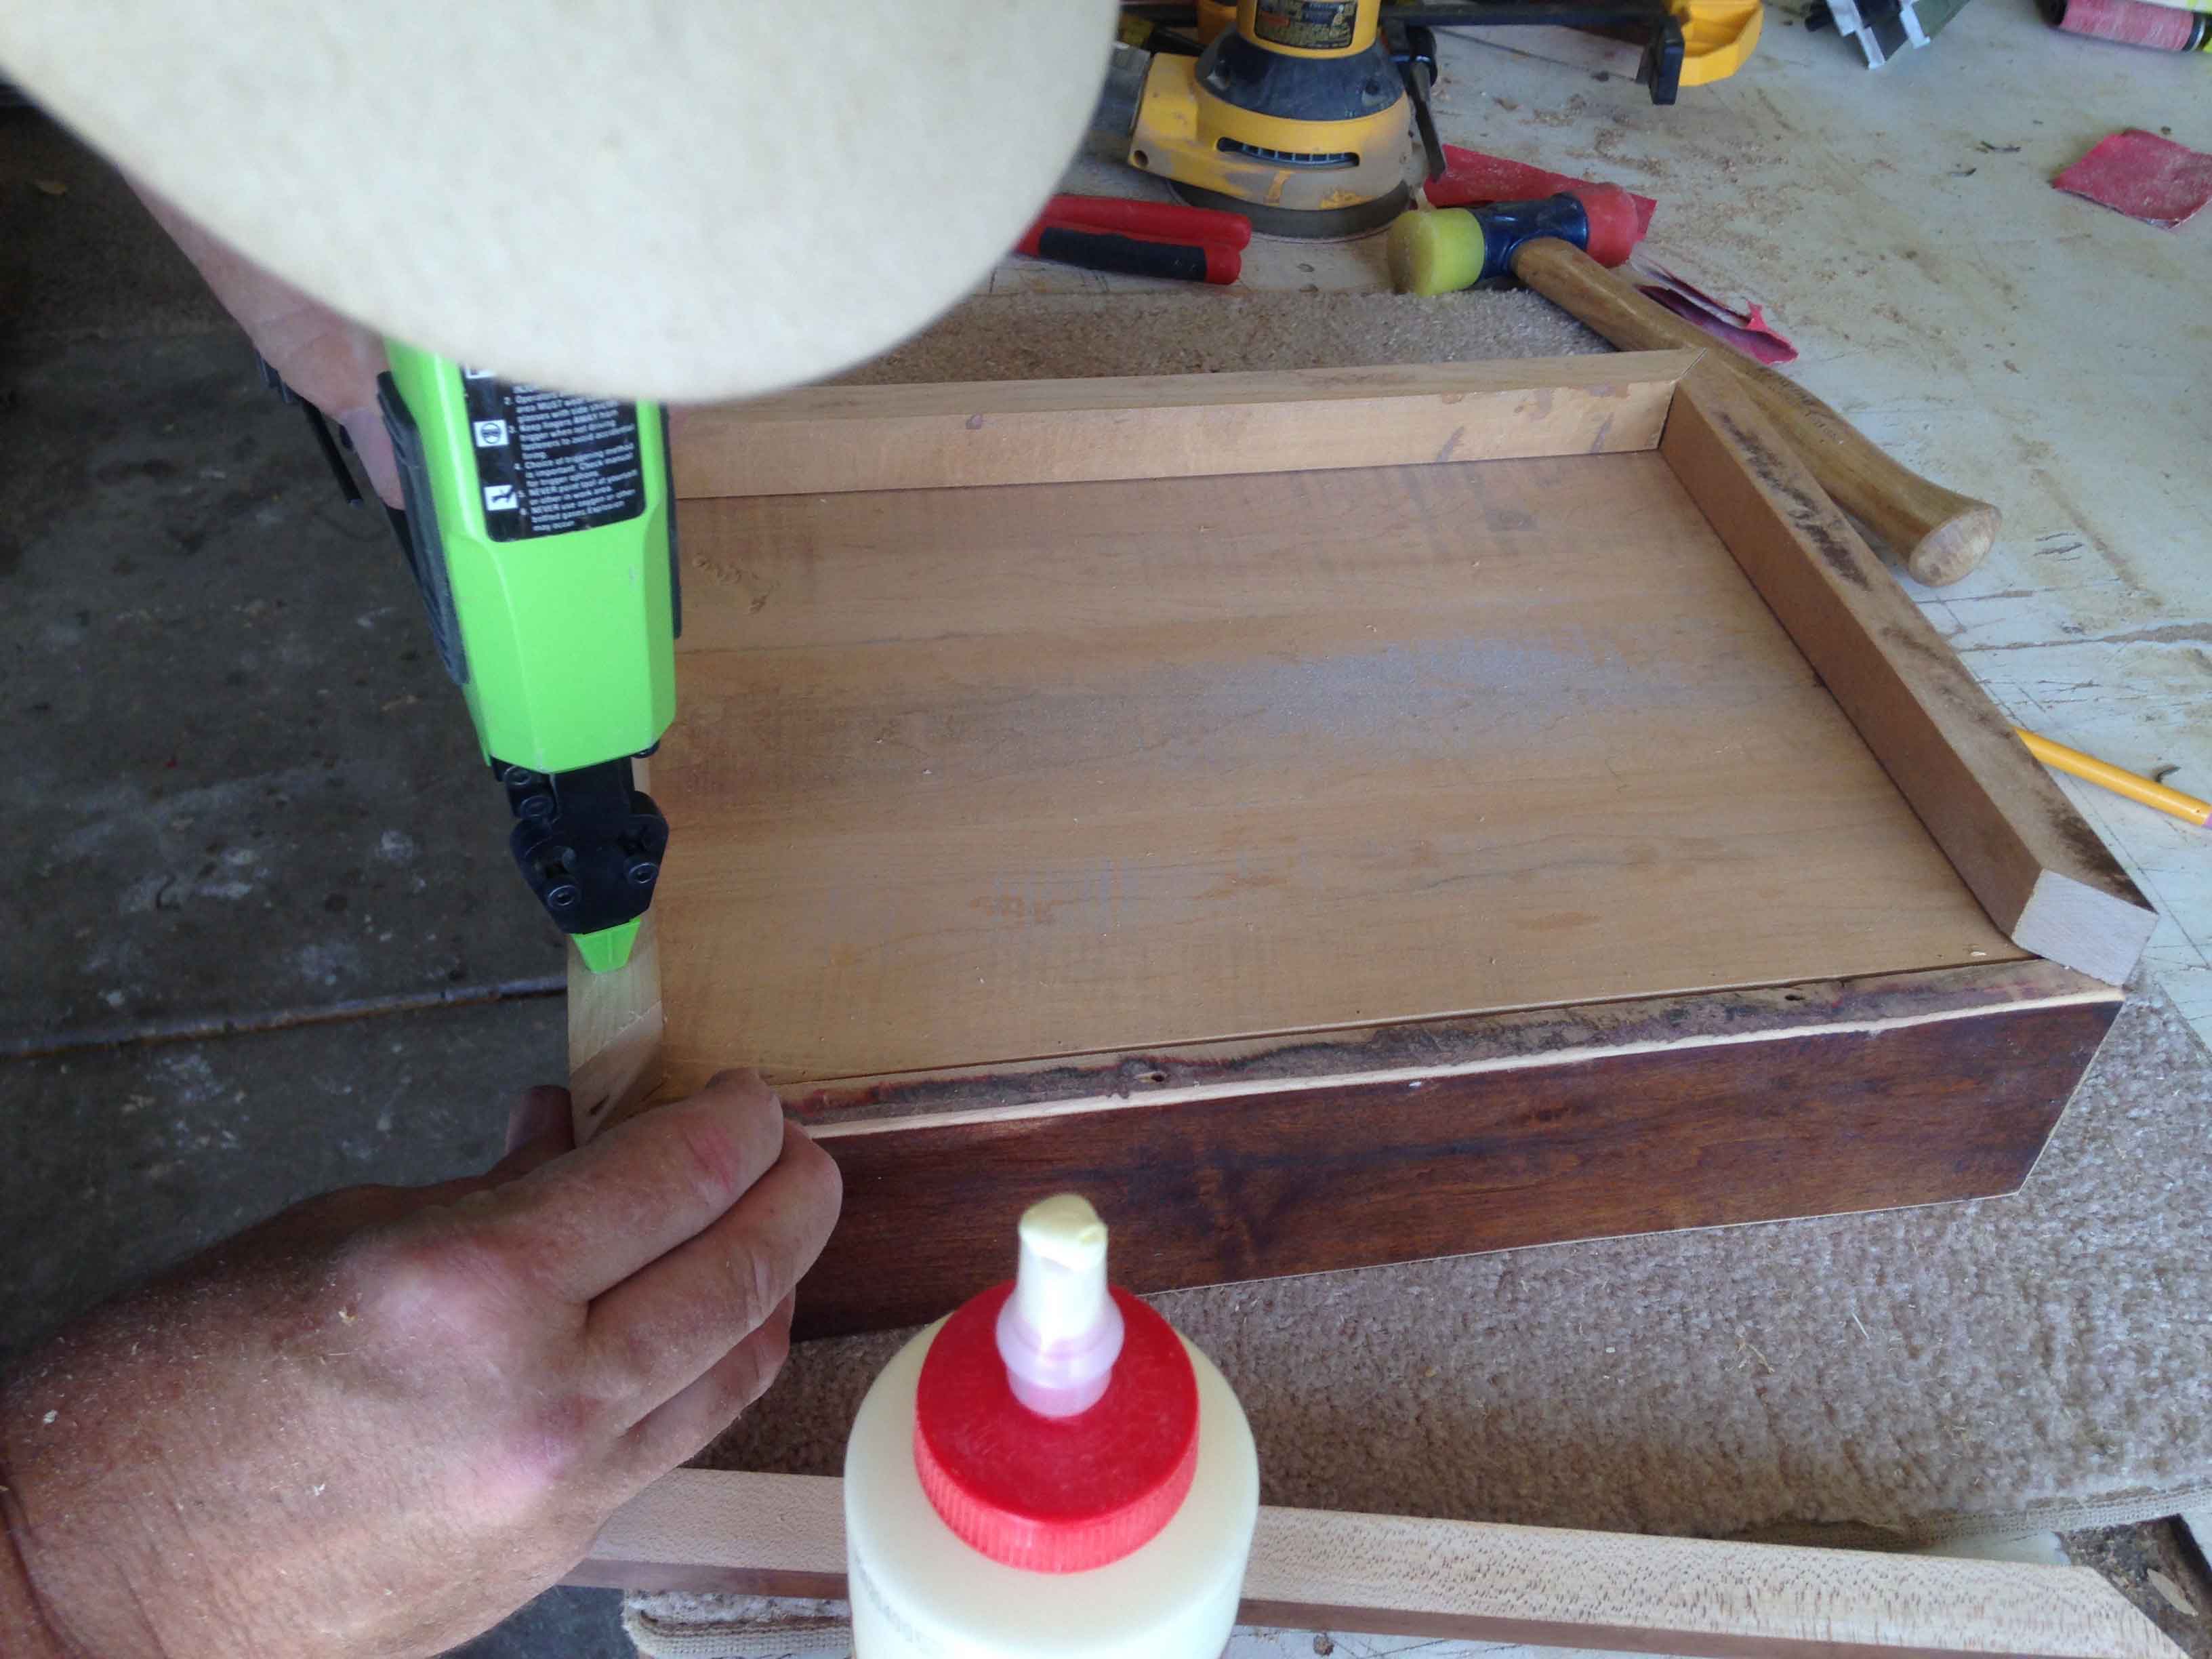
12) Glued and pinned the box parts together and clamped.
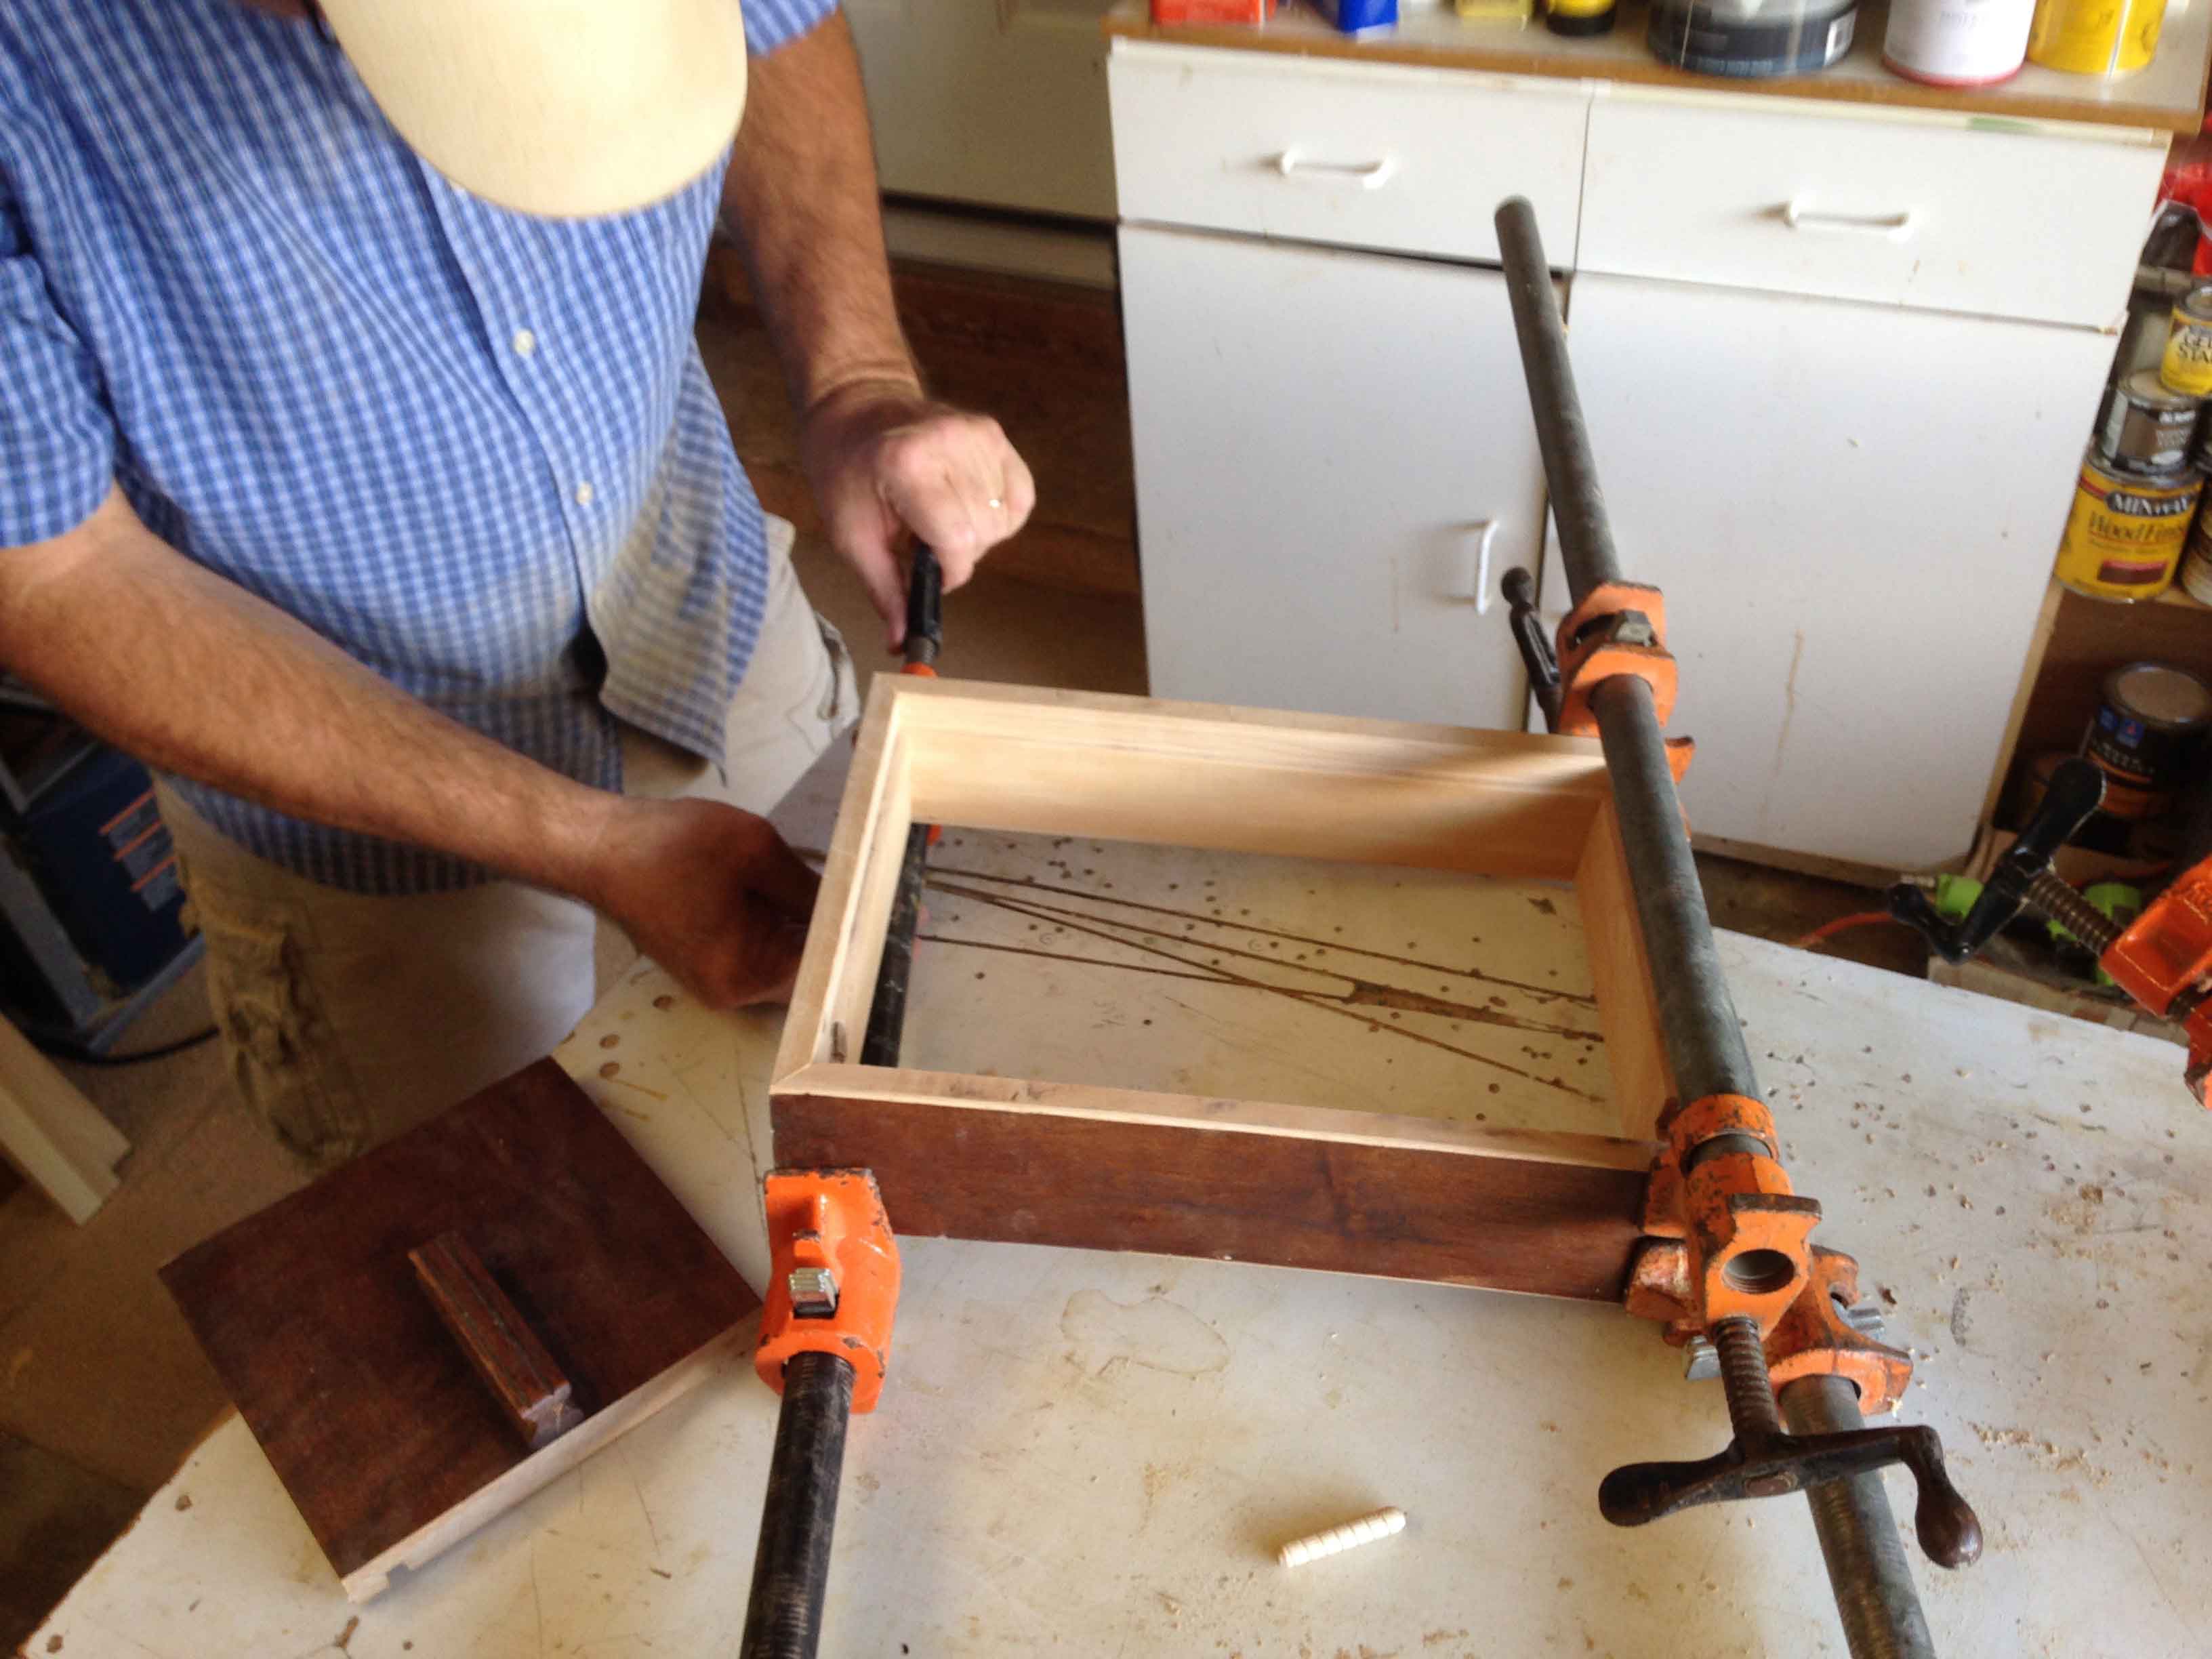
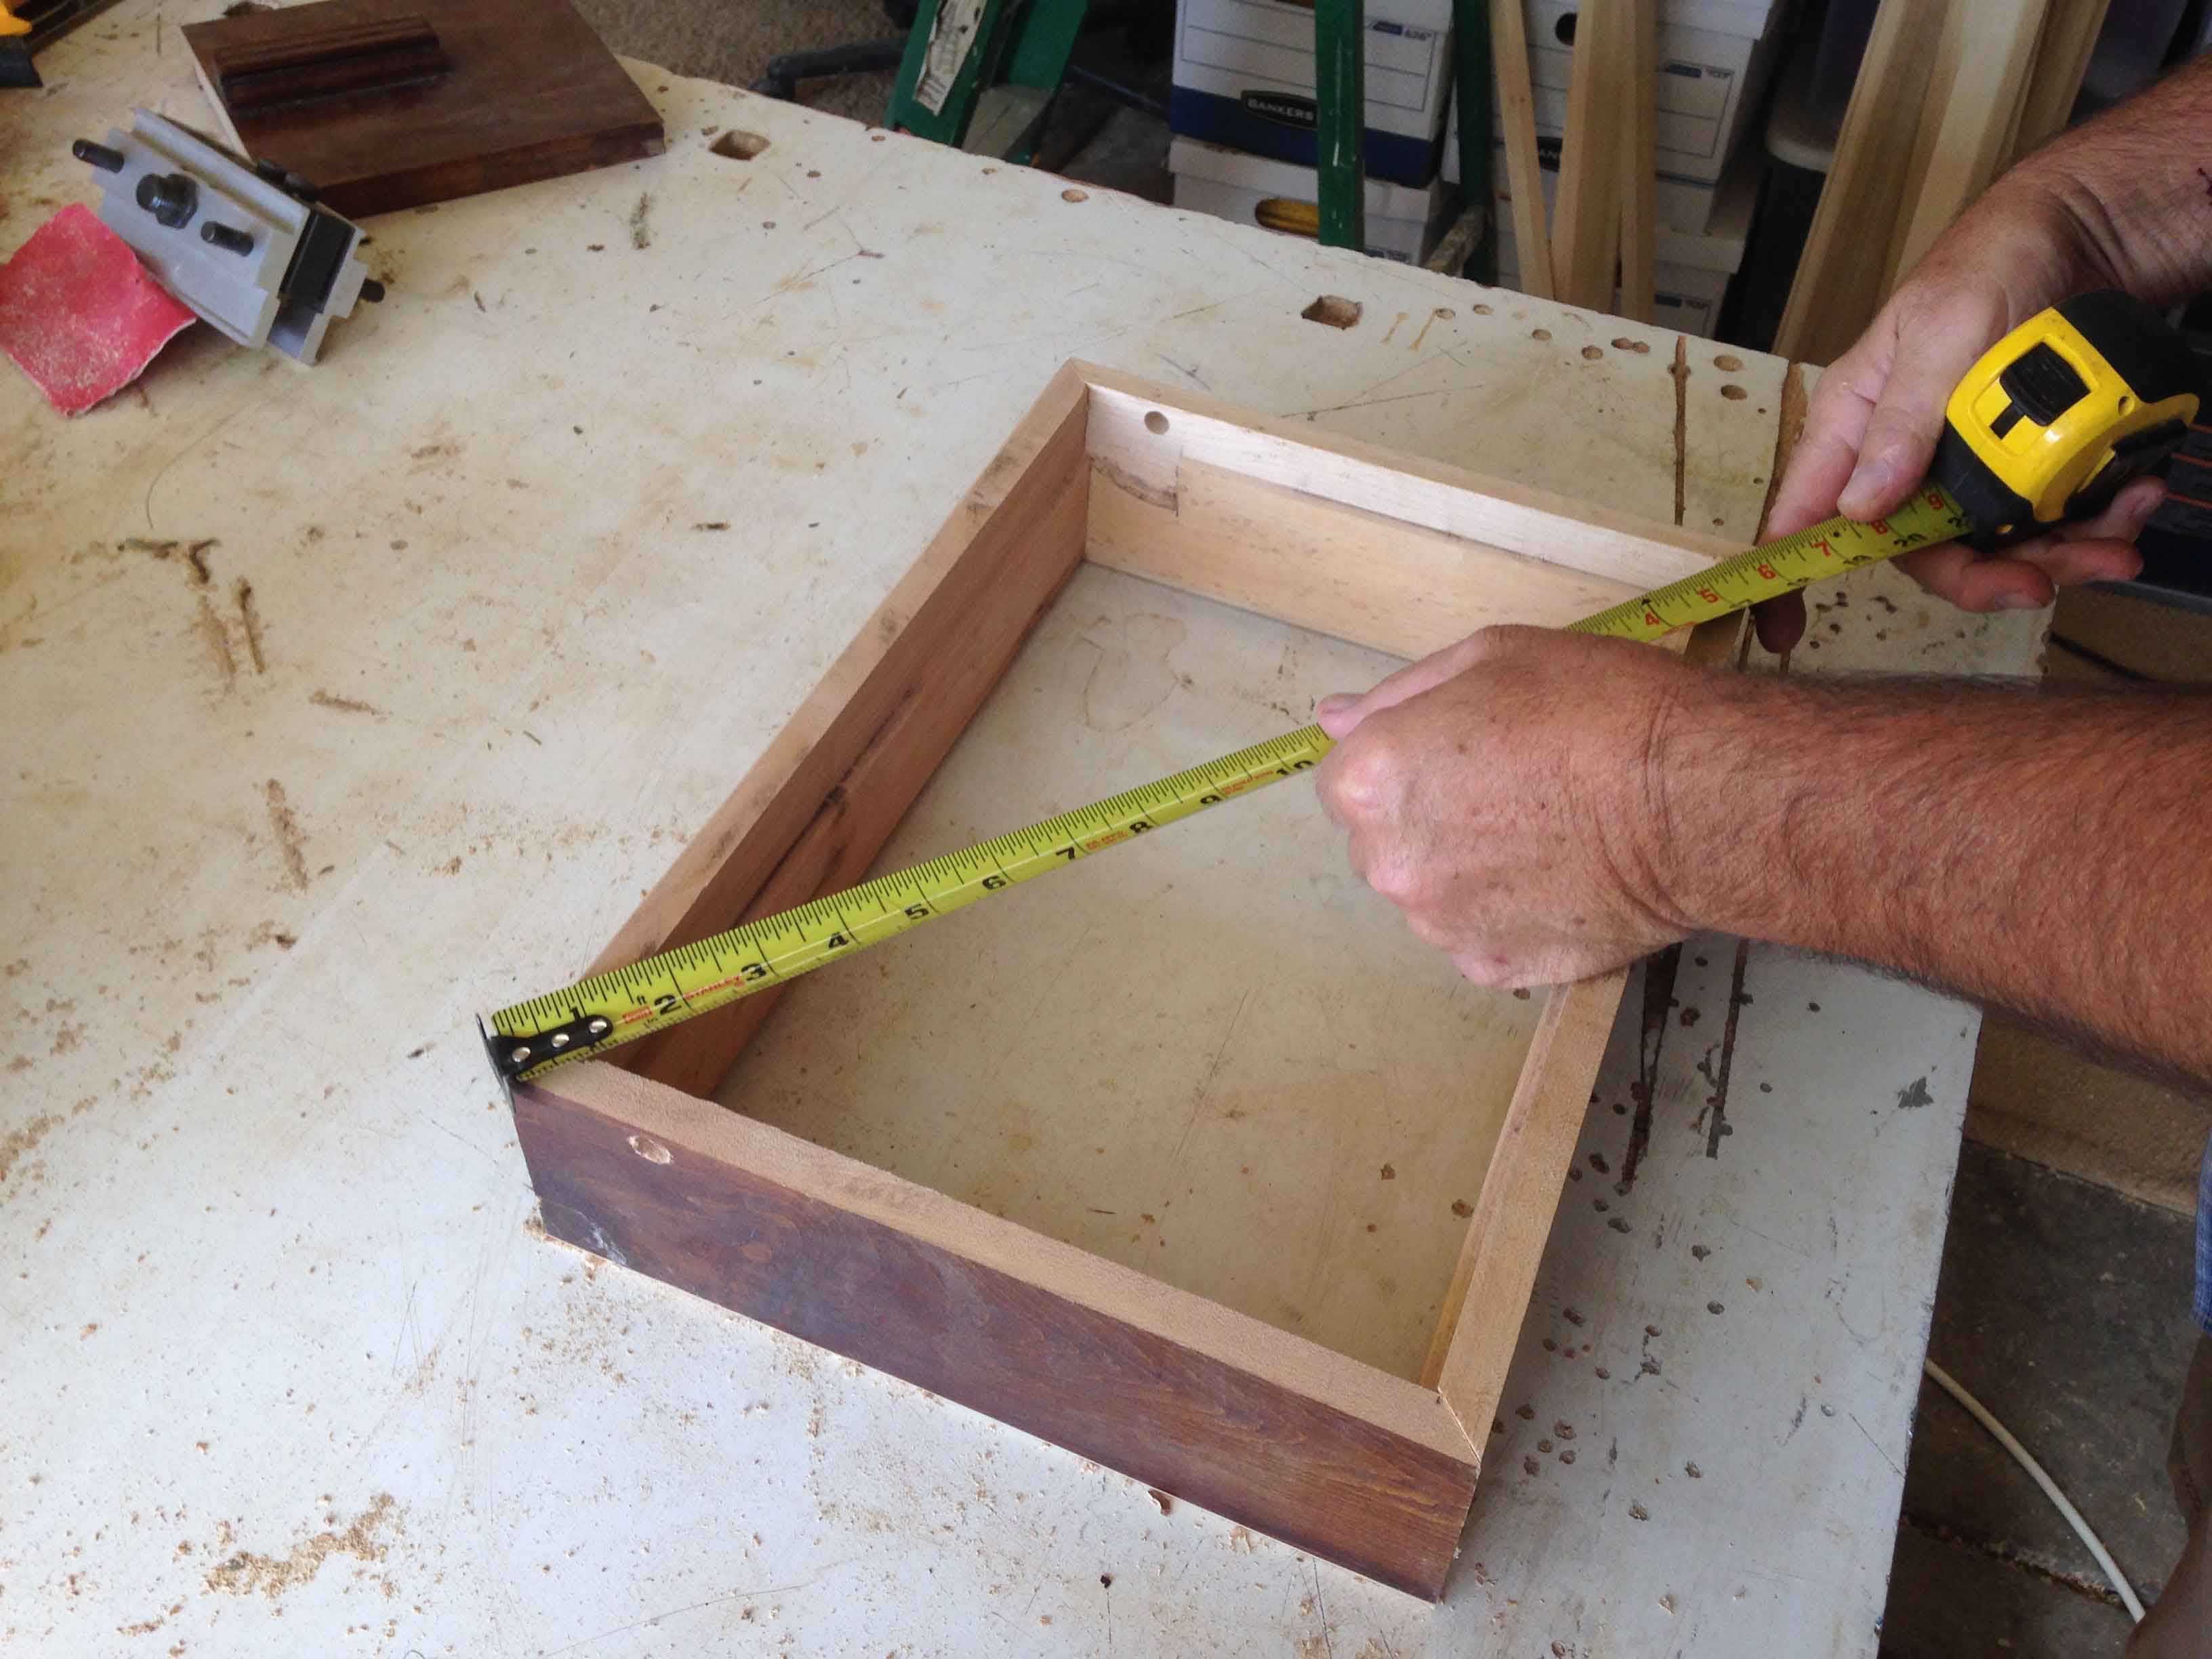
13) Checked the box for square by measuring diagonally, corner to corner.
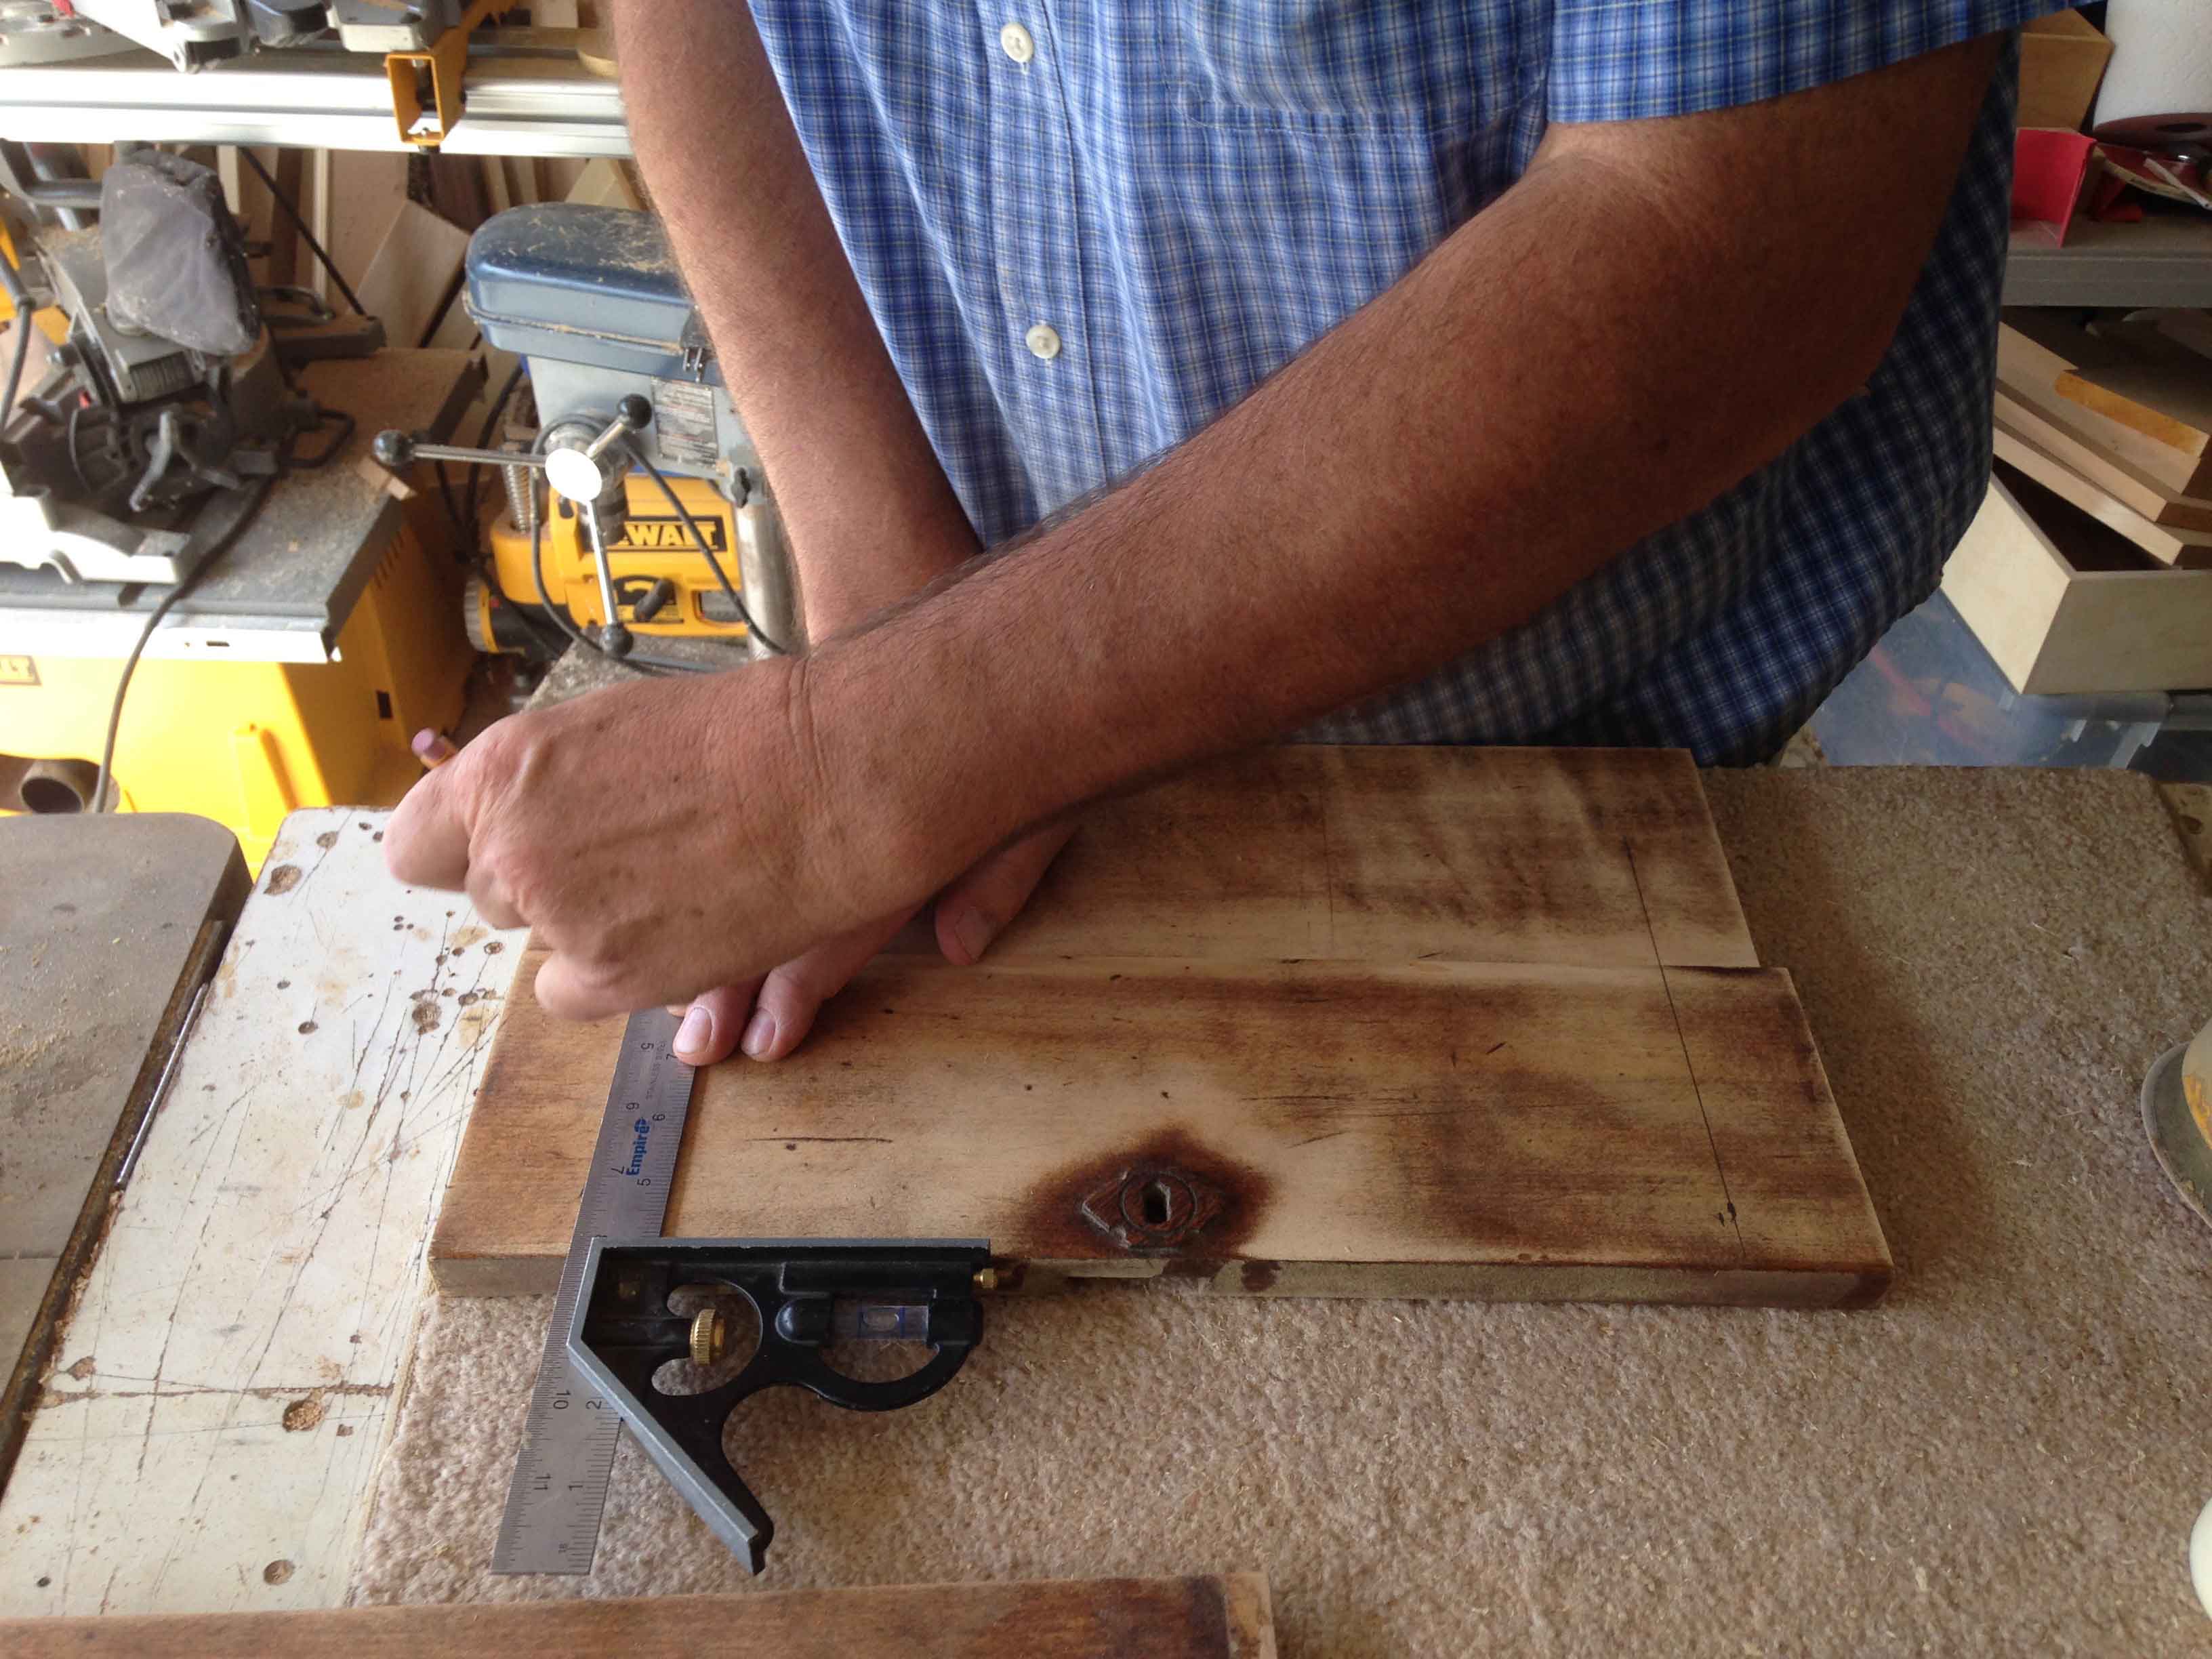
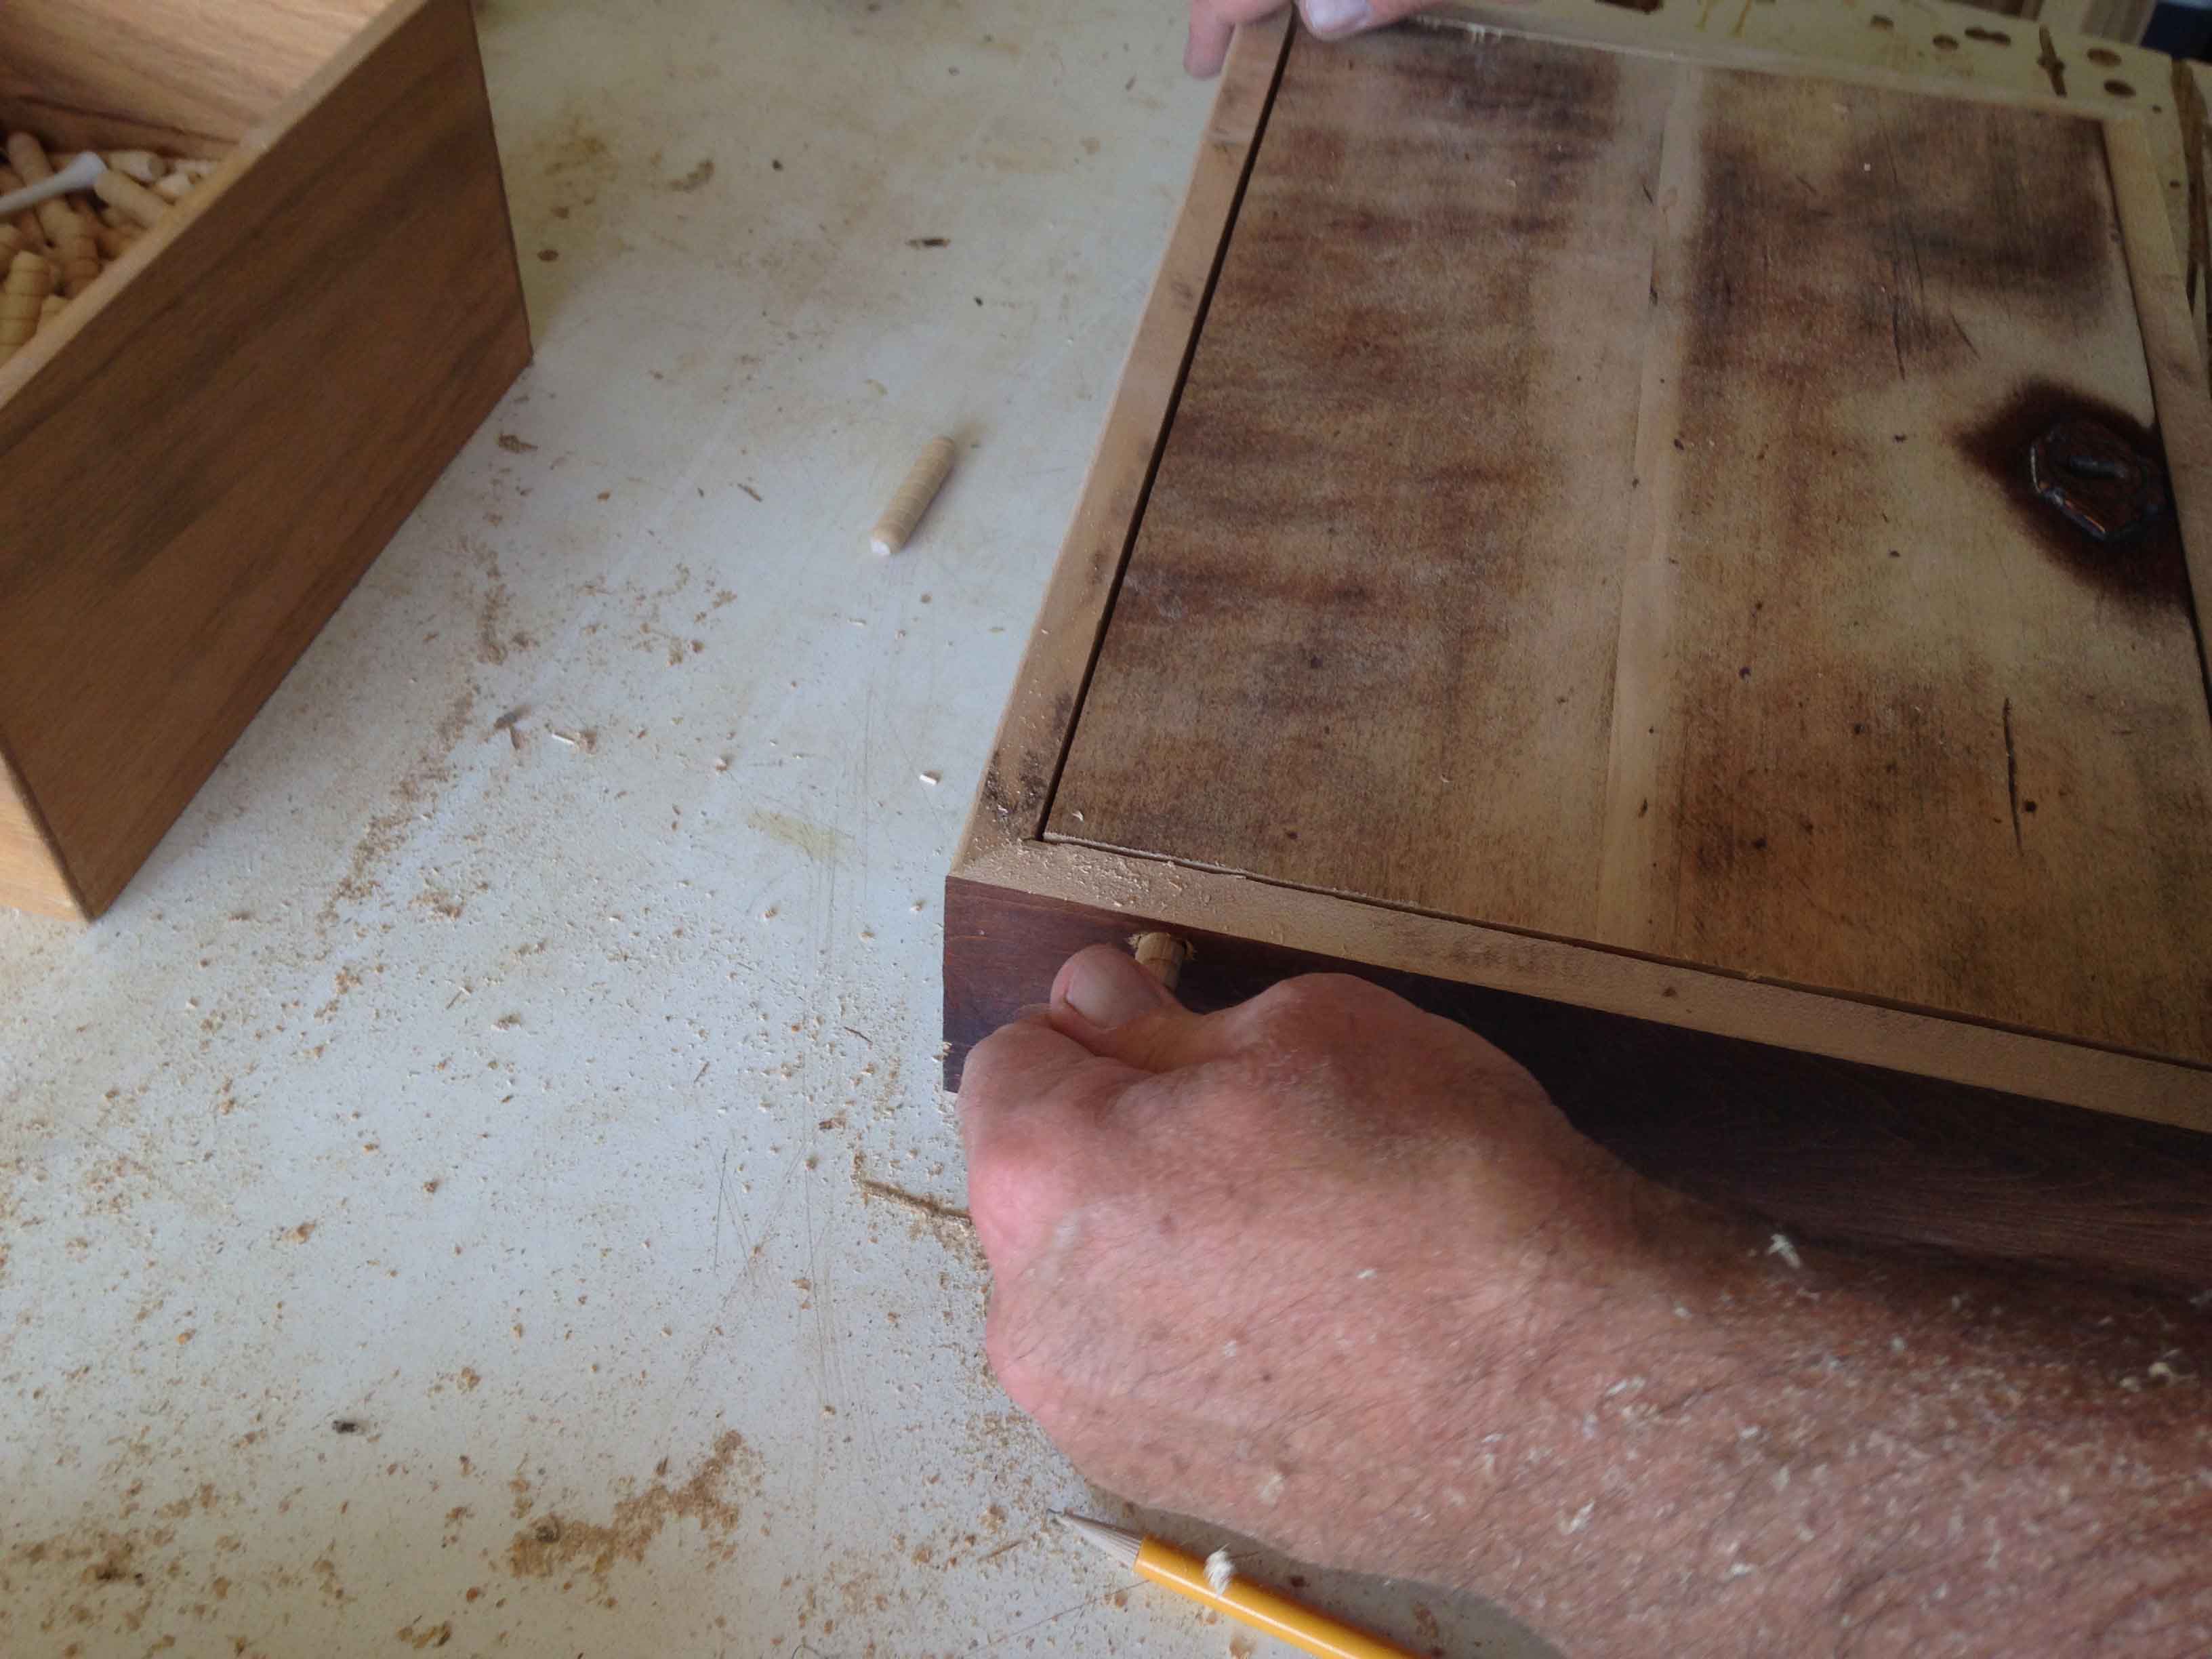
14) I measured from the keyhole out both ways to get the exact center of the top.
15) Cut a little bit over so that you could do a final fit.
16) Insert the dowell pins and checked the lid to make sure the lid opens and closes.
17) Next, we pinned the bottom to the box using no glue so that it could expand and contract because it is solid wood.
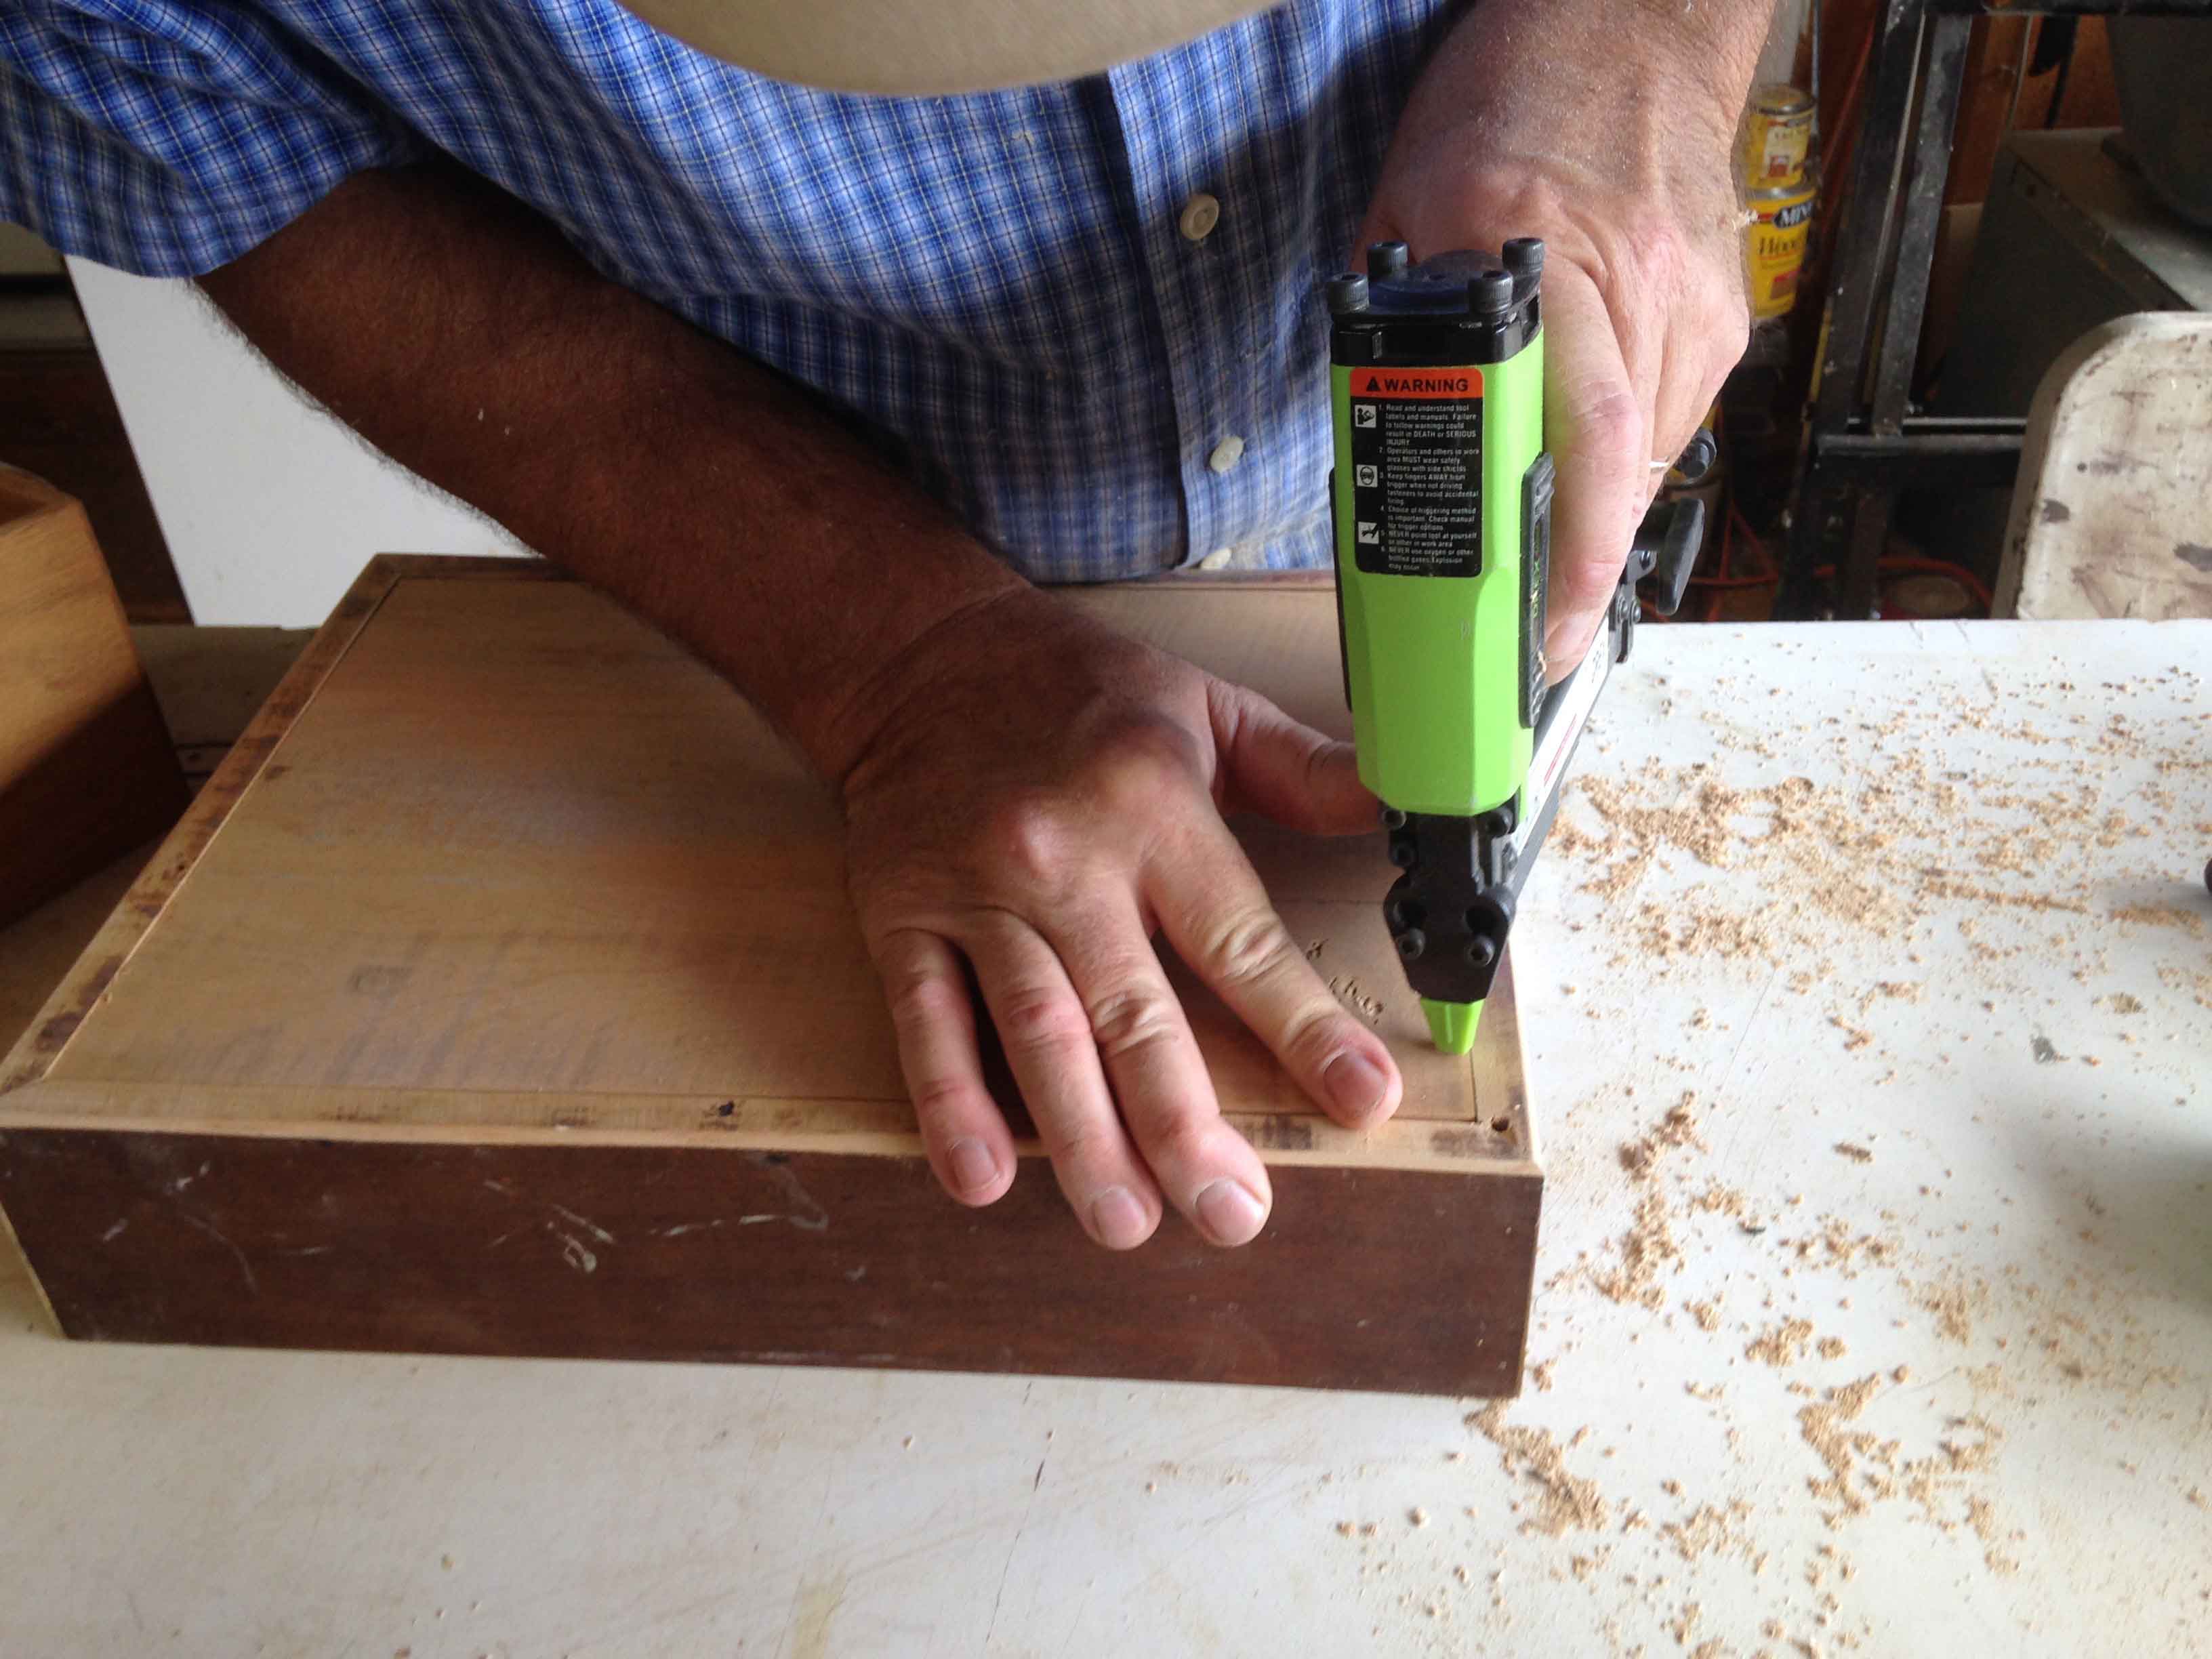
18) Mitered, glued and pinned the base to the box.

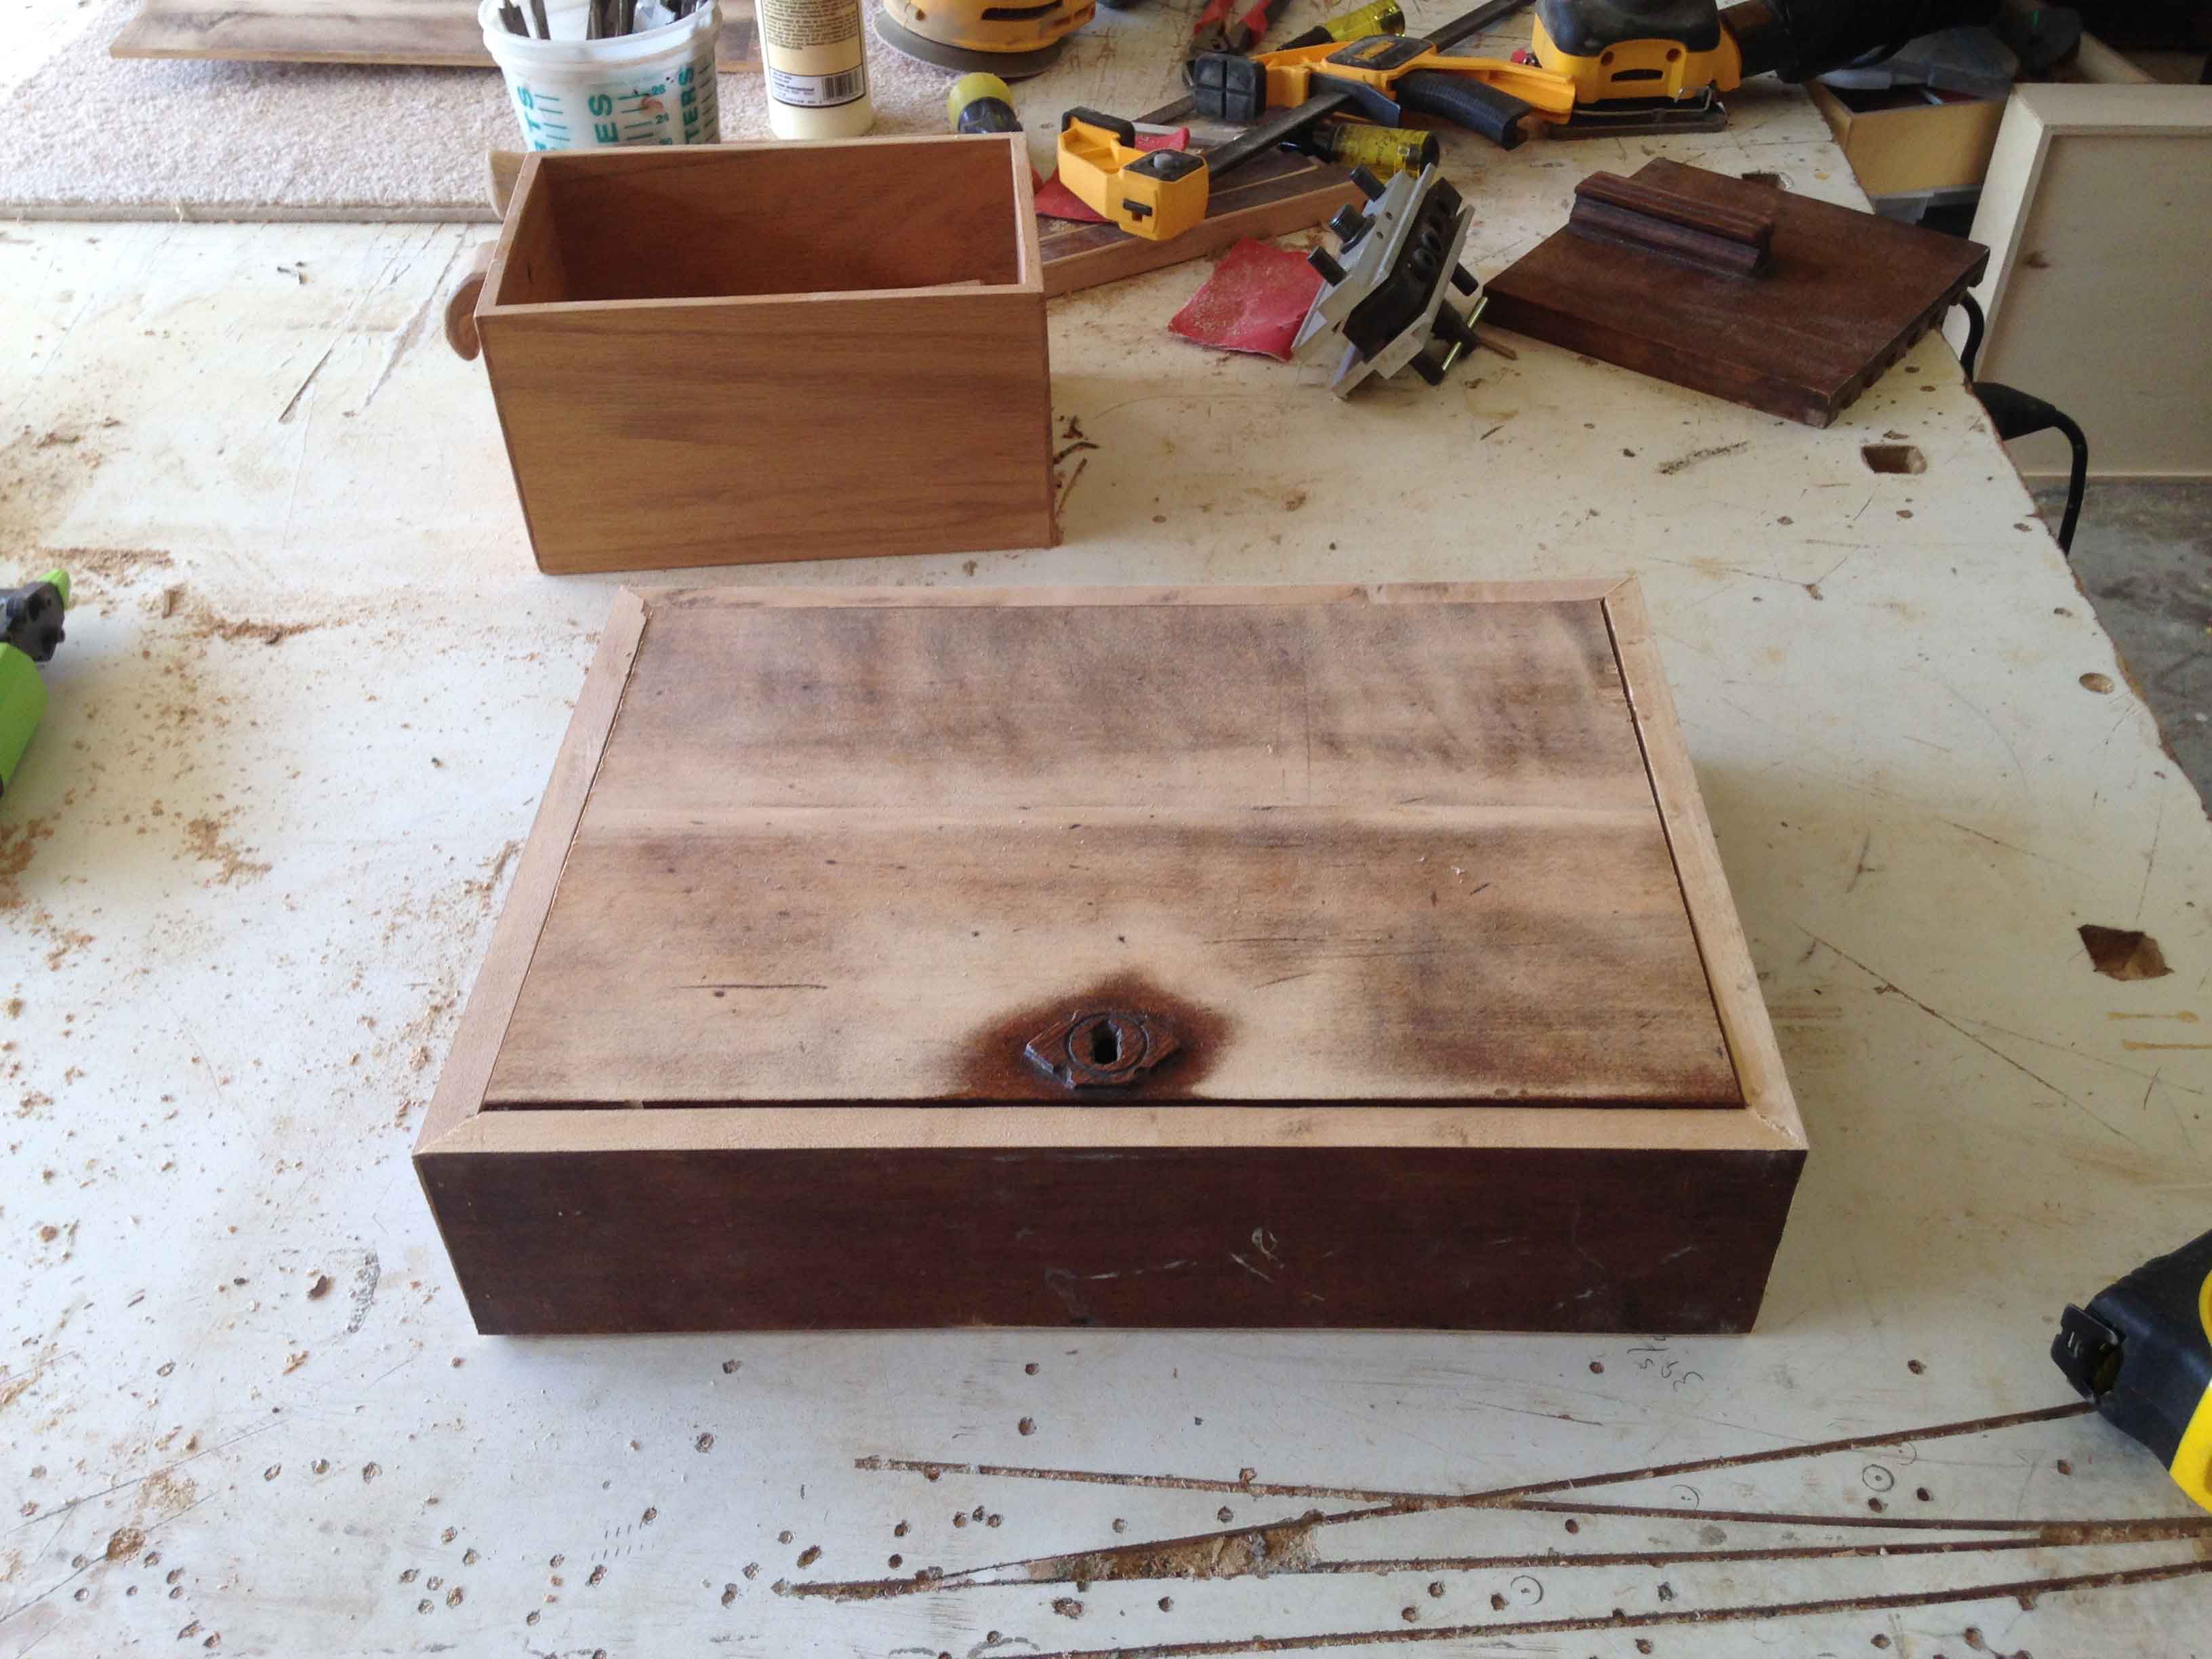
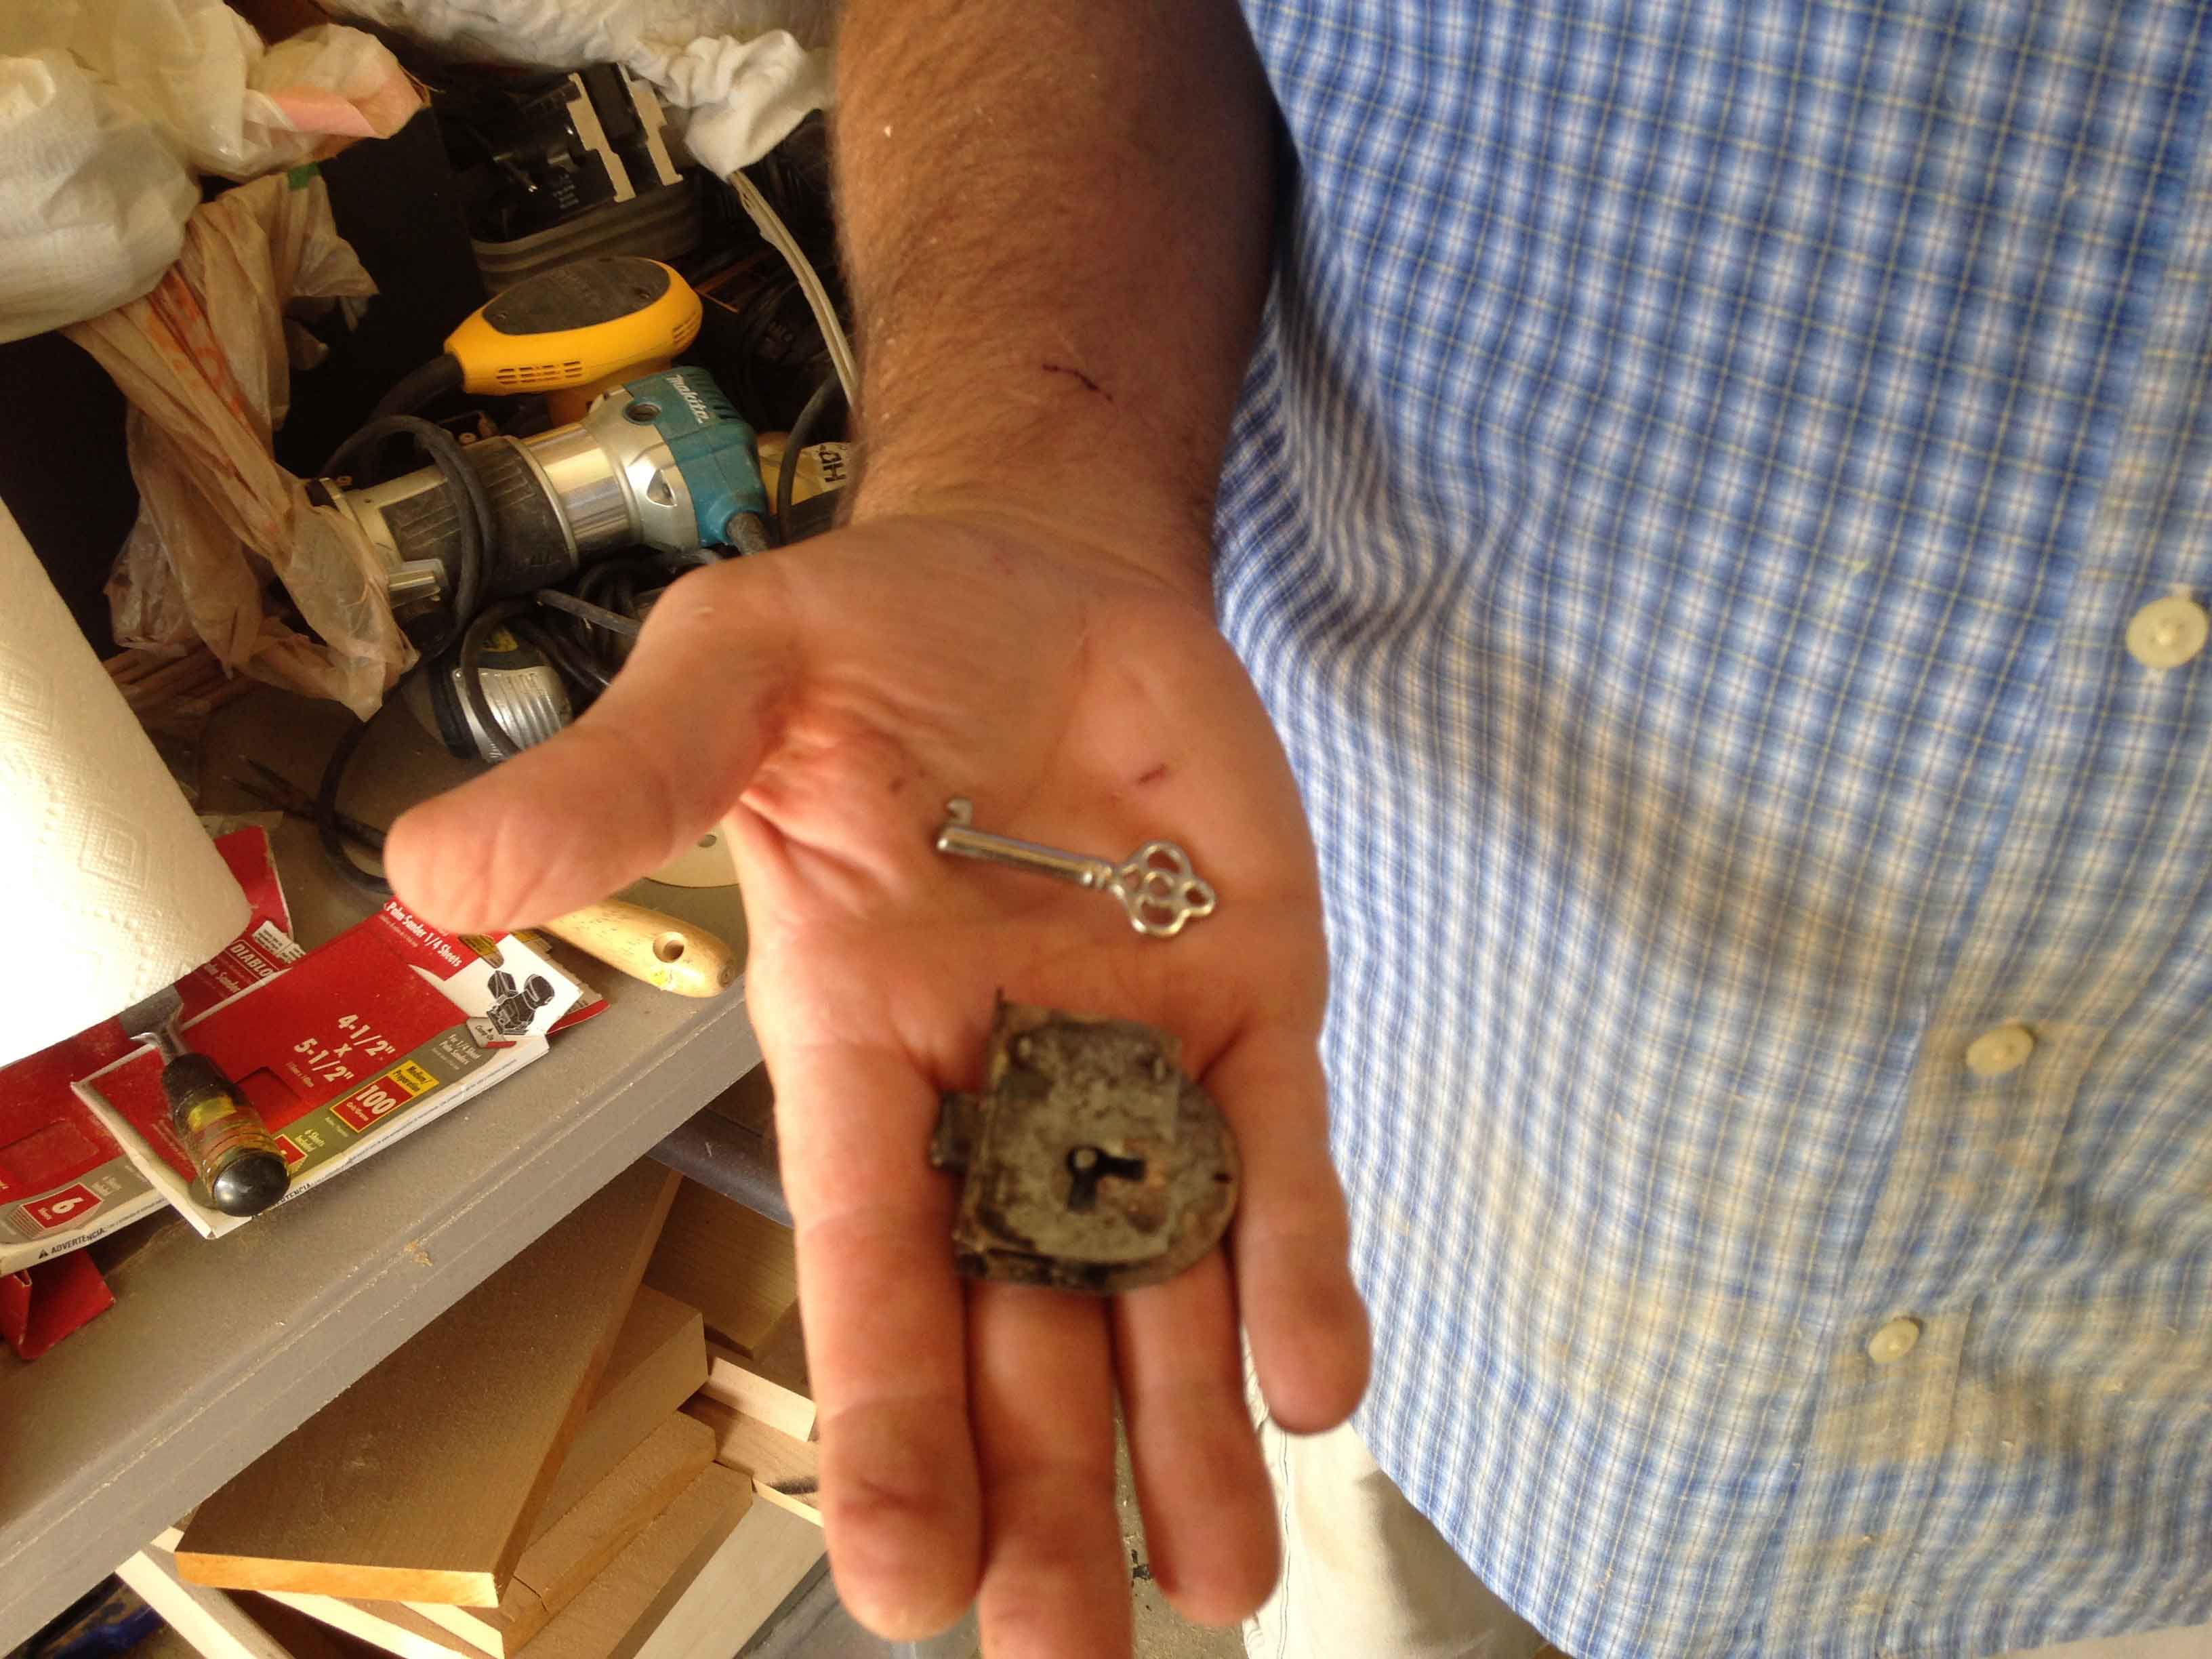
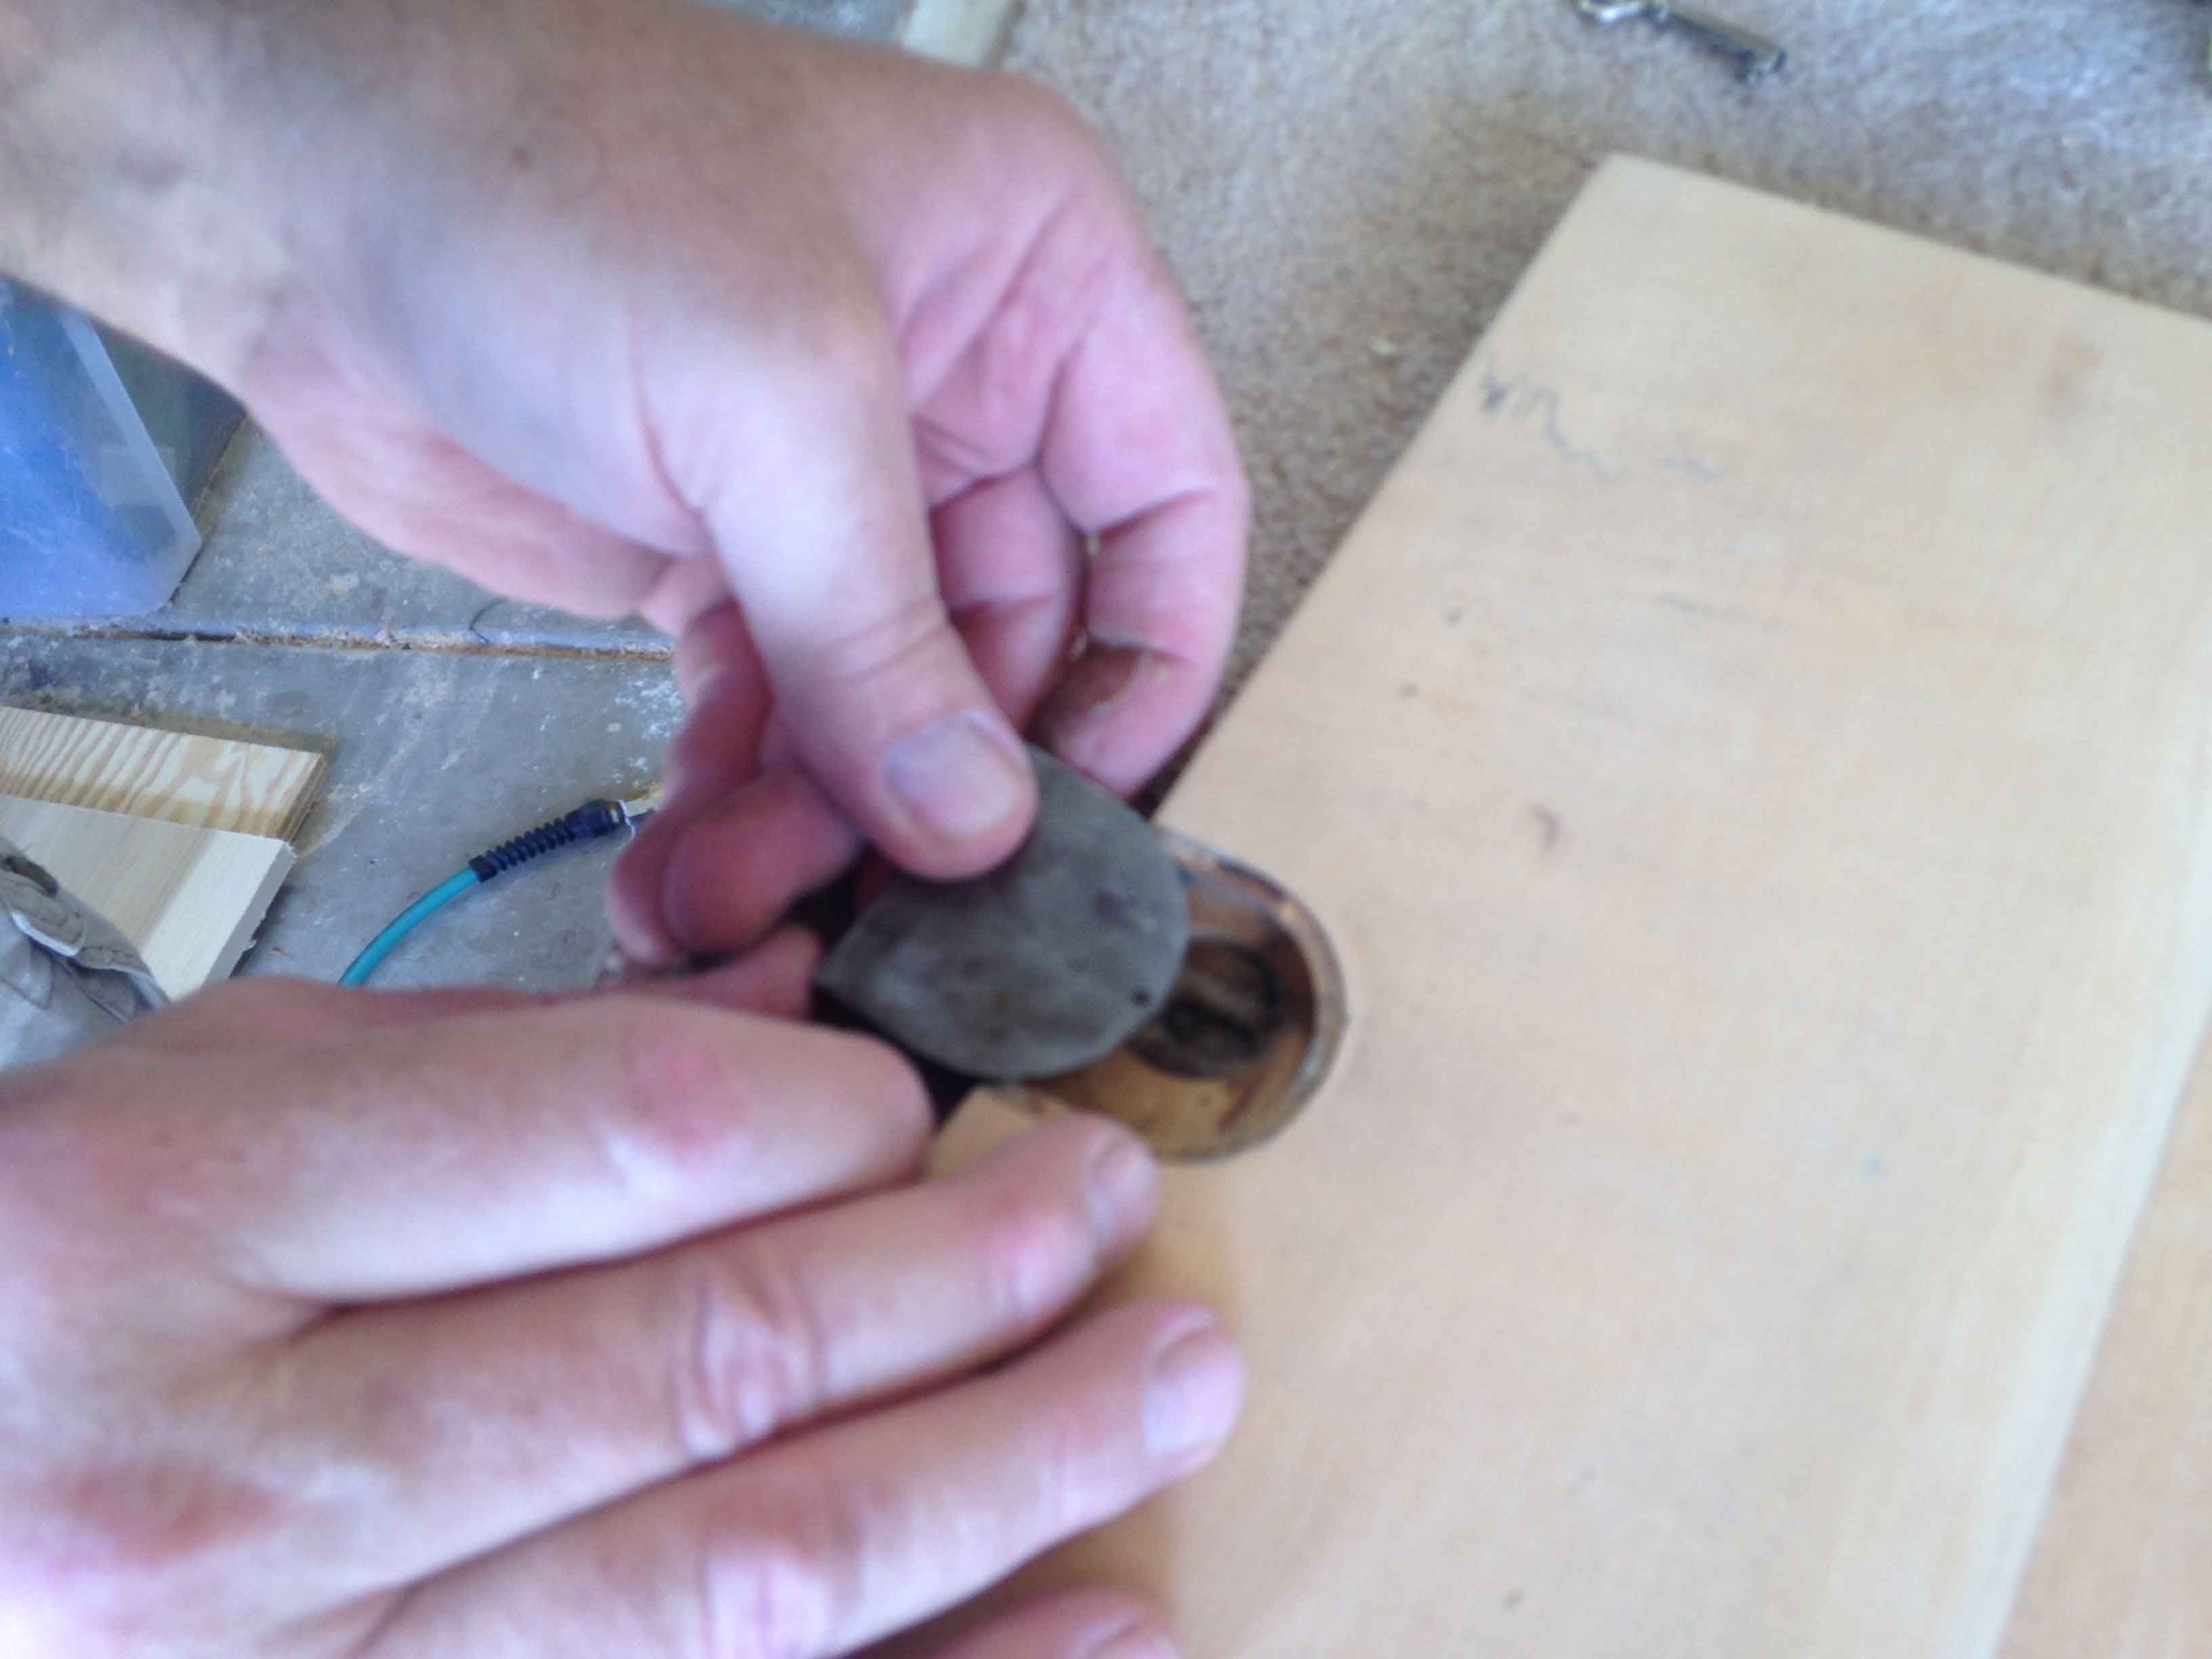
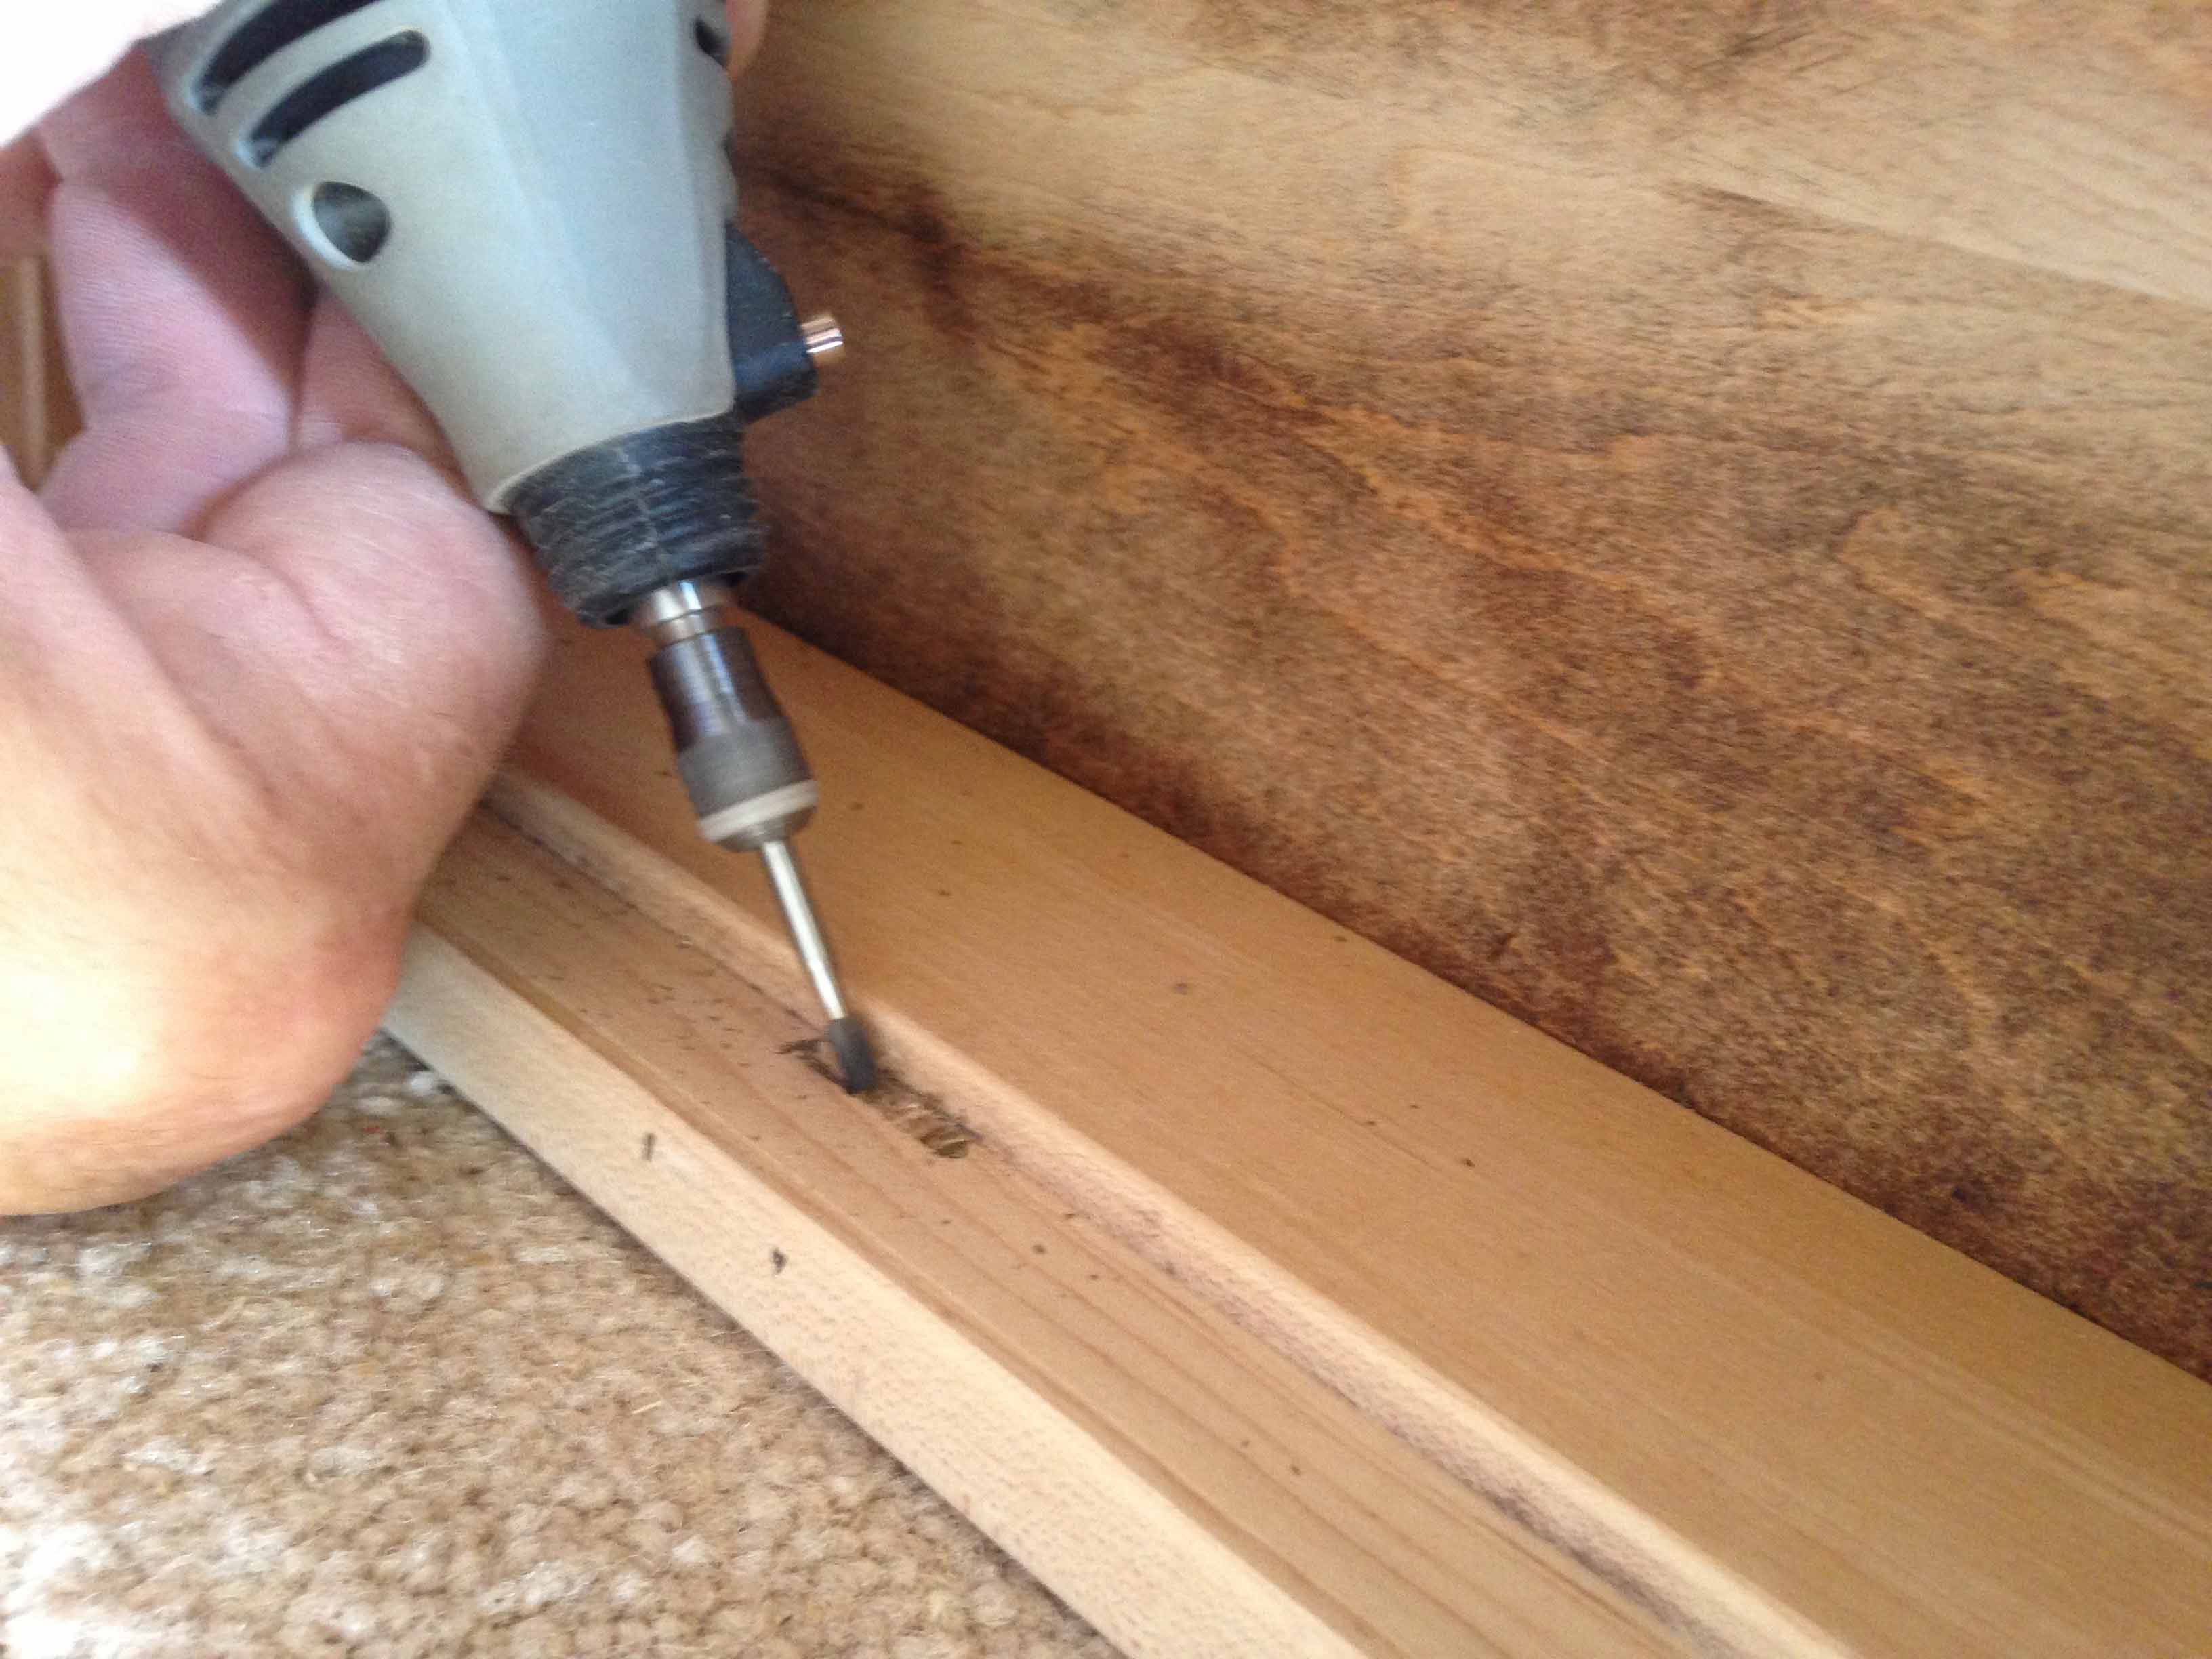
19) I took one of the old locks from the drawer front and had a locksmith make a key for it and oil it to make sure it all worked properly.

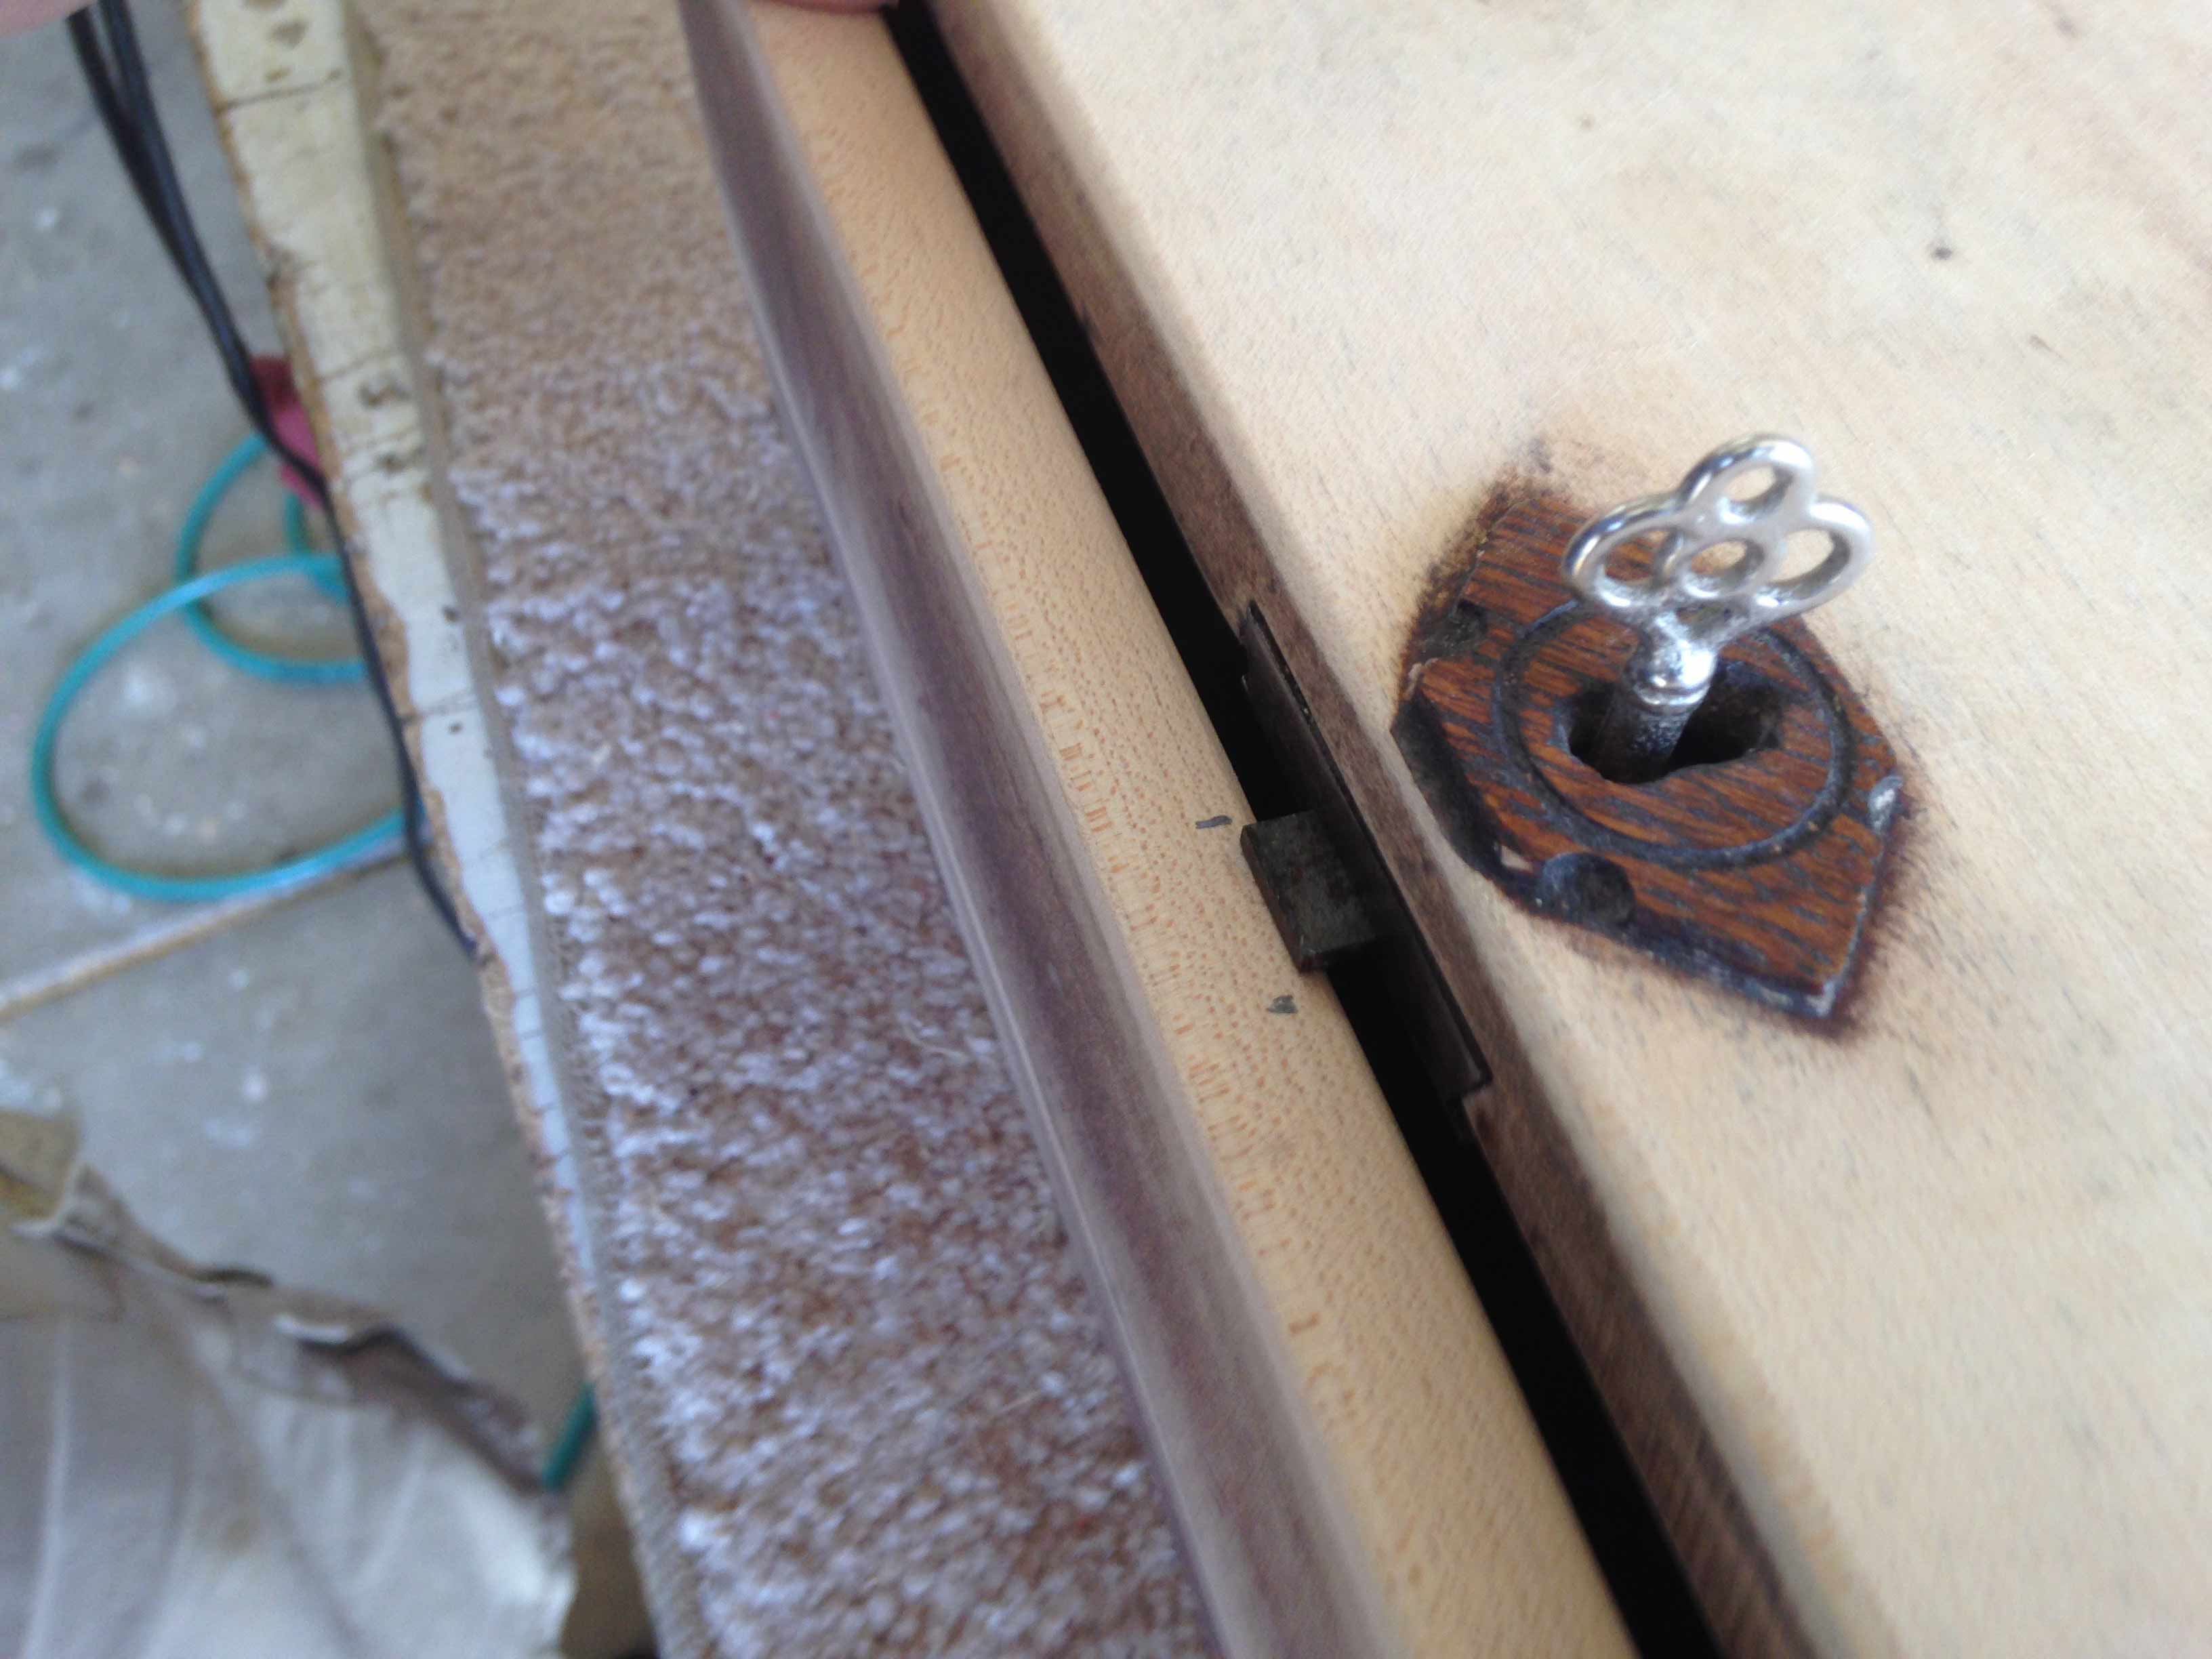
20) Then we installed it and notched out for the latch.
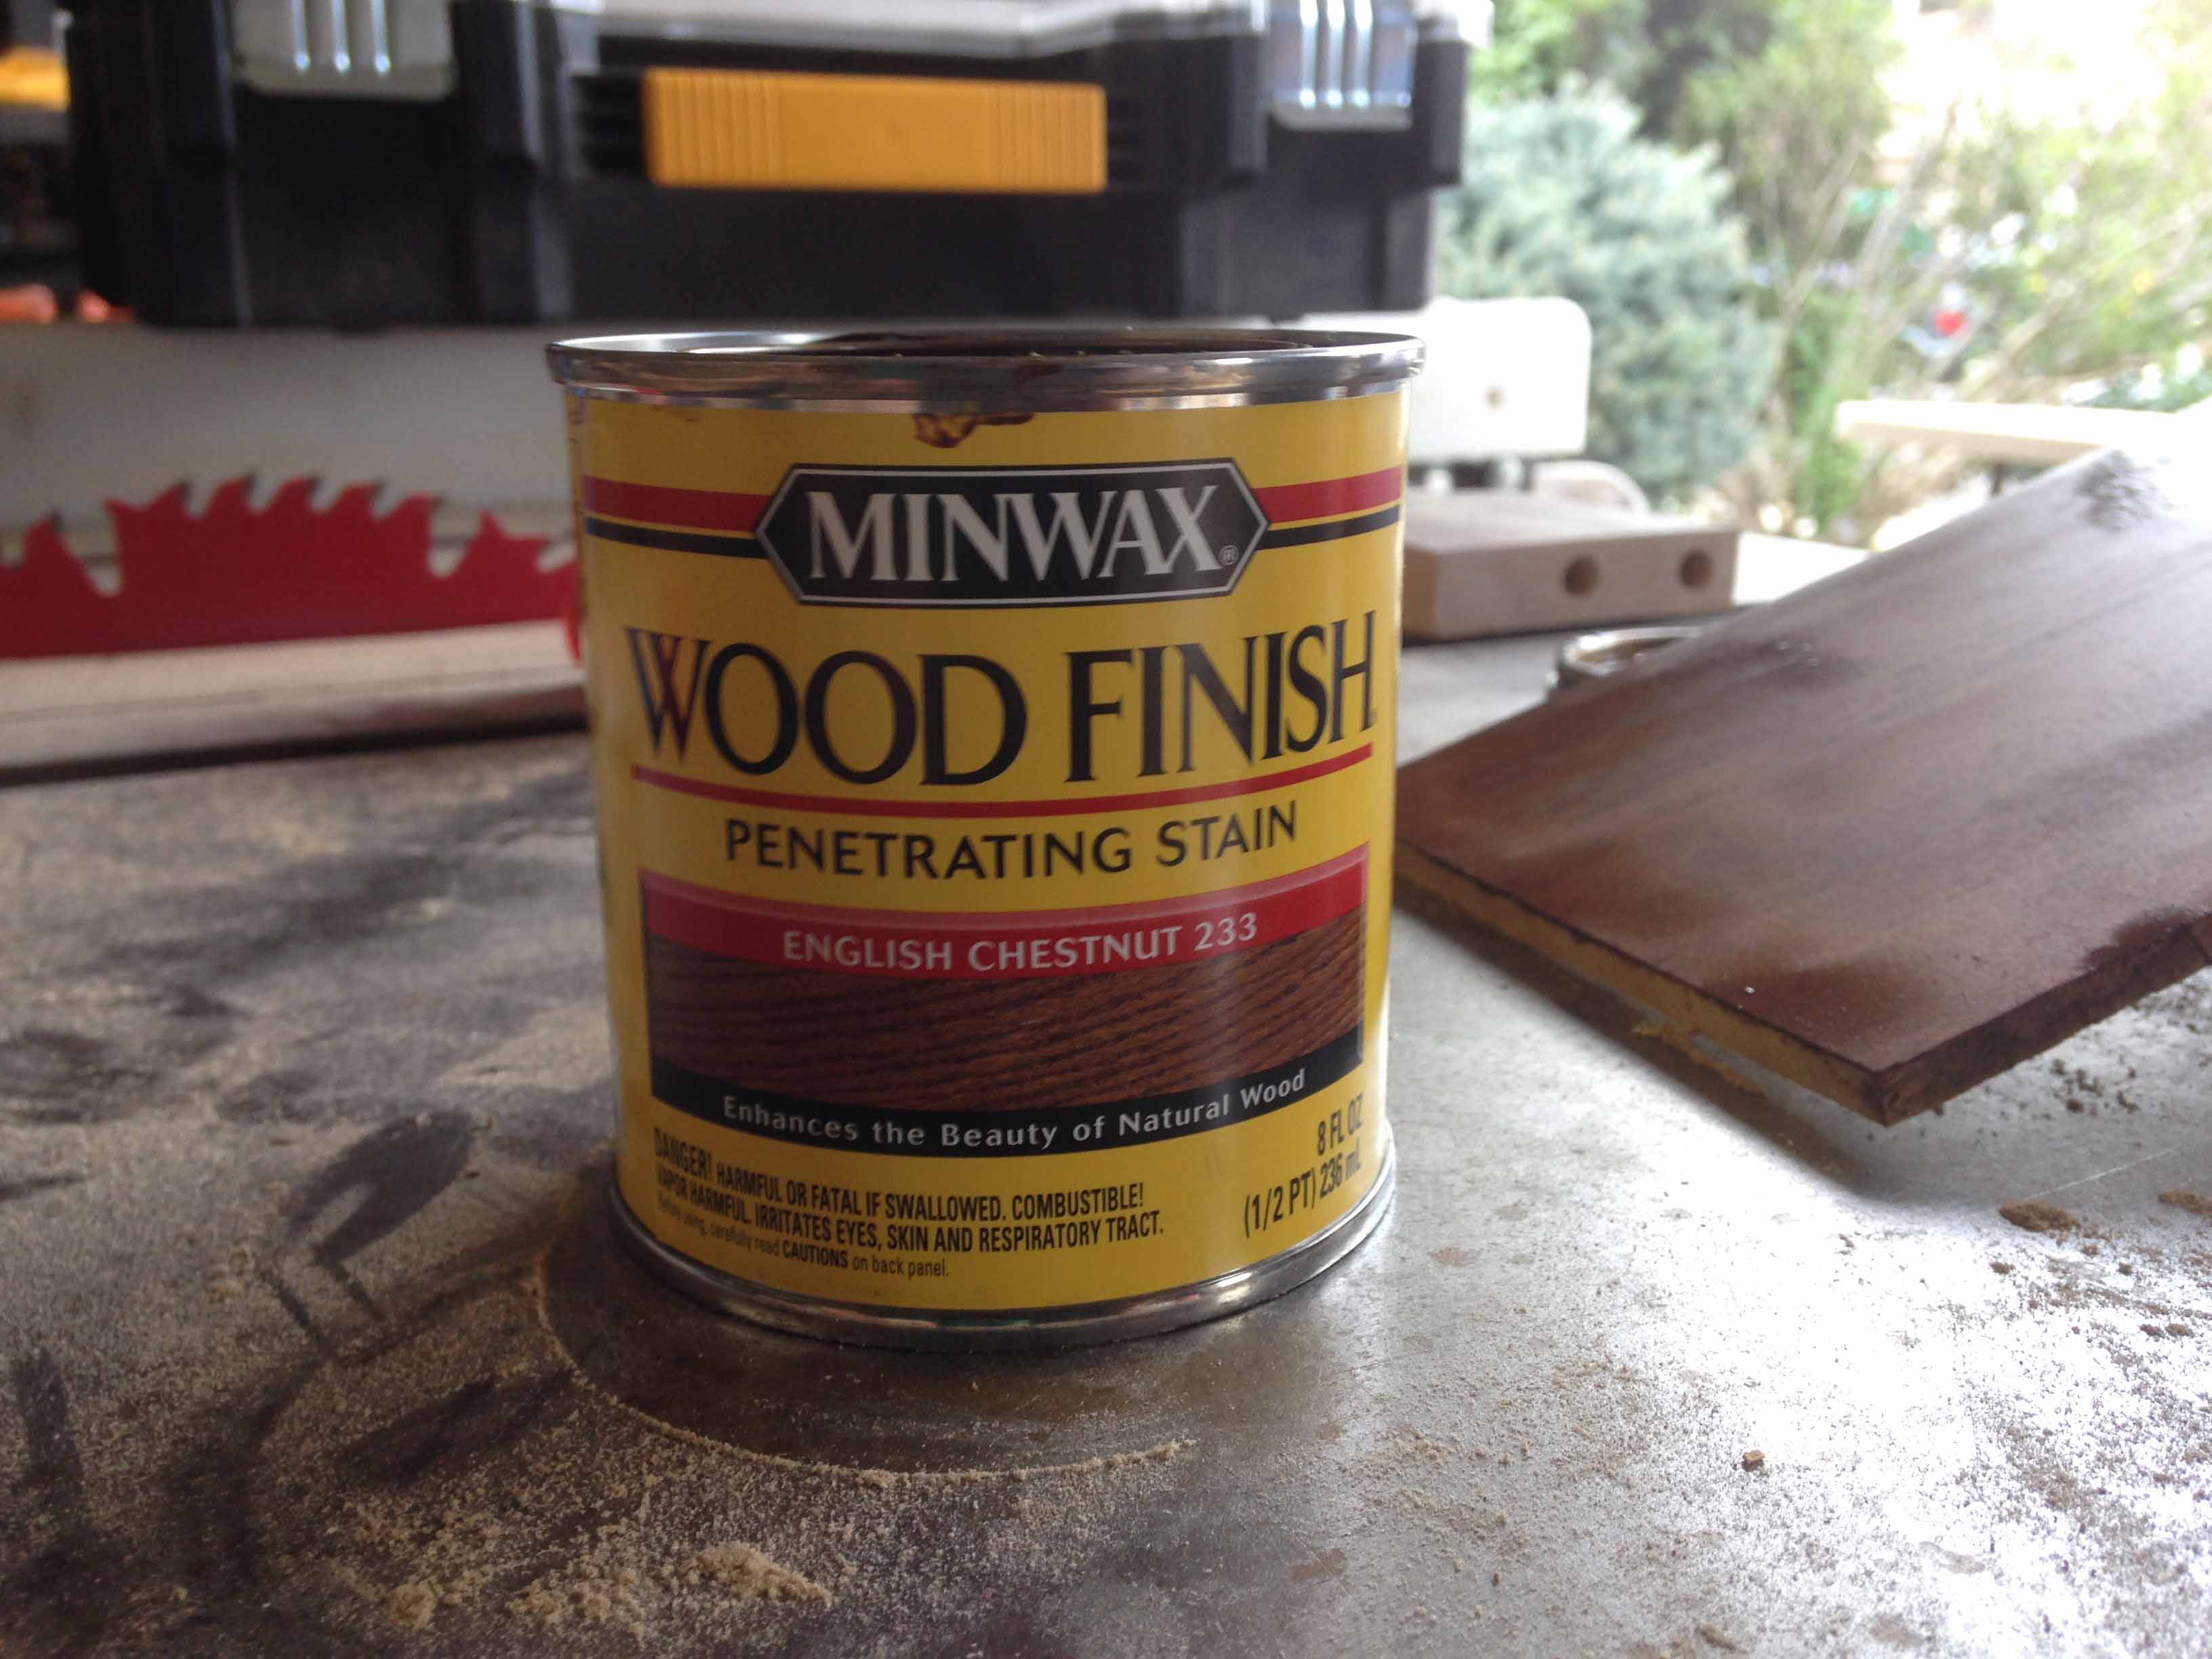
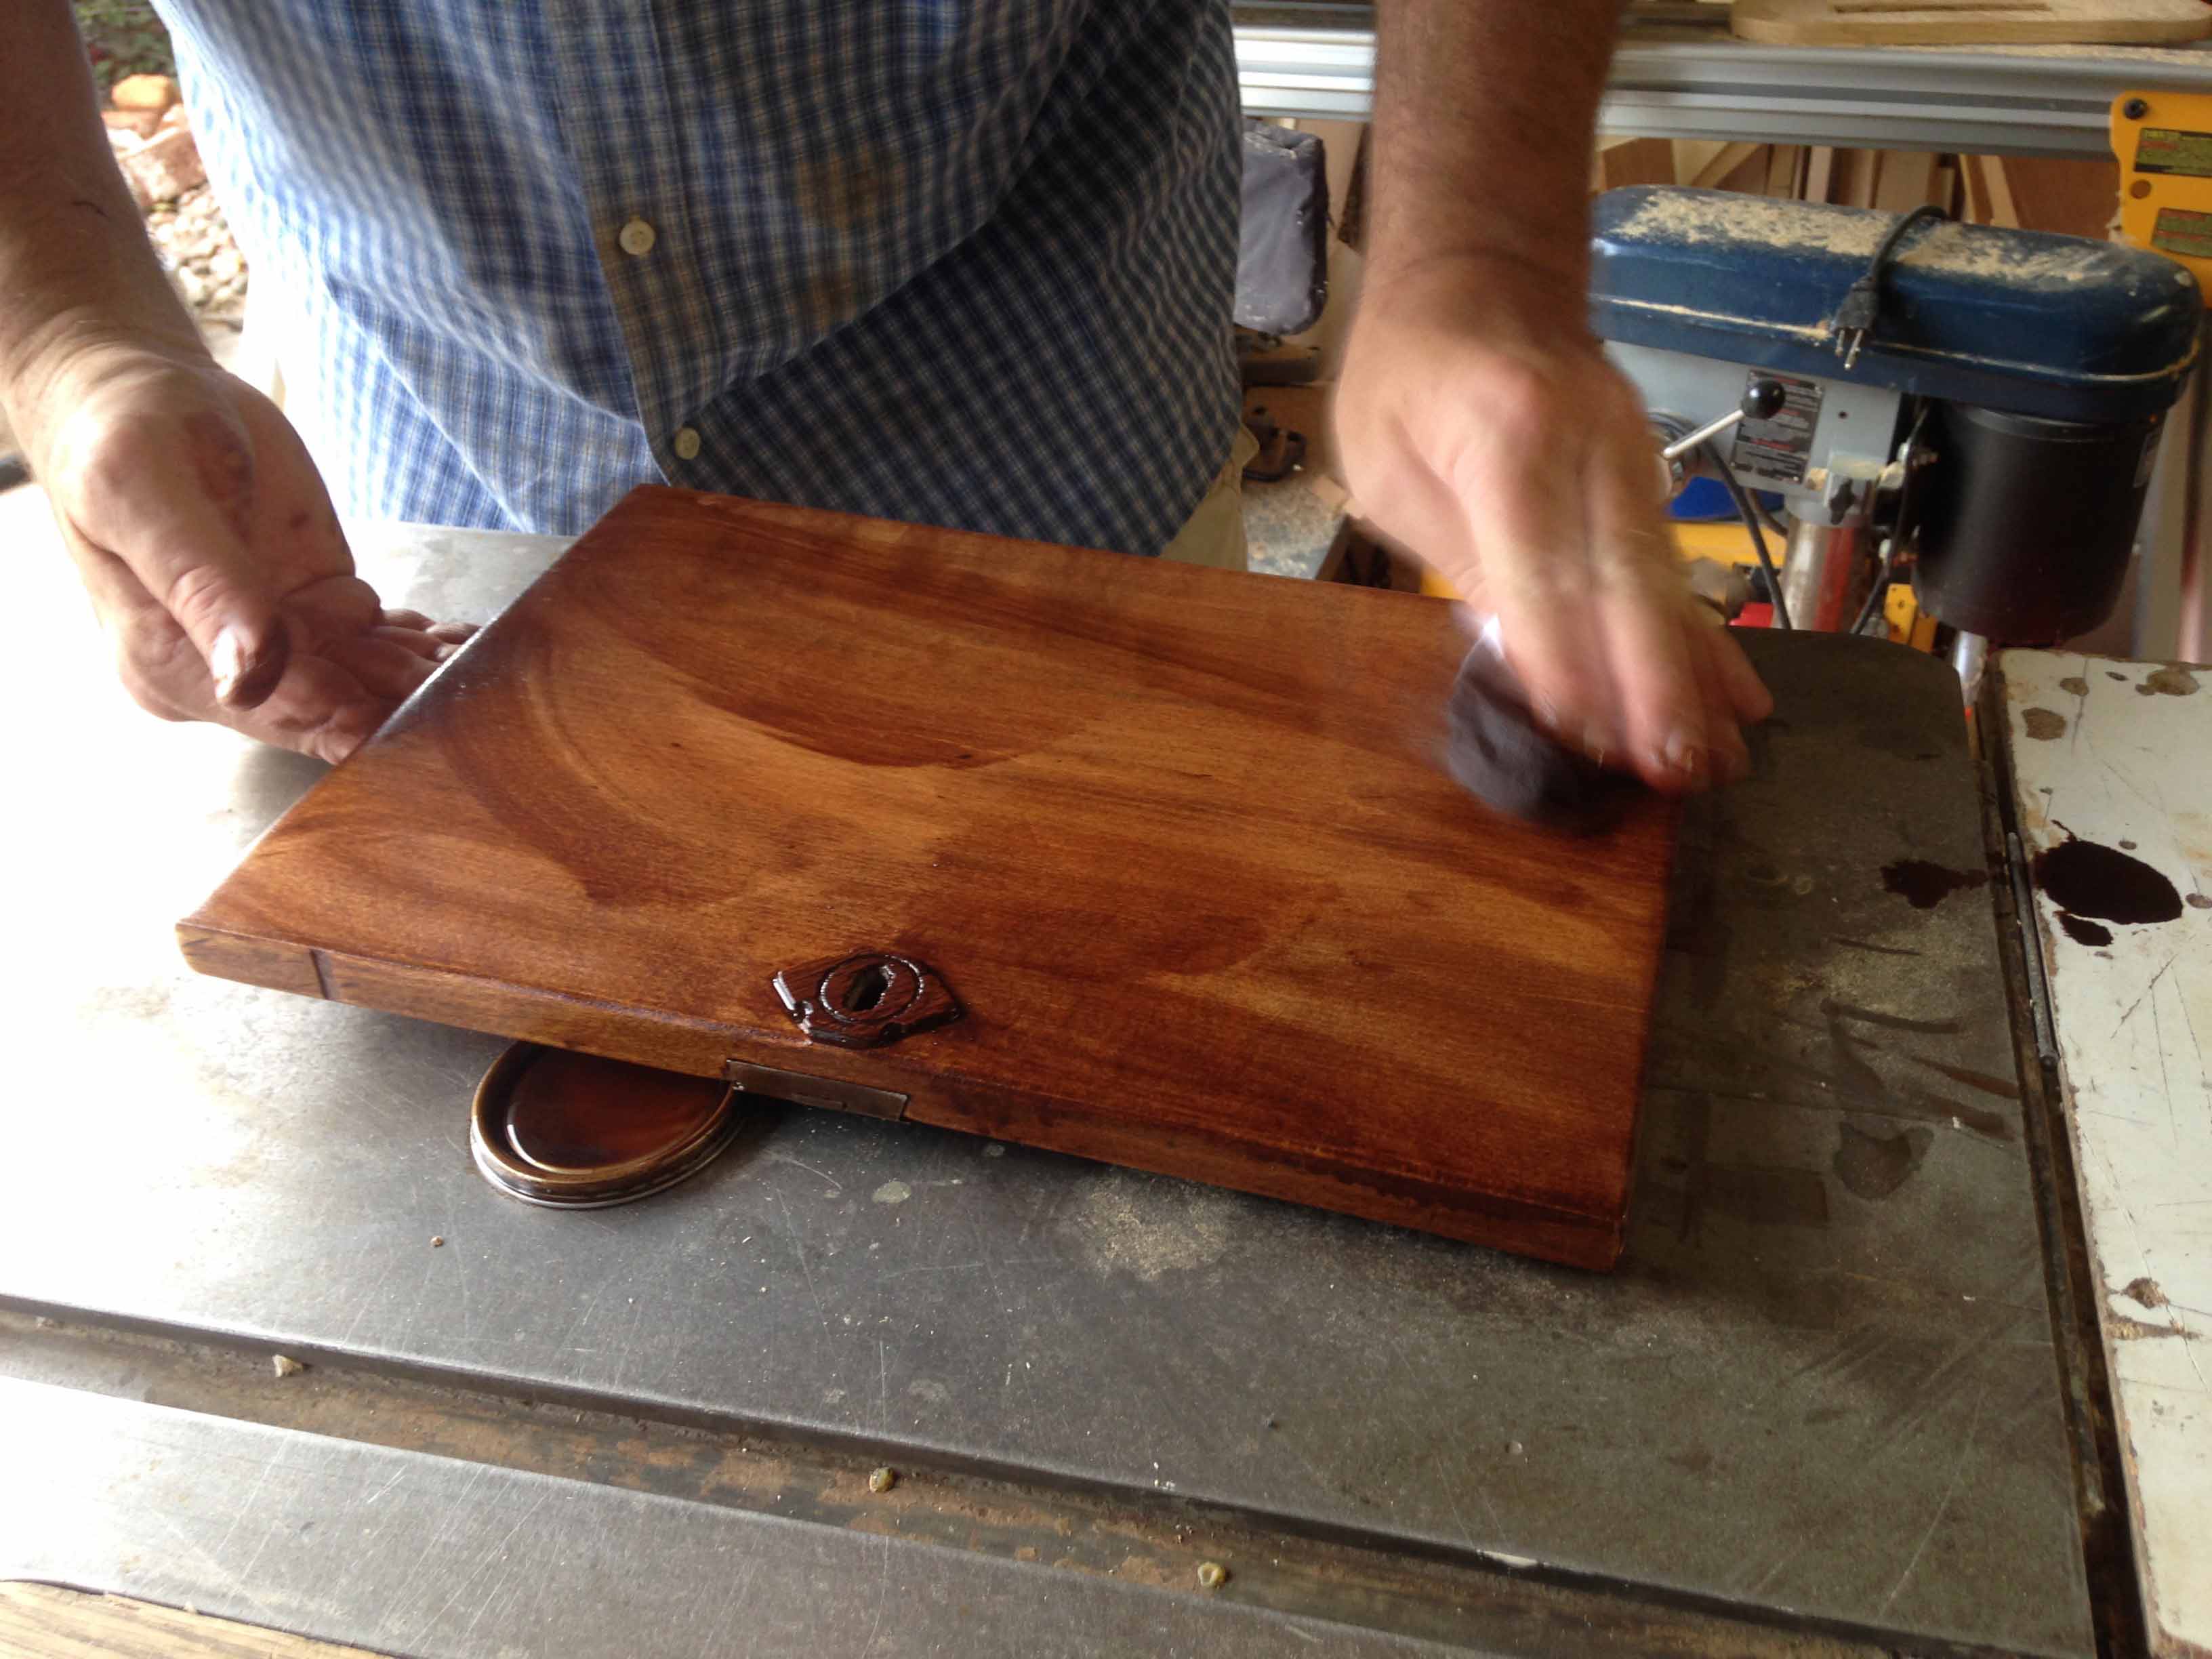
21) Stained the box with 2 coats of Minwax English Chestnut stain.
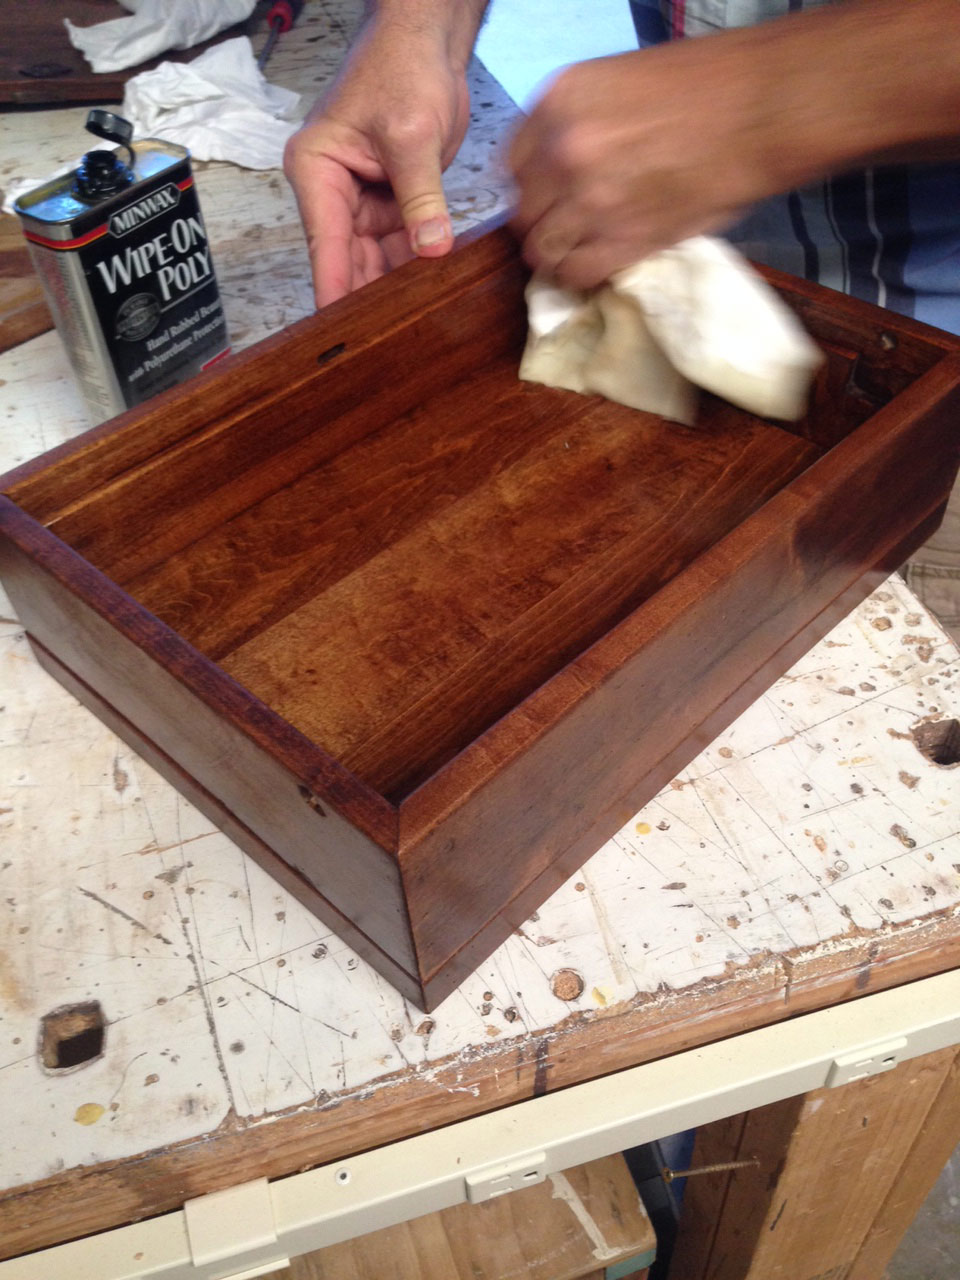
22) Used several coats of Minwax wipe on poly sanding with very fine 600 grit in between.
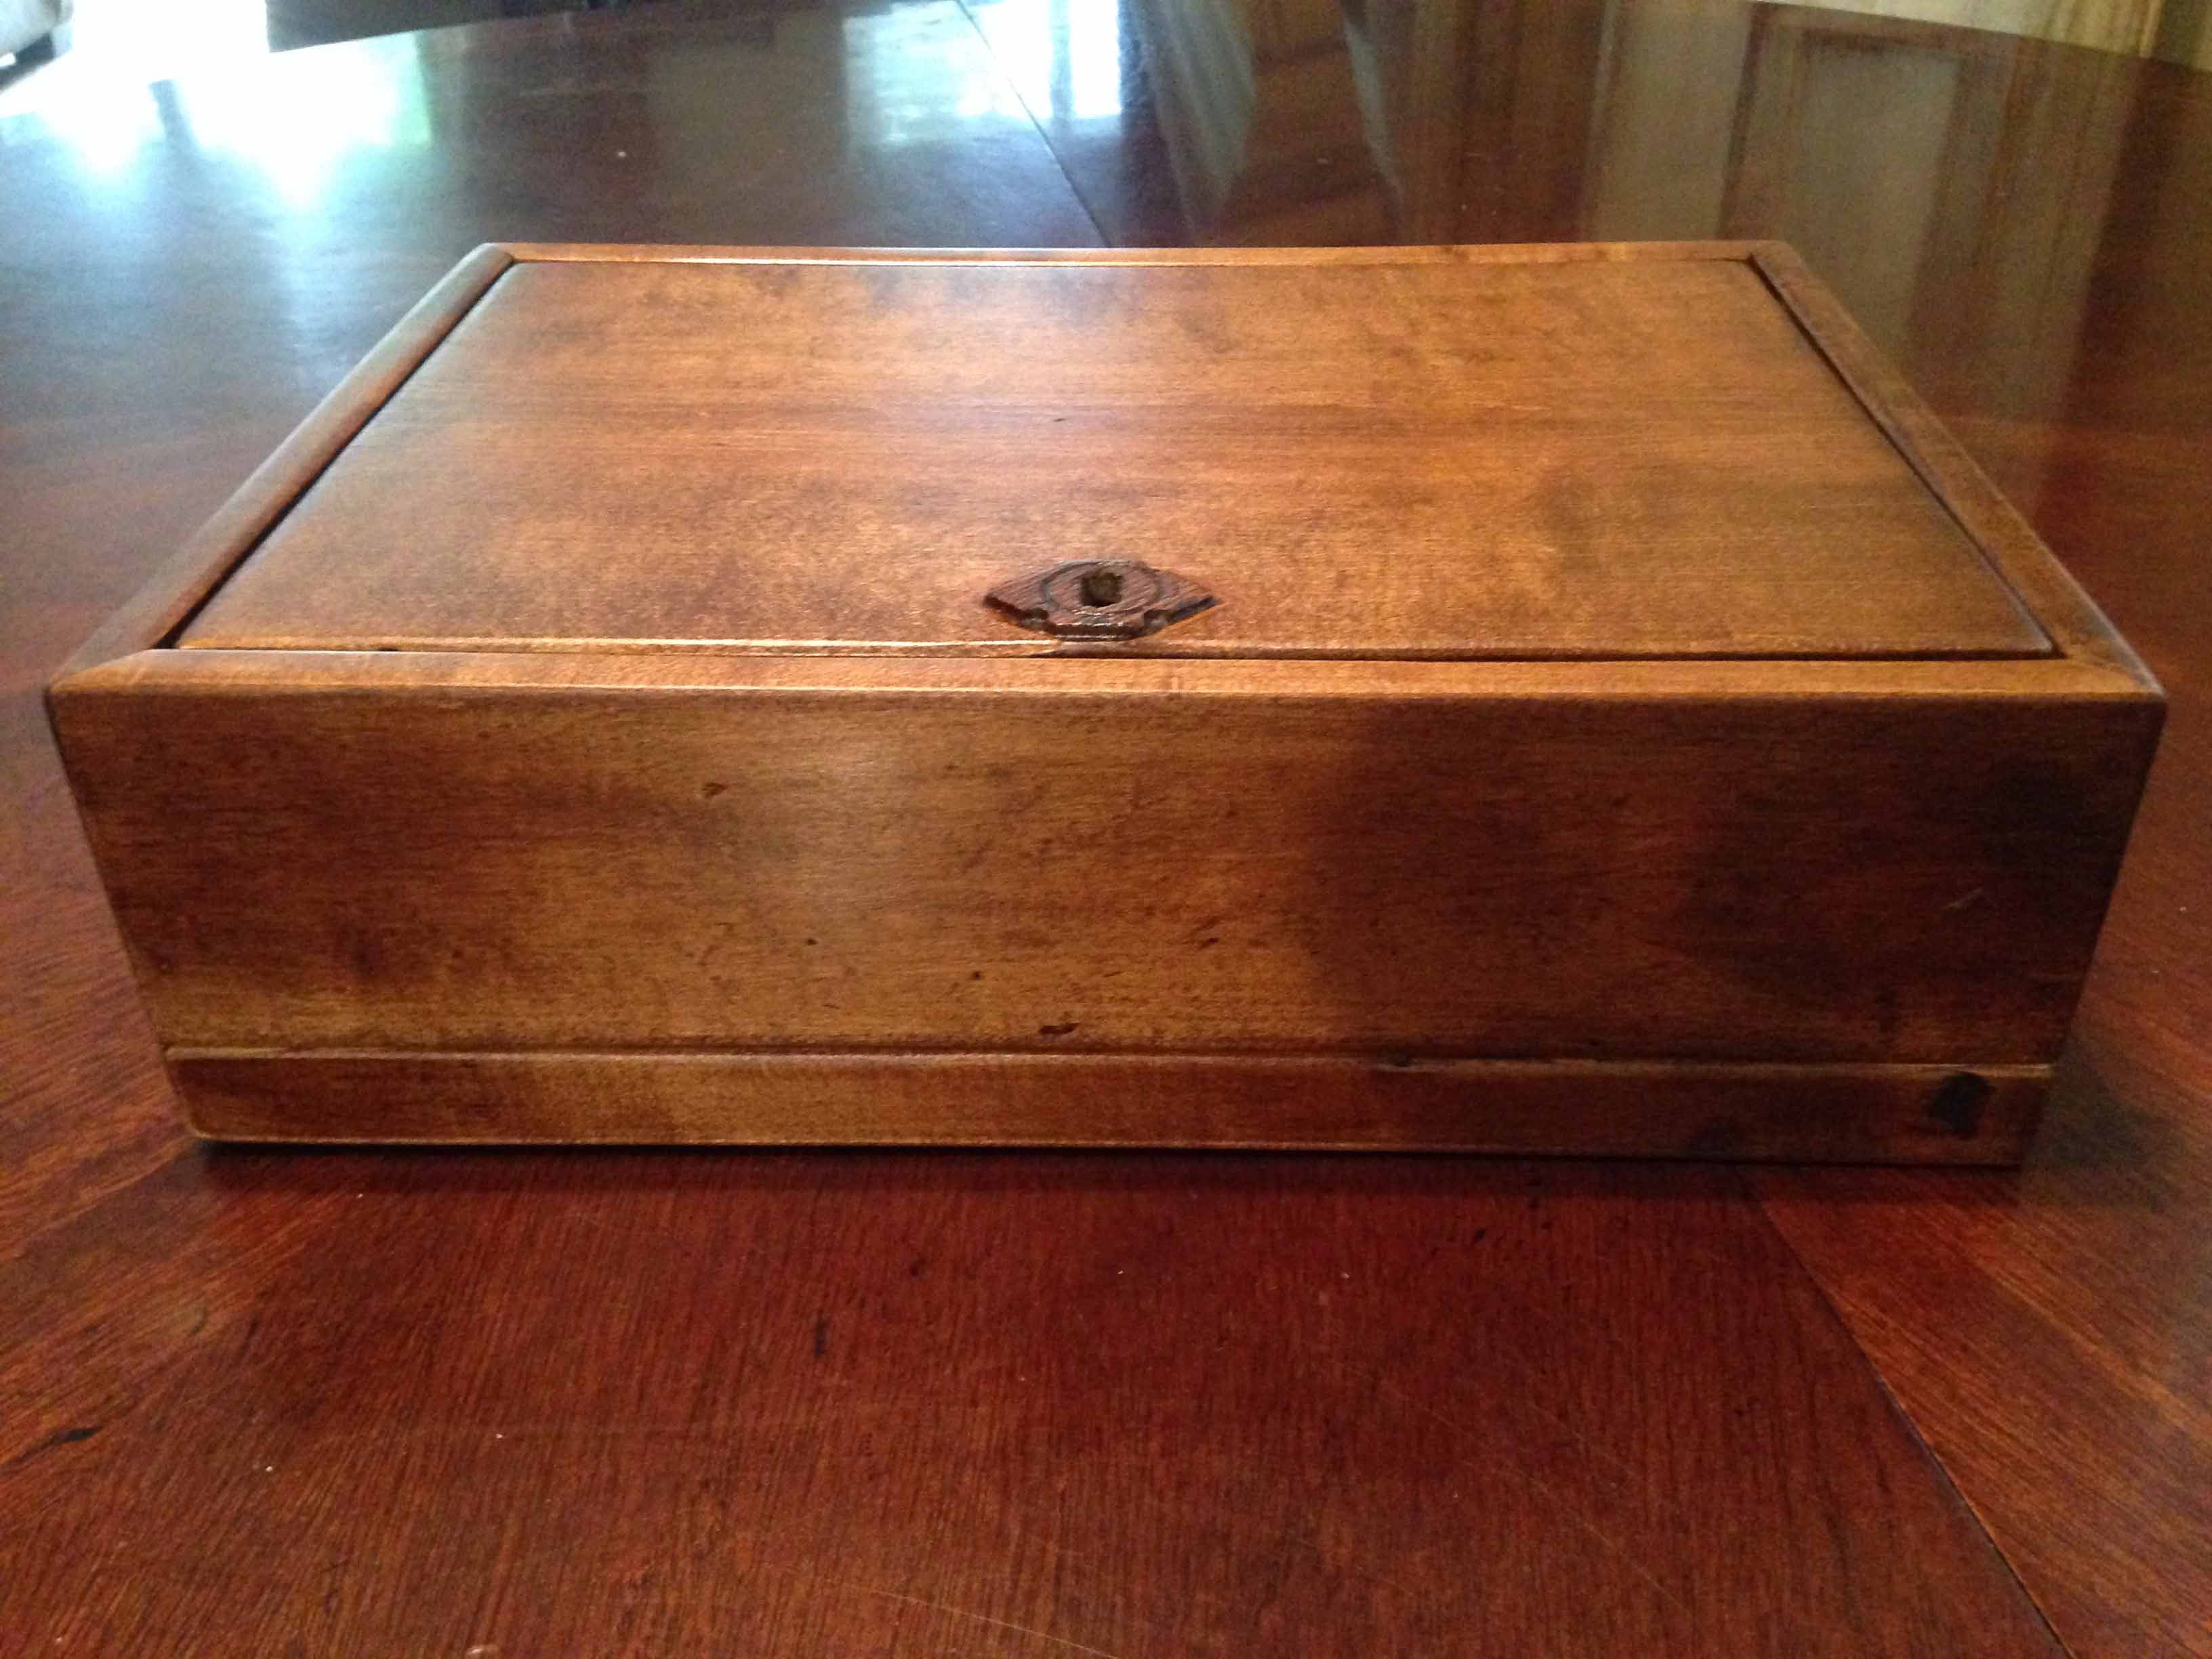
You can open the lid by applying a little pressure to the back center of the lid.
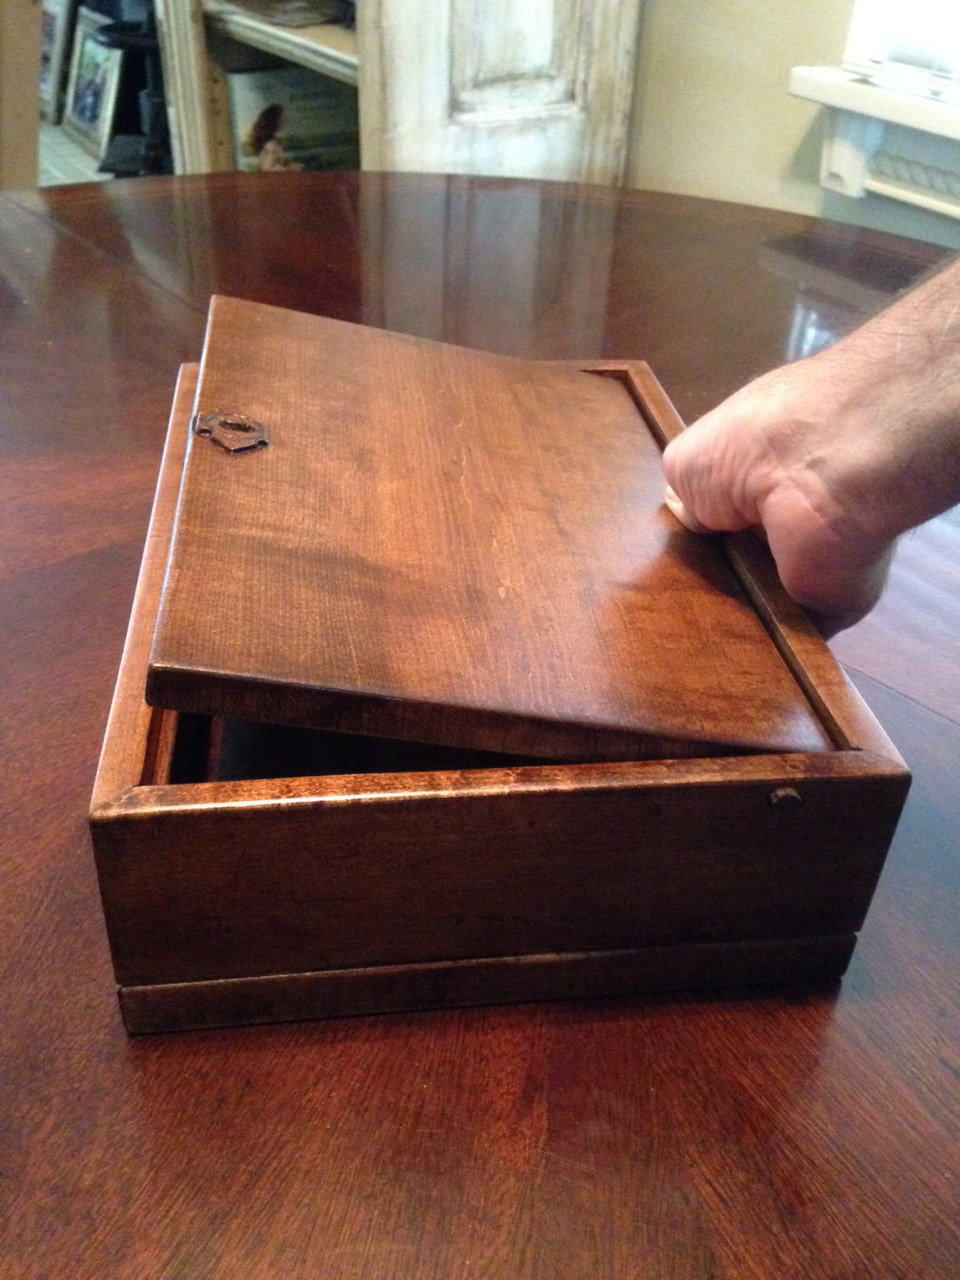
And the final result.