 Getting Started
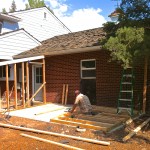
It all started like this. When you build a storage shed, you need to make sure that the area that your home, which may have been bought on sites like House Real, is located doesn’t have any kind of restrictions or regulations of any kind. You may need a building permit, especially if you’re thinking about attaching a shed to your home. You also may be required to have building inspections along the way.
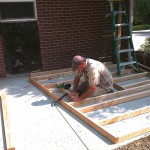
For this particular woodworking project, the county required the homeowner to pour a slab of cement no larger than 200 square feet. Once all the permits, inspections and plans were good to go, I started with the exterior walls. But for those of you who has an insufficient funds to build one like this and looking for a fulfillment warehouse in Canada, you can check out online sites immediately to opt with your concerns.
The shed had to be built as a separate structure to satisfy the code.
 Building the Walls
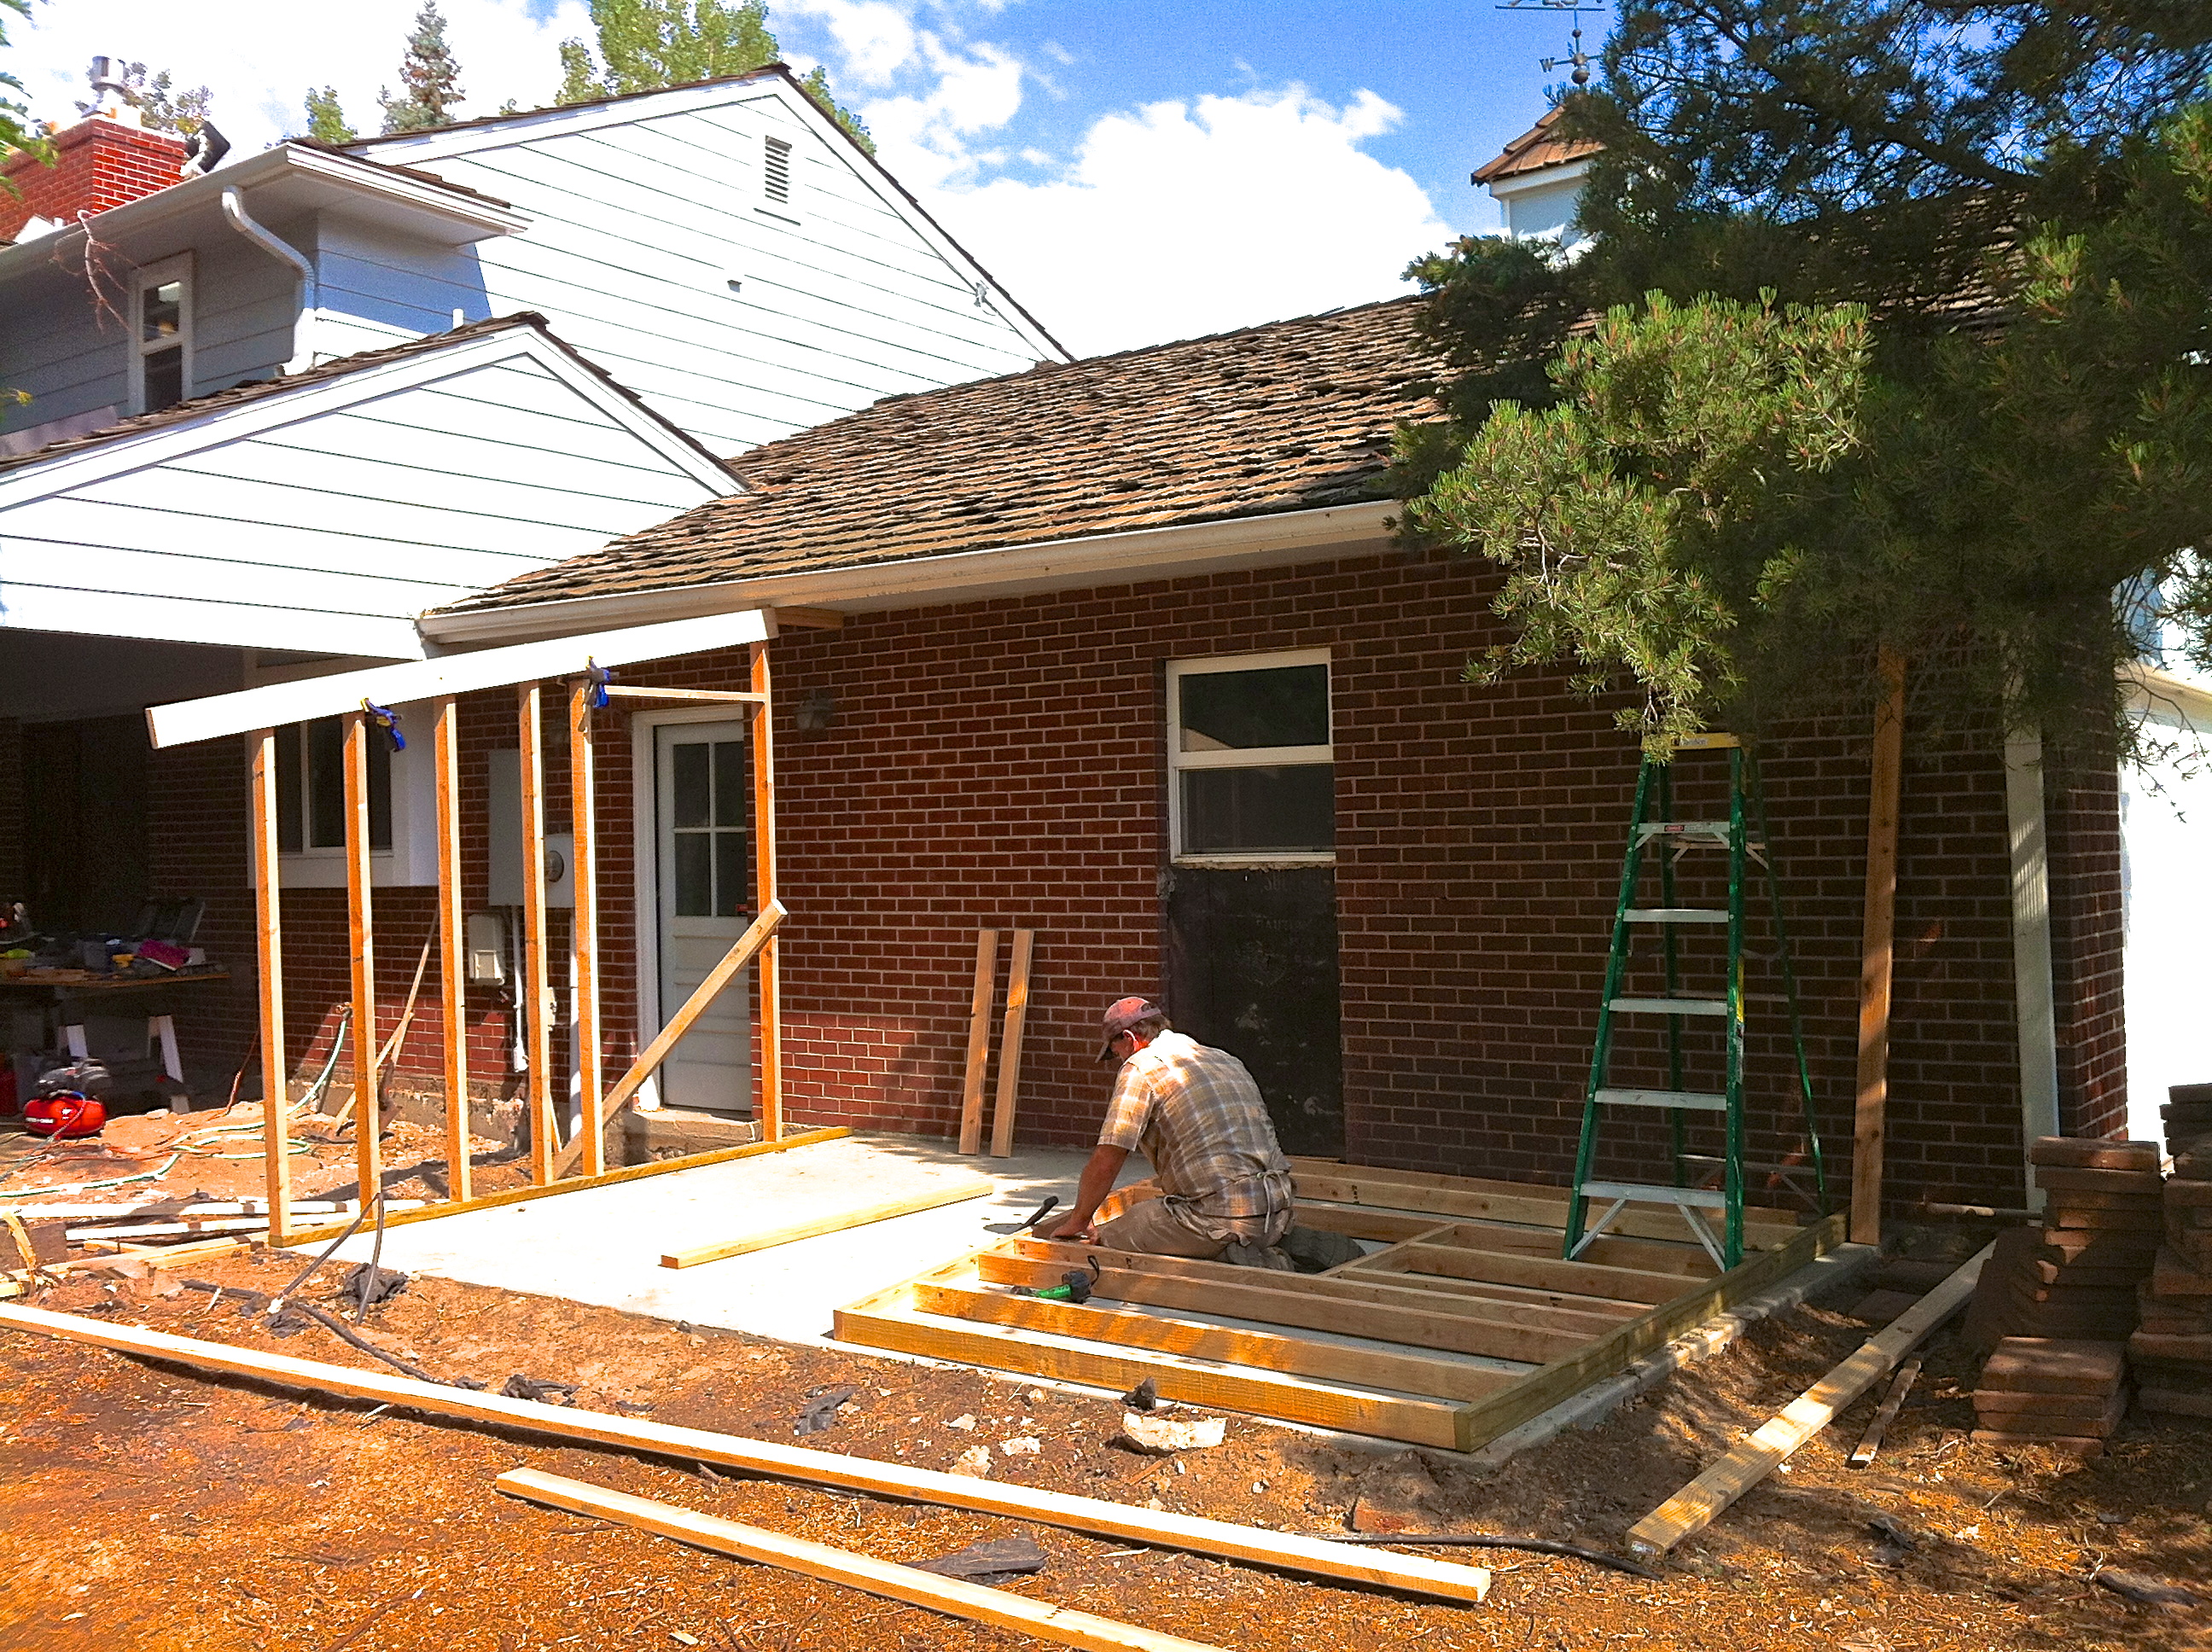
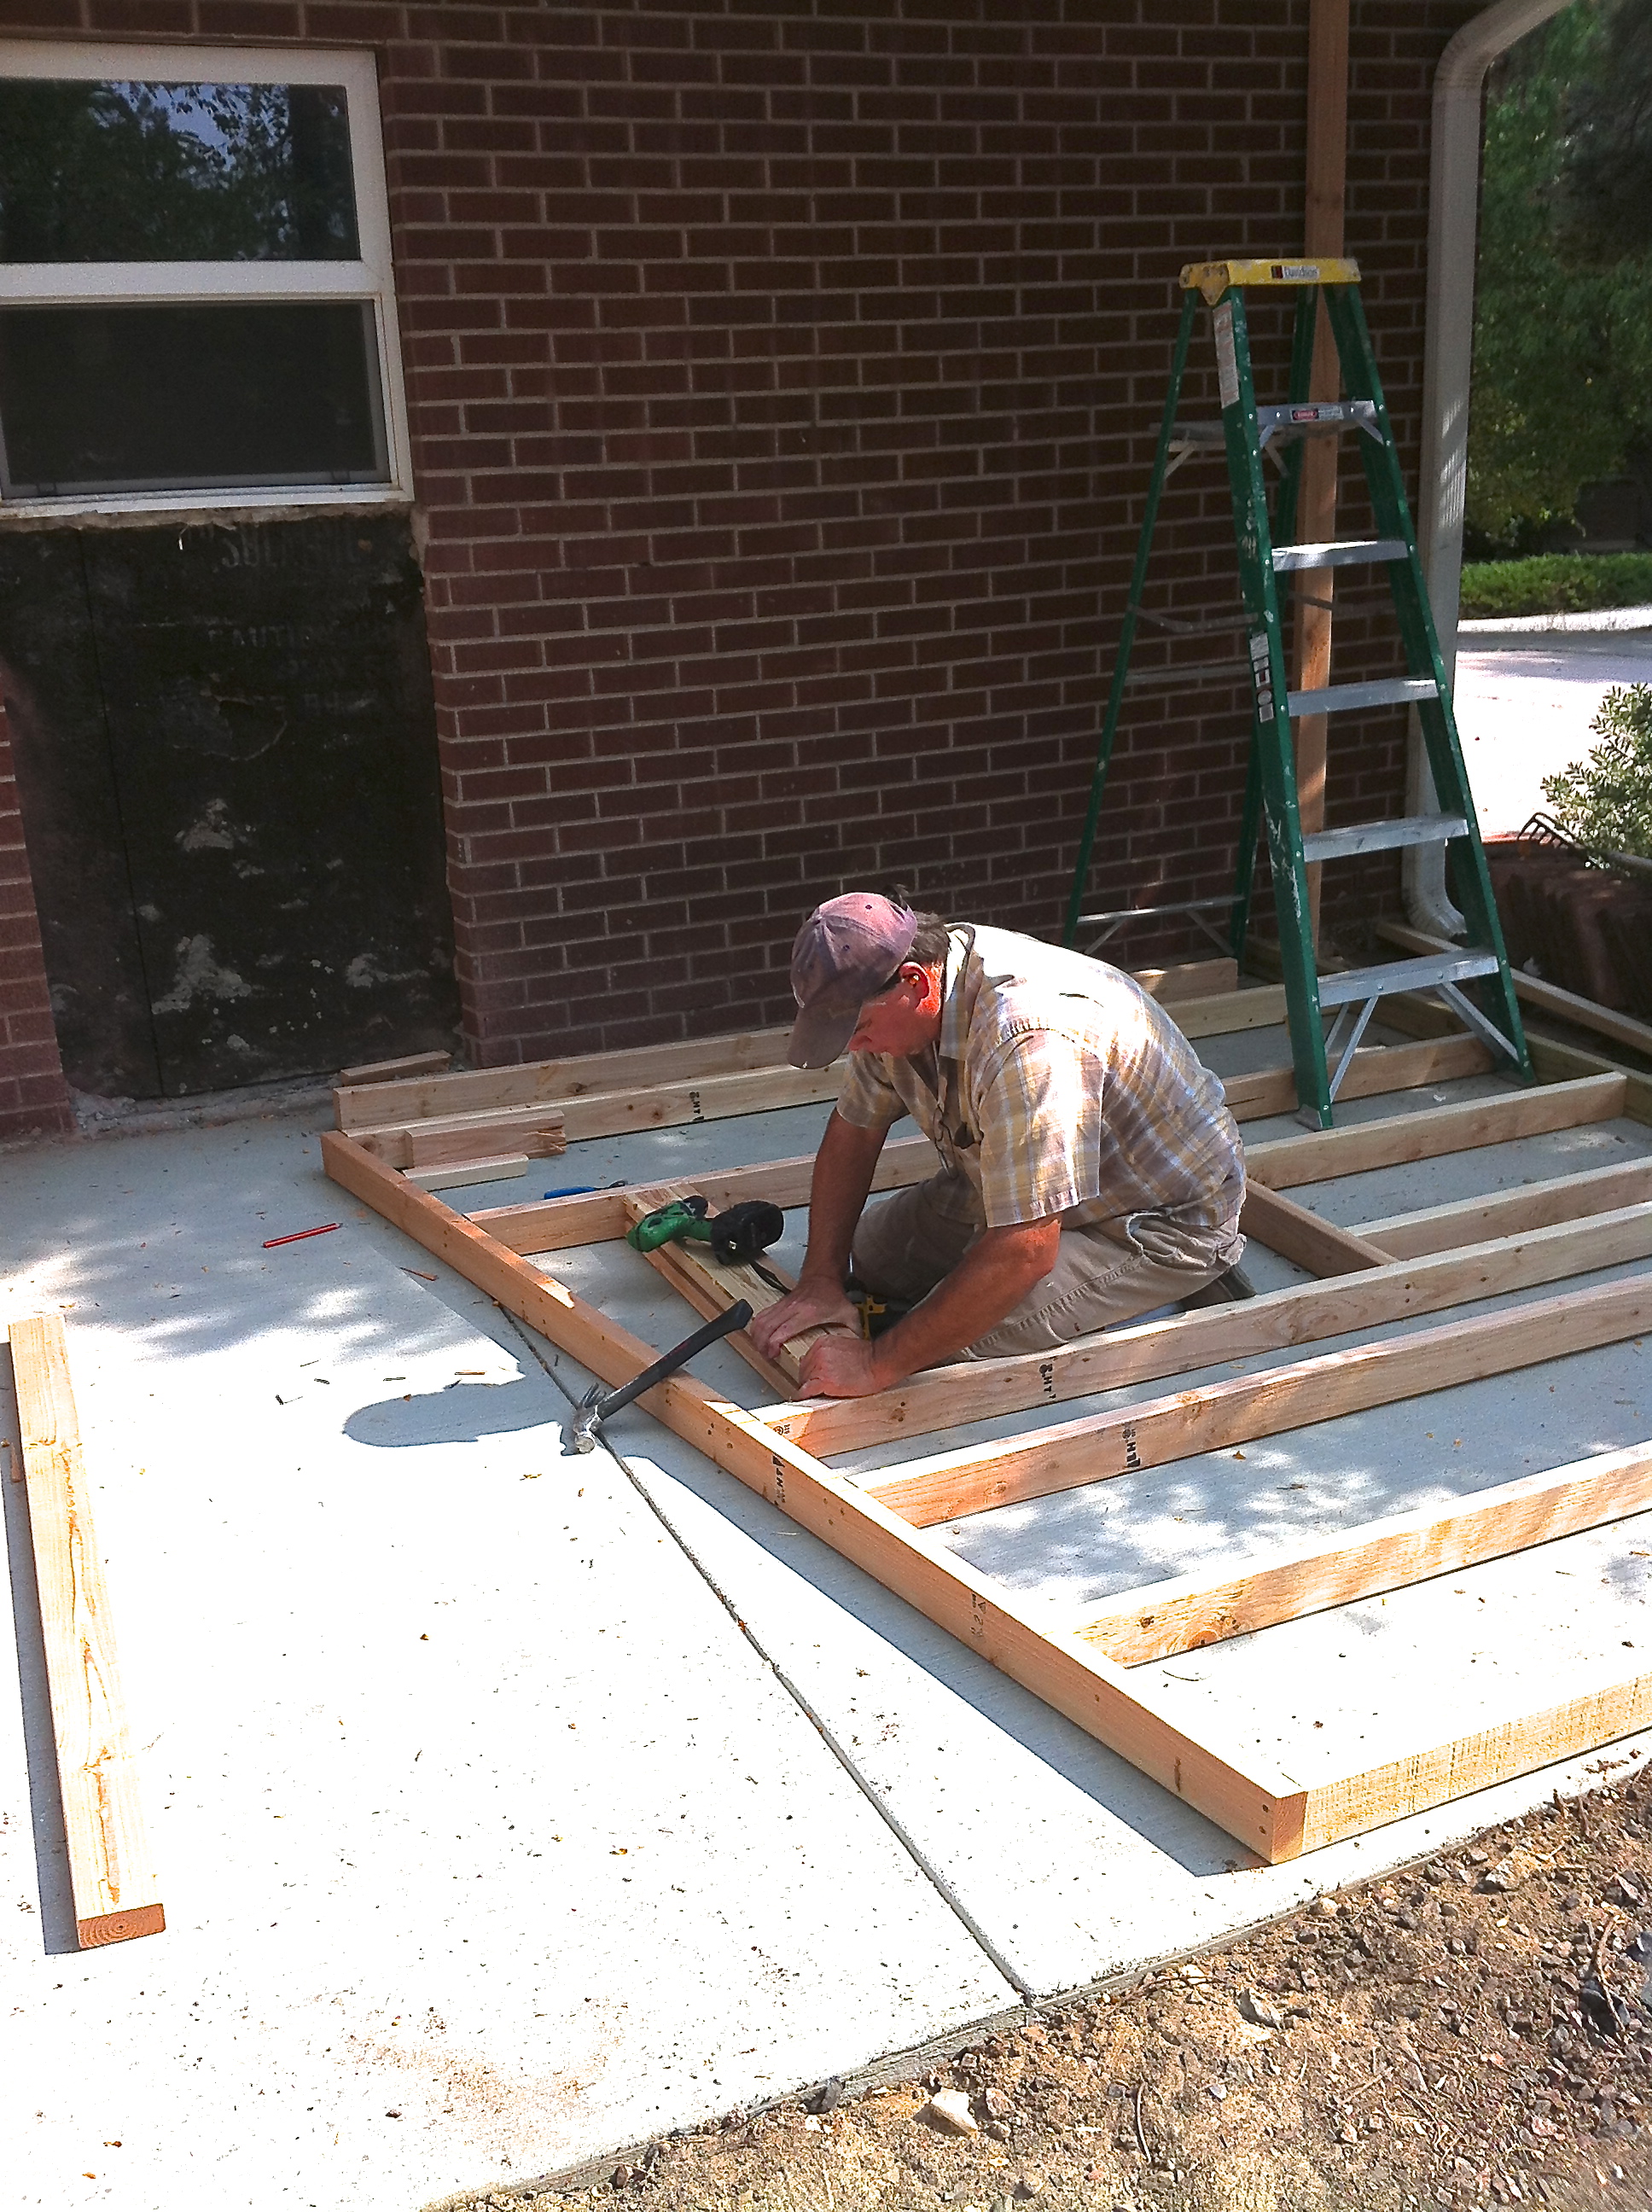

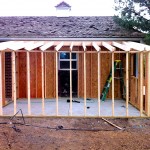
We were able to get the exterior walls built, with a few alterations to the plan. This included two 2 x 8 x 16 boards attached to each other to make a beam to support the rafters, since it wasn’t going to be attached to the home.
 Adding the Roof and Siding
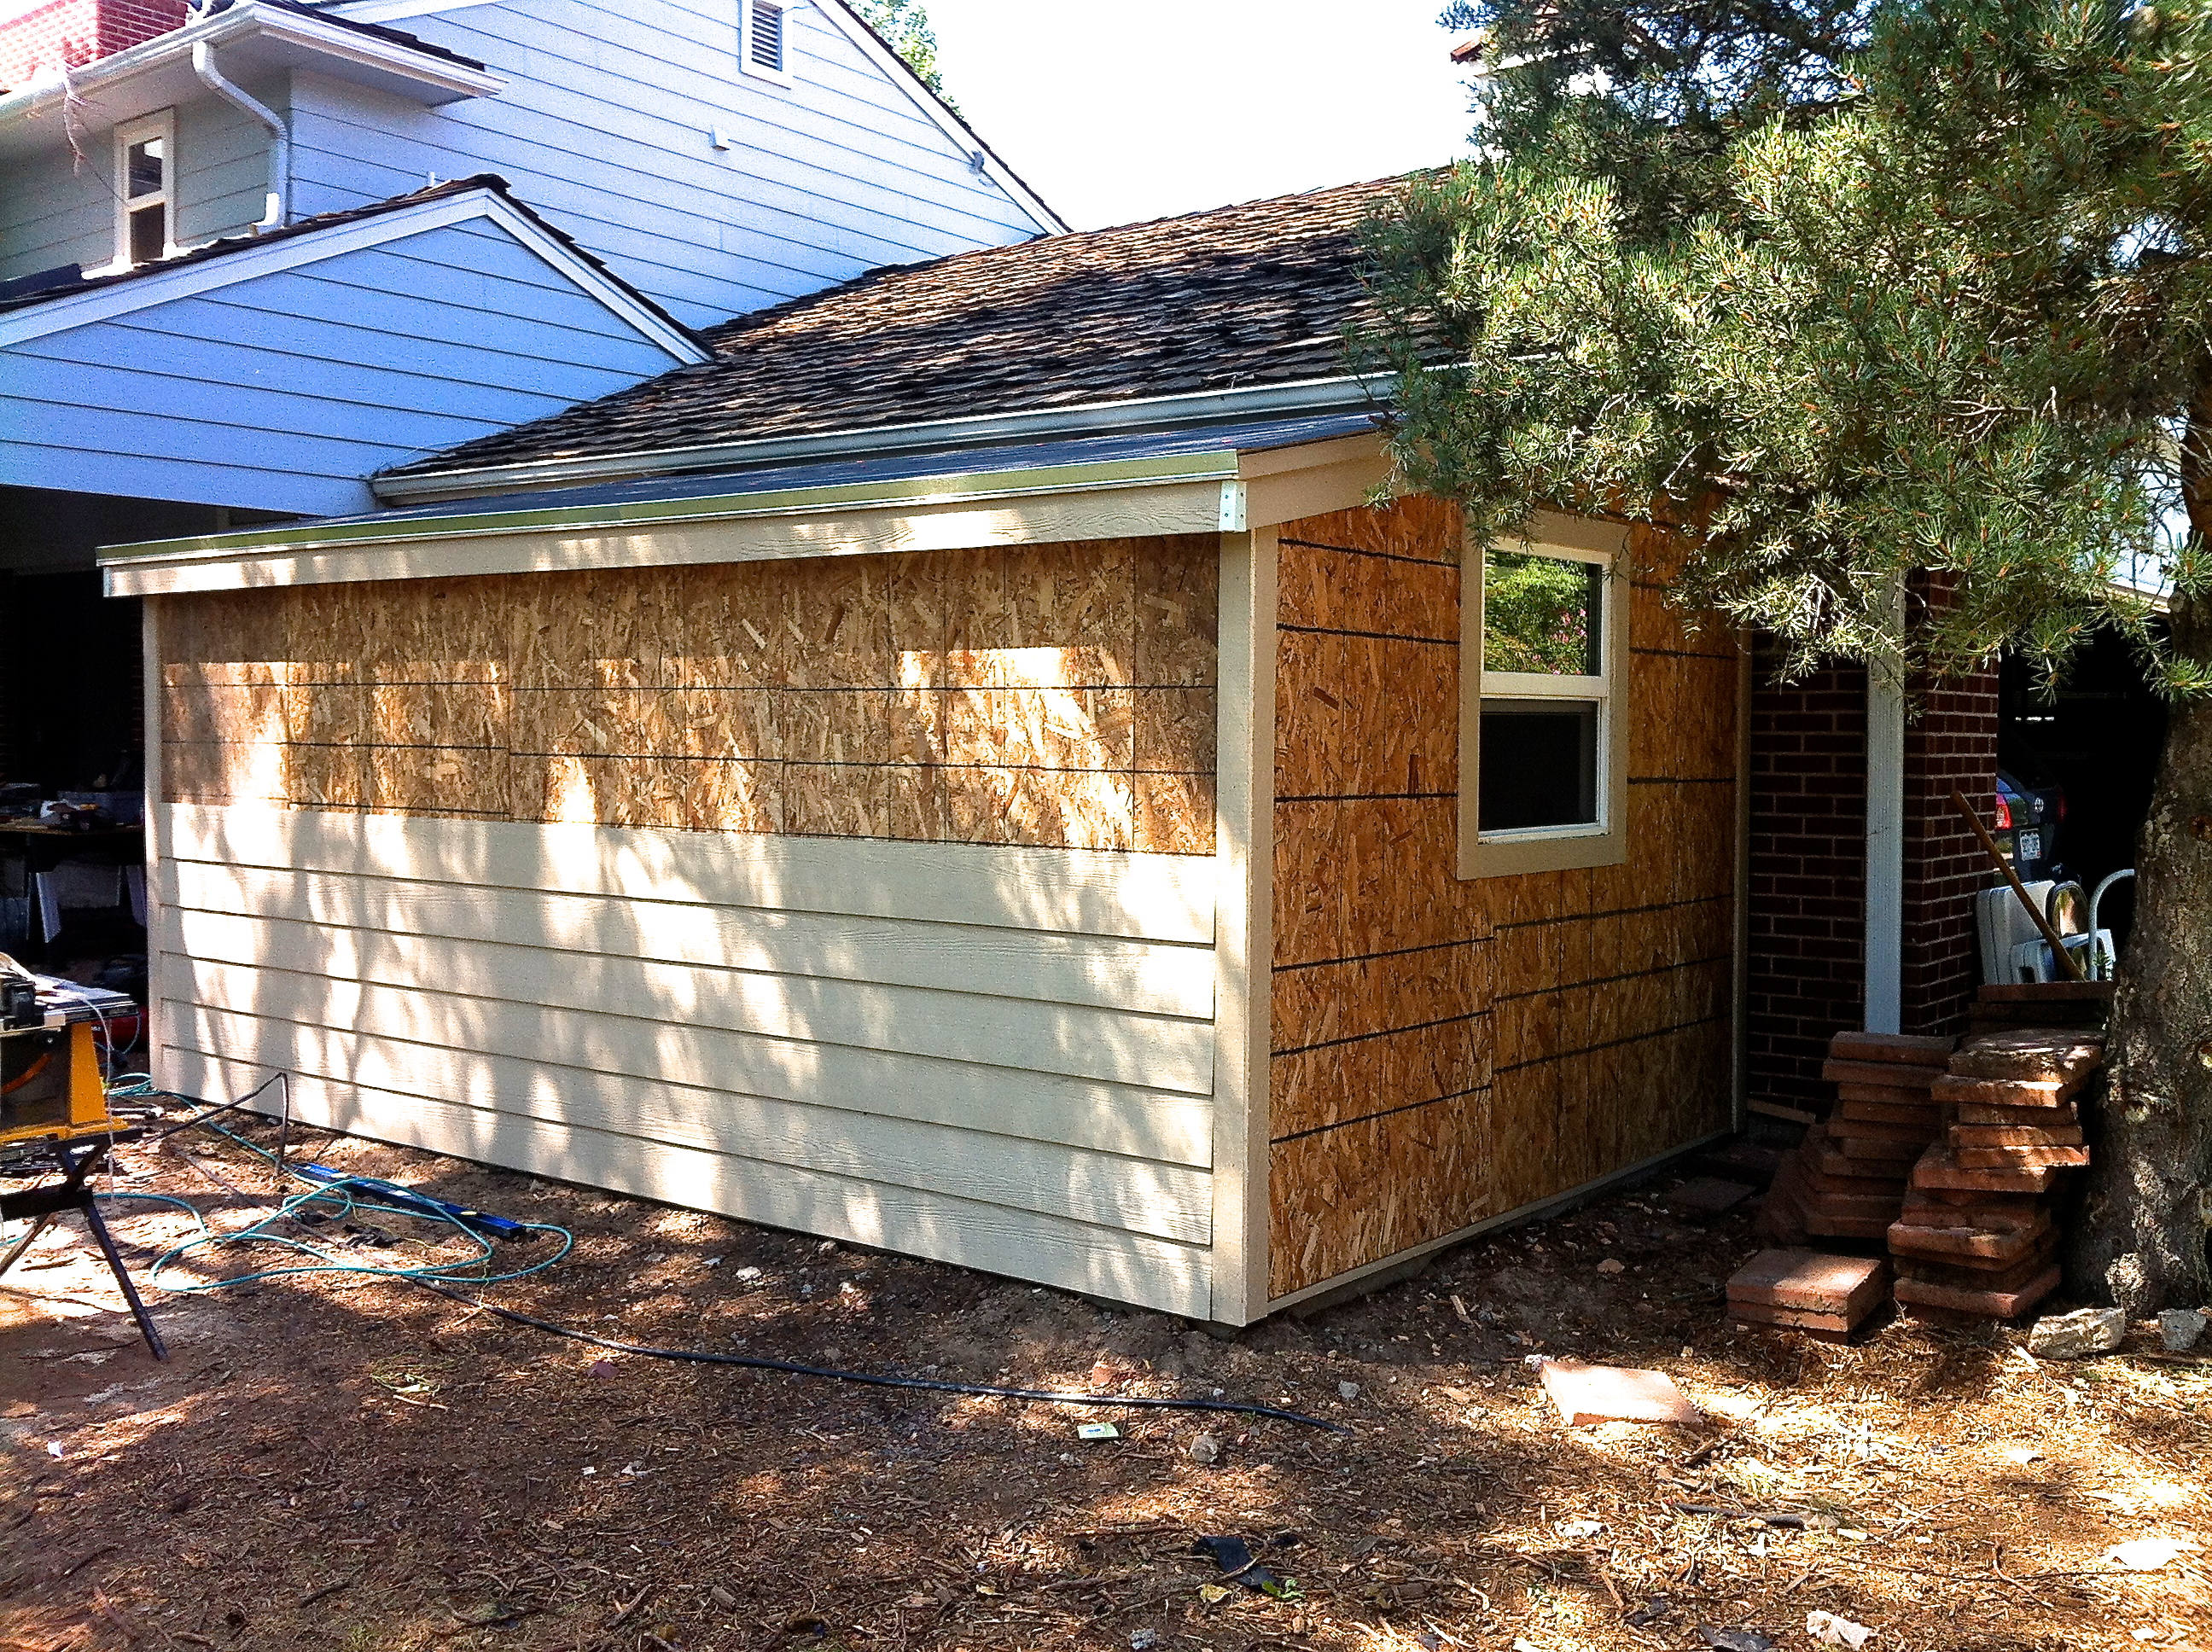
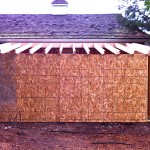
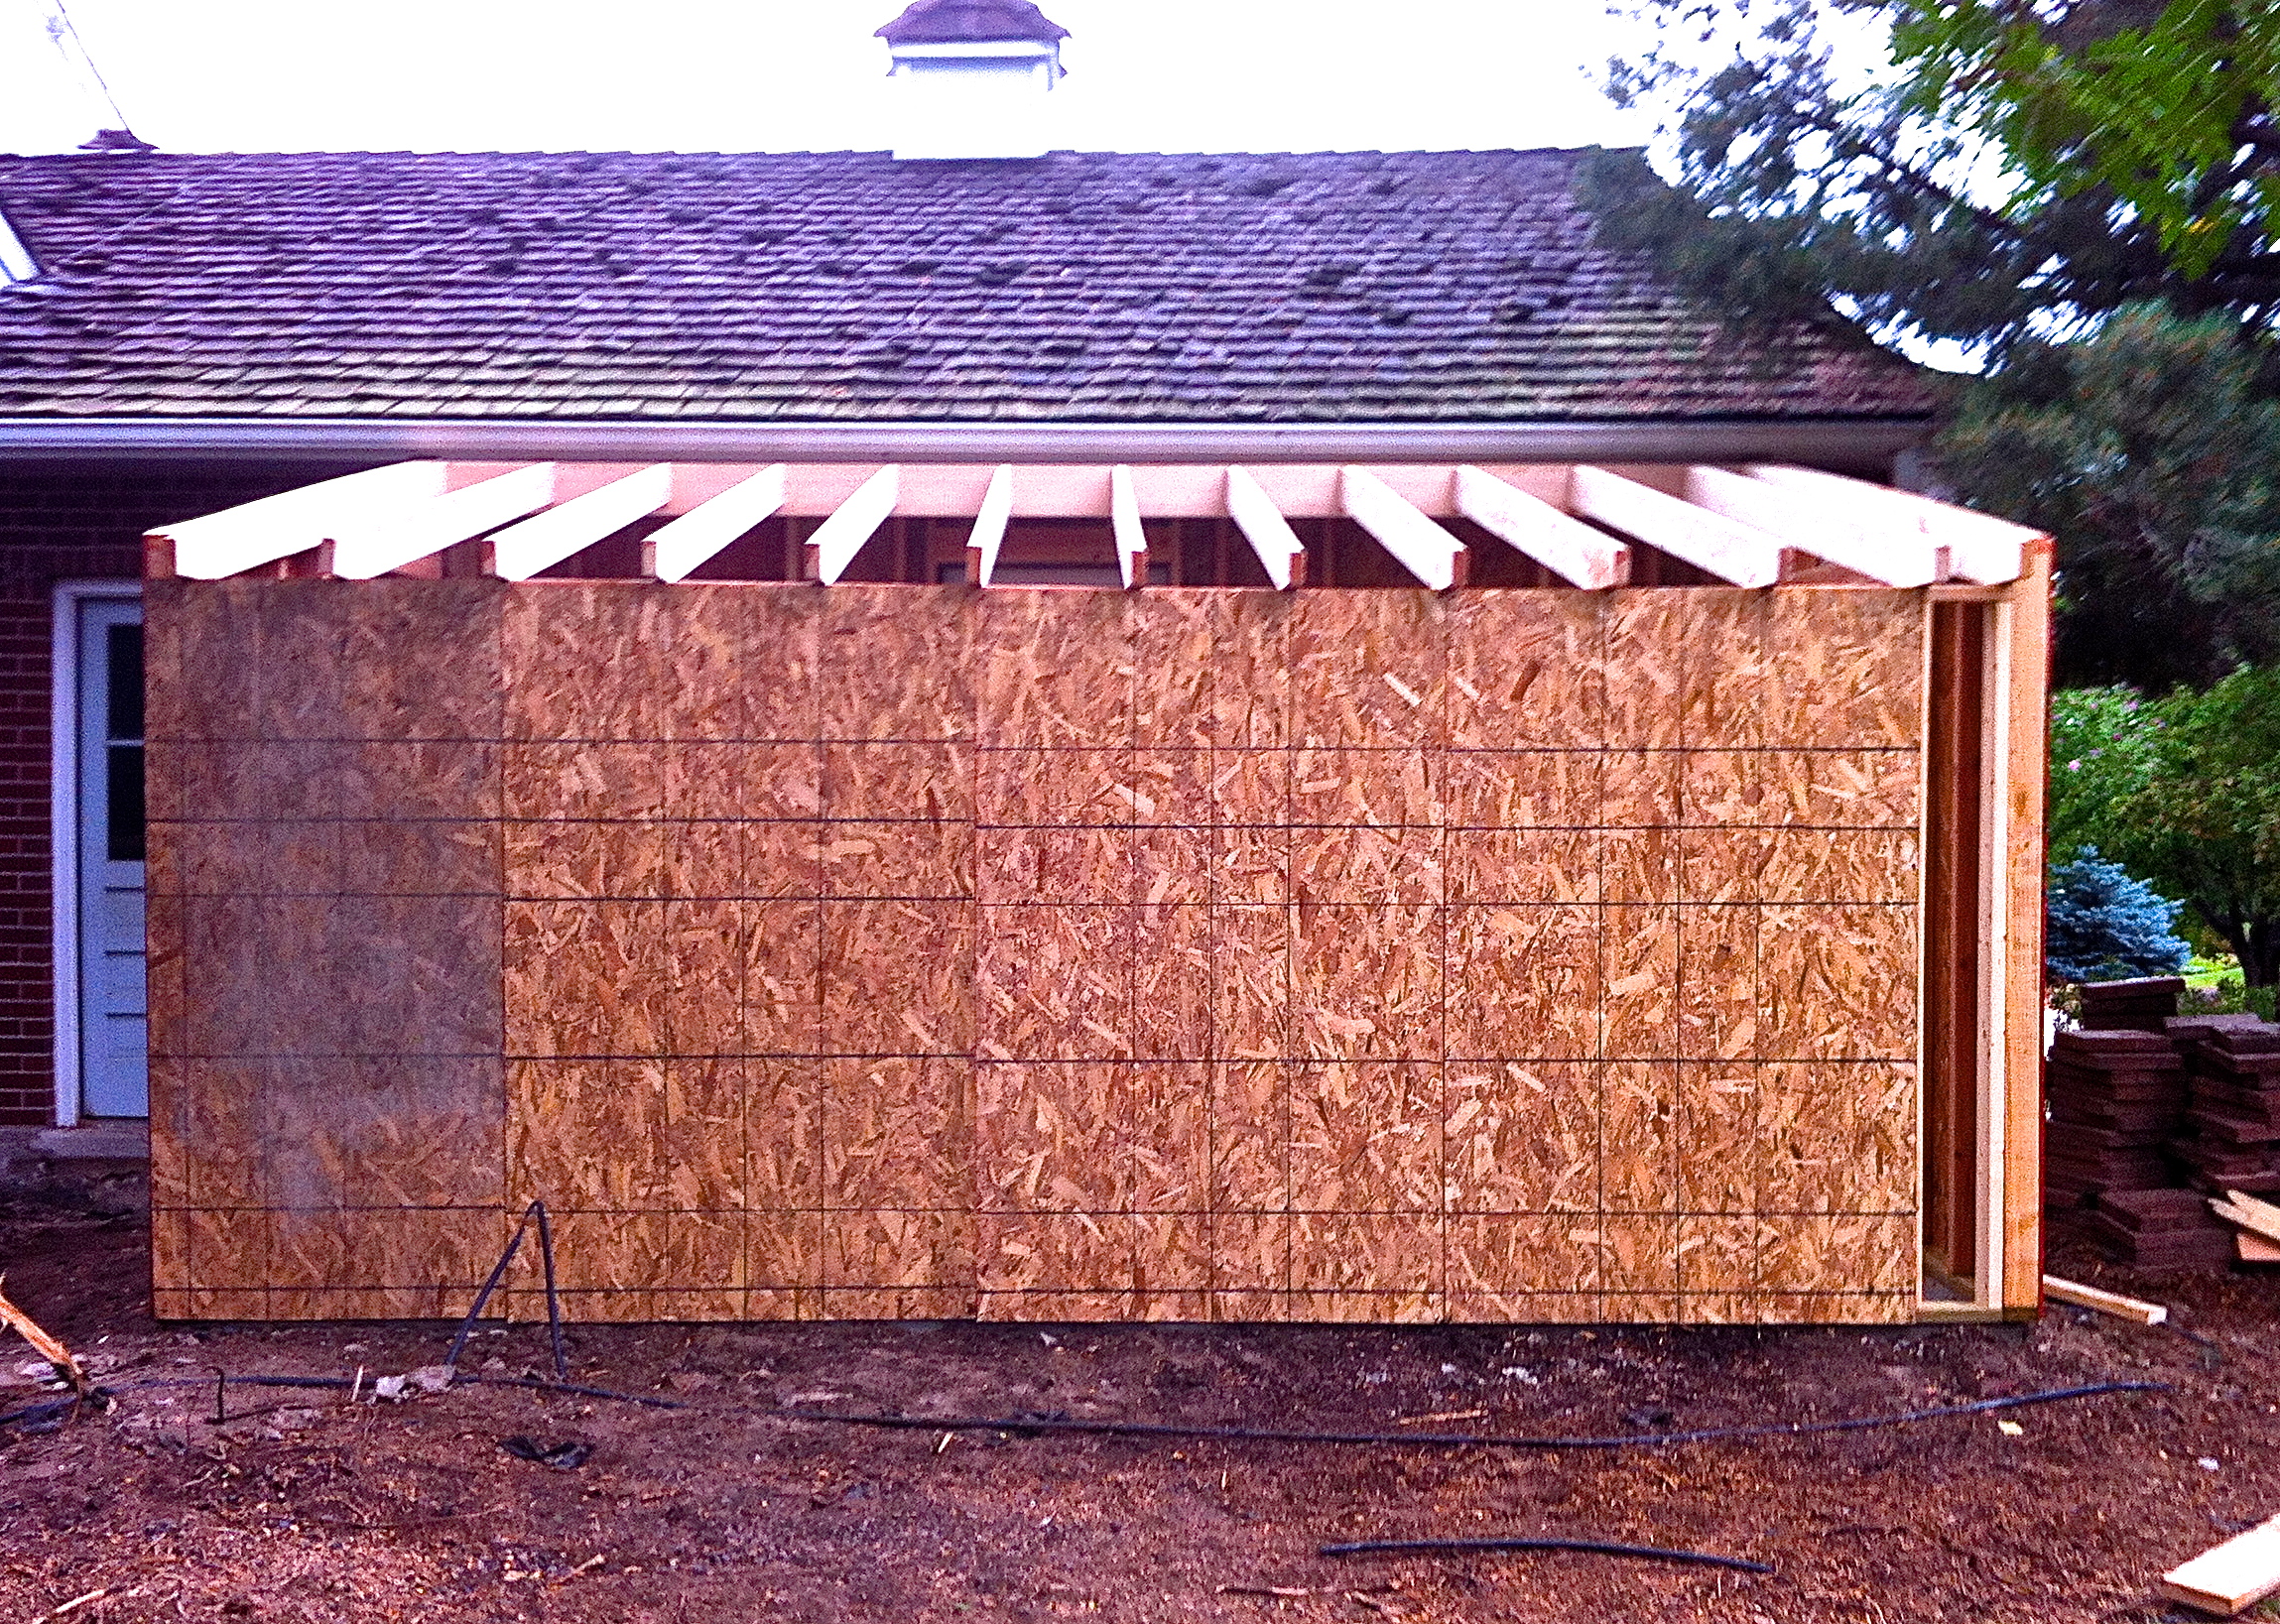
The next step to completing the framing of the shed is to focus on the roof. I was able to measure and cut each 2 x 6 rafter and have the bottom of the board rest on each stud for additional support. After the rafters are in, you then mark the bottoms and cut the ends or tails off evenly. For roofing needs like this, consider reaching out to professionals like Roofer Dedham for expert assistance and quality service. Roofing Exteriors Pro is a High Point roofing company that may help those who are planning to install a new roof for their home, garage, or shed.
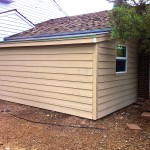
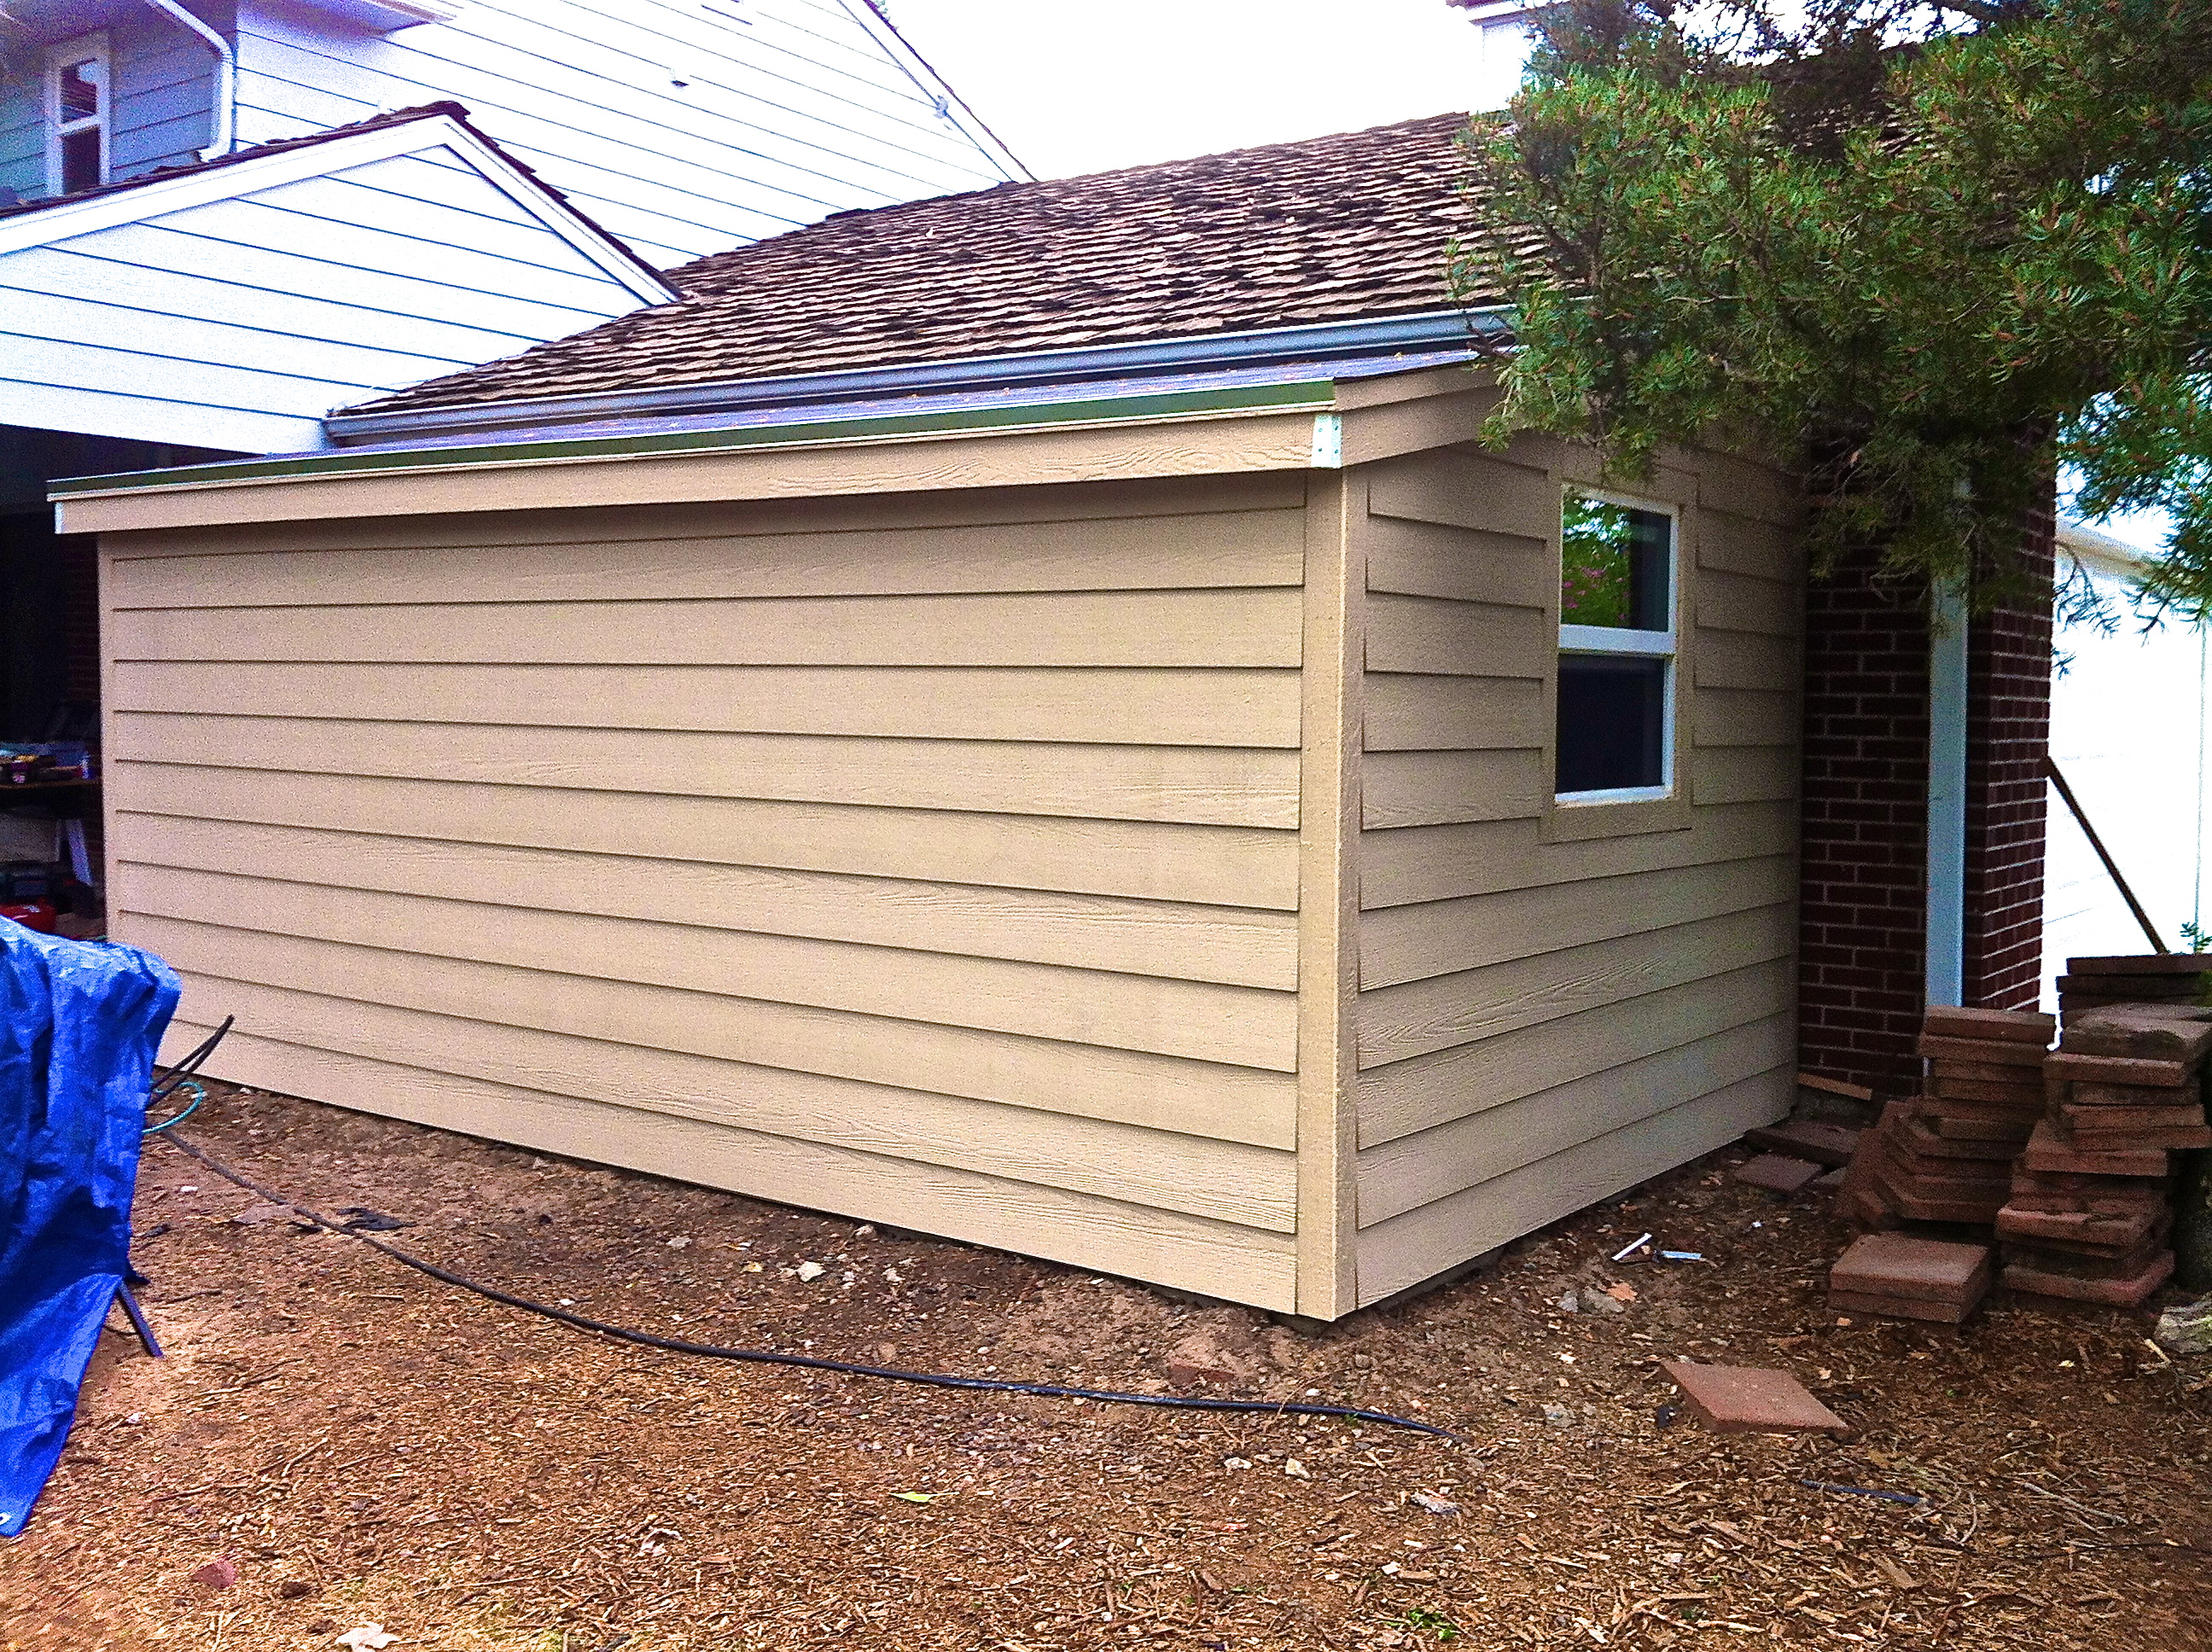
We screwed in the osb sheet material to the framing accordingly in preparation for the lap siding and roofing. Before I hammer the Copper Nails, I will the trim work on all sides of the shed. Now that the trim work is cut and ready, we now begin to nail in the lap siding starting at the bottom.
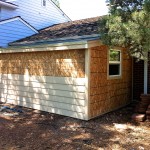
To ensure optimum proximity, make sure to check angles with a level as you are nailing. After a few days of framing, trim and siding, this storage shed is nearly to it’s completion. All it needs now is calking and paint. Happy day to the homeowner of this 10 x 16 foot detached shed. If you want to learn and get more information that you can use if you have future projects similar to this, you can check out online sites or ask professionals nearby.
 Finishing Up
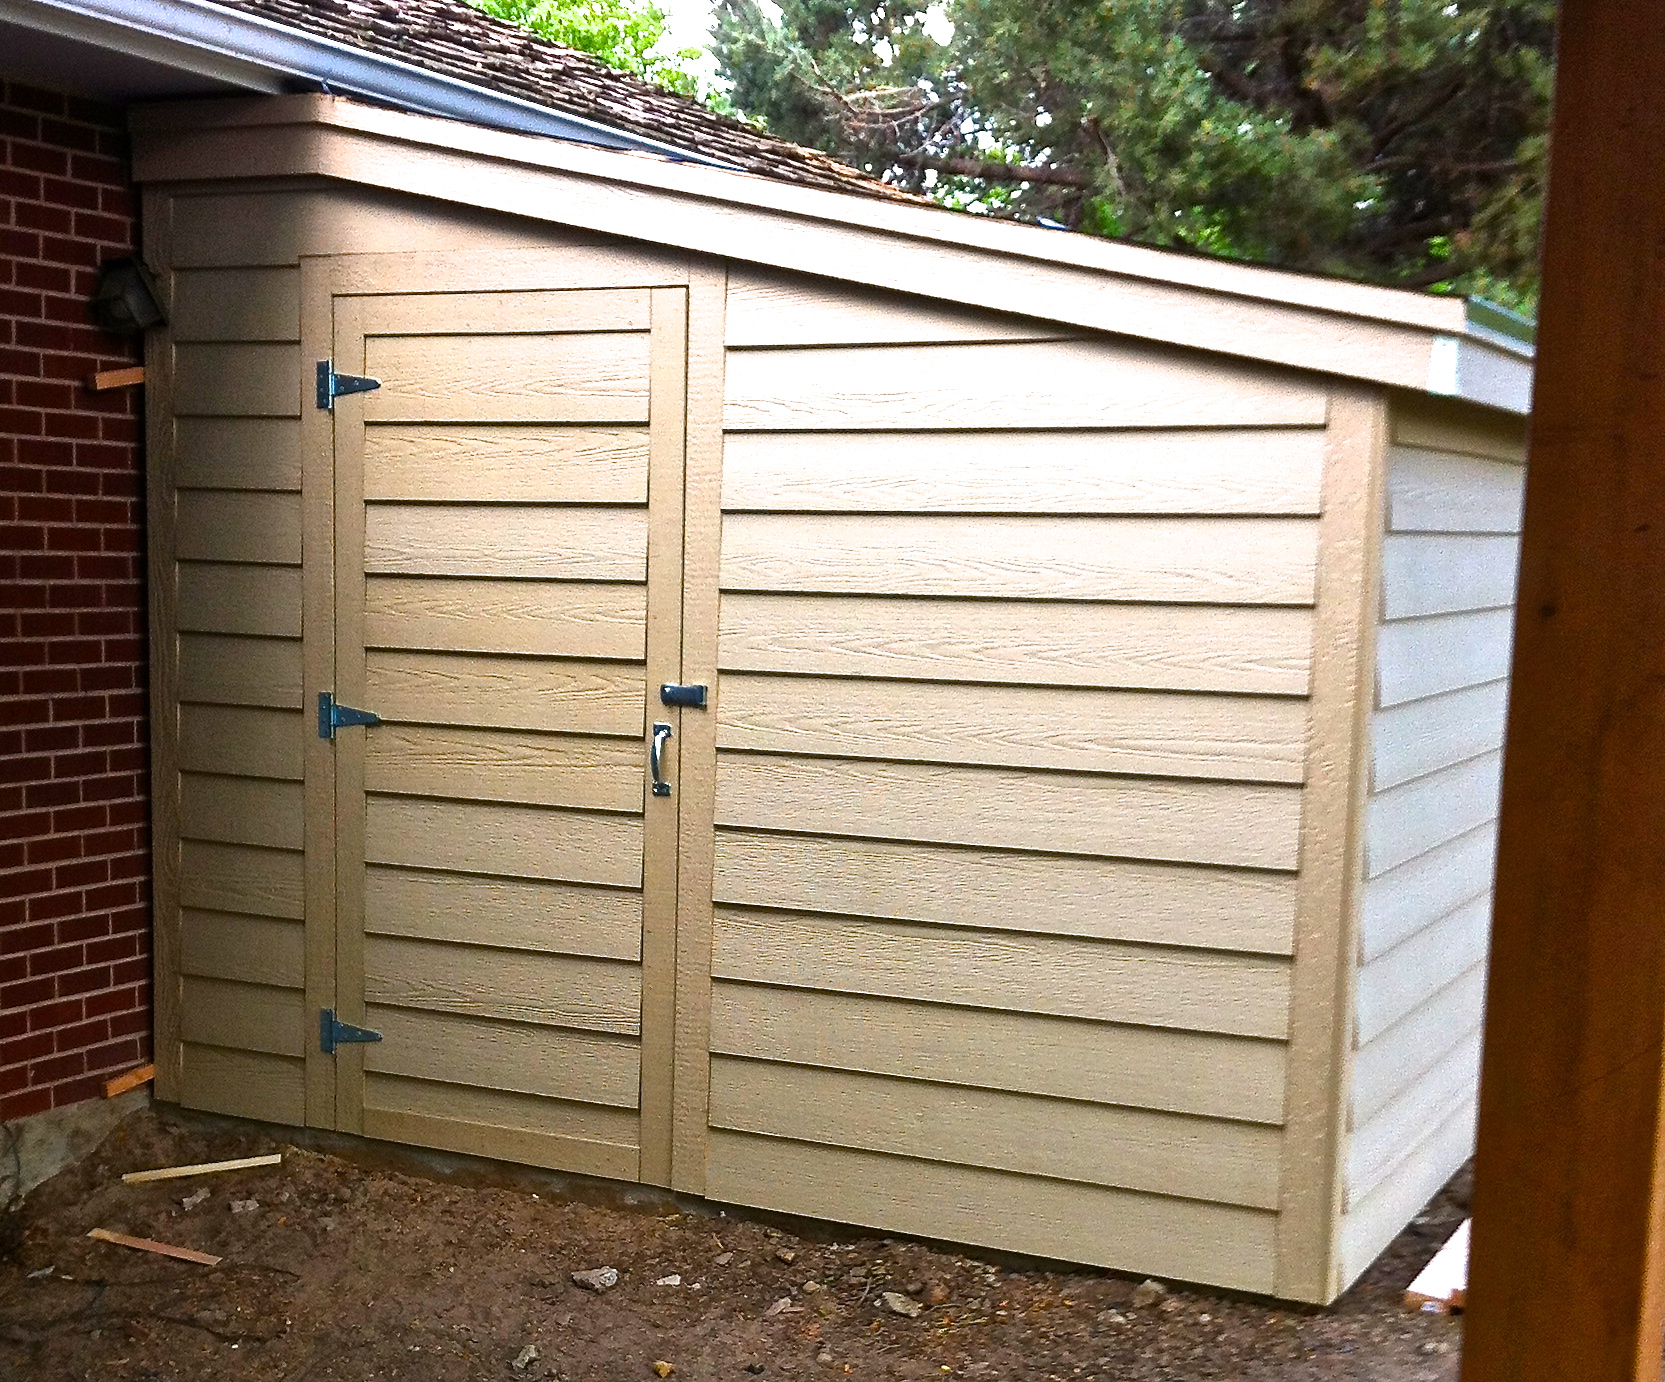
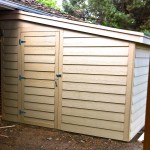
One of the last things to do on this project is to build a sturdy door. It was made to blend with the rest of the lap siding and trim. We also build shelving for the inside of the shed.
Once this shed was completed. The next project- we moved on to building a composite deck.